3–10
Operating the Printer
New Paper
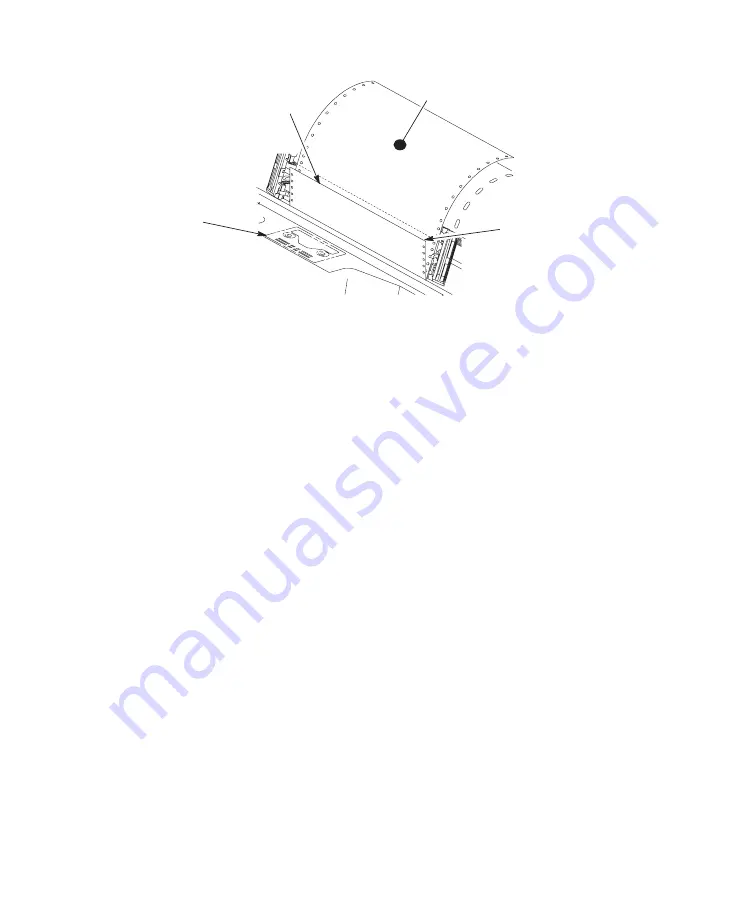
Ribbon Path
Diagram
Existing
Perforation
Existing Paper
7.
Load the new paper over the existing paper.
Open and load the tractors one at a time to prevent the paper from slipping.
NOTE: Make sure that the top edge of the new paper lines up with the top
horizontal perforation of the last page.
8.
Lower the forms thickness lever.
9.
Press CLEAR to clear the “LOAD PAPER” fault message from the display.
10. Press ON LINE
to place the printer in online mode and resume printing.
11. Make sure the paper stacks properly.
12. On cabinet models: Open the cabinet rear door. Make sure the paper is aligned
with the label in the output area (inside the cabinet). Close the front and rear
doors.
13. Perform the following steps to test the printer:
a. Make sure that the printer top cover is open and the forms thickness
lever is lowered.
b. Press ON LINE. (The printer must first be offline to test the printer.)
c. Press UP + DOWN (
Y
+
B
)
(Allows configuration changes).
d. Press PREV (
A
)
until OFFLINE “DIAGNOSTICS” appears on the
display.
e. Press DOWN (
B
)
until DIAGNOSTICS “Printer Tests” appears on the
display.
Содержание P5005A
Страница 1: ......
Страница 7: ...Contents iv...
Страница 11: ...1 4 Introduction...
Страница 175: ...4 122 Configuration Menus...
Страница 193: ...5 18 Interfaces...
Страница 215: ...A 10 Printer Specifications...
Страница 216: ...Demand Printing B 1 B Demand Printing Overview B 2 Simple Tear B 3 Form Saver Mode B 5...
Страница 223: ...C 2 ASCII Character Set...


