14
Photo Paper
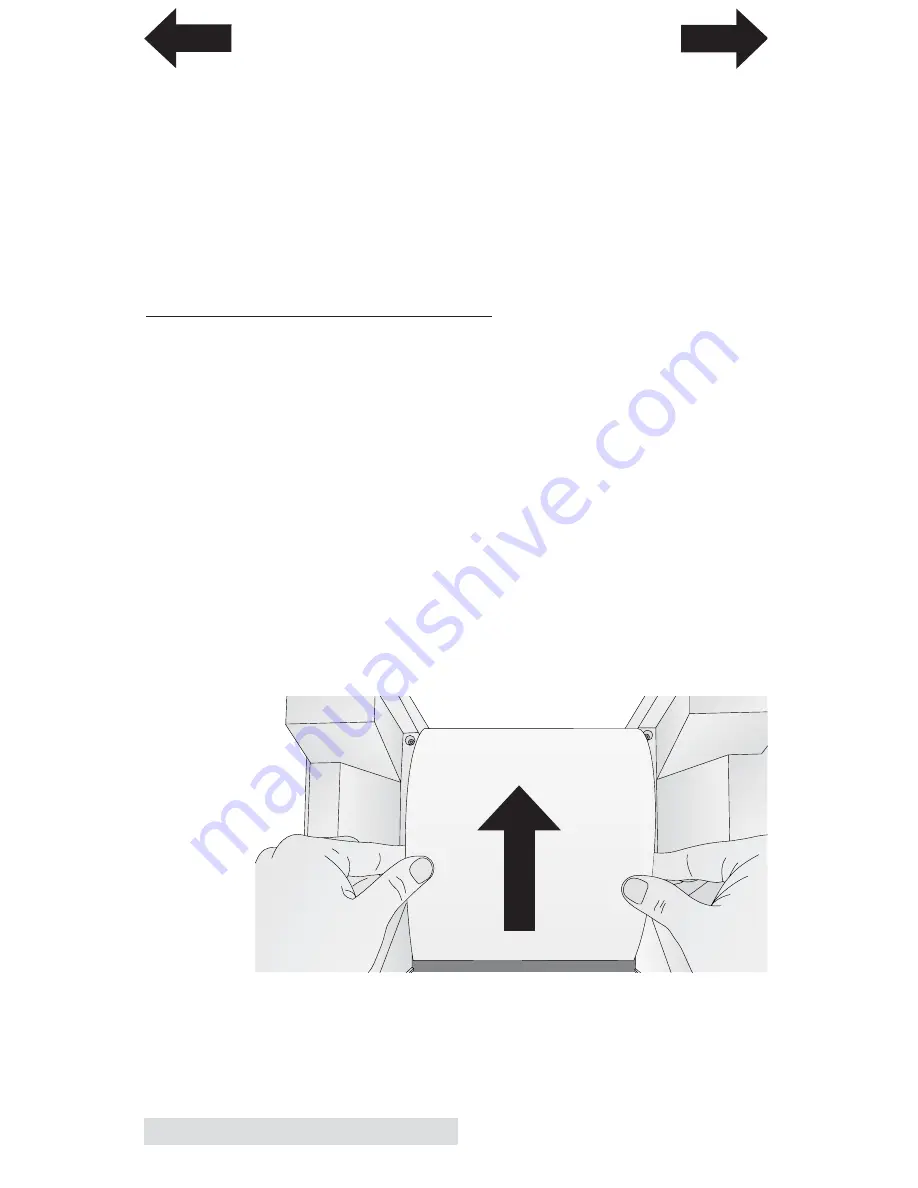
8. If the paper is not centered in the feed area or not aligned
with the pinch rollers, follow the instructions in the next
section to unload the paper. Then repeat the loading
process. Repeat until the paper is aligned.
9. Close the Cover. When the cover is closed it pressed the
pin on the left side and the smart chip on the right side
into the corresponding slots. This is especially important
when the paper is nearly empty and the roll becomes
lighter.
C. REMOVING A ROLL OF PAPER
When the paper roll is nearly empty you will receive an empty
roll message. At that point you will need to remove the paper
from the feed area and remove the roll. You may also find it
necessary to remove the paper from the feed area if the paper
is out of alignment. Follow these instructions to remove the
paper and the roll.
1. Open the top cover.
2. Place your index fingers on each side of the roll. Use your
thumbs to slowly turn the roll backward until the leading
edge of the roll is out of the feed area.
3. If you are installing a new roll, lift the roll out of the
printer and discard it or recycle the cardboard core and
(acetal) plastic core holders at your local recycling facility.
Important Note:
There may be several feet of unprinted paper at the end of
each roll. This is to ensure a proper slack loop can be maintained and
there will be no feeding problems. Extra paper is added to each roll to
ensure the stated length of each roll is present.
INDEX
TOC


