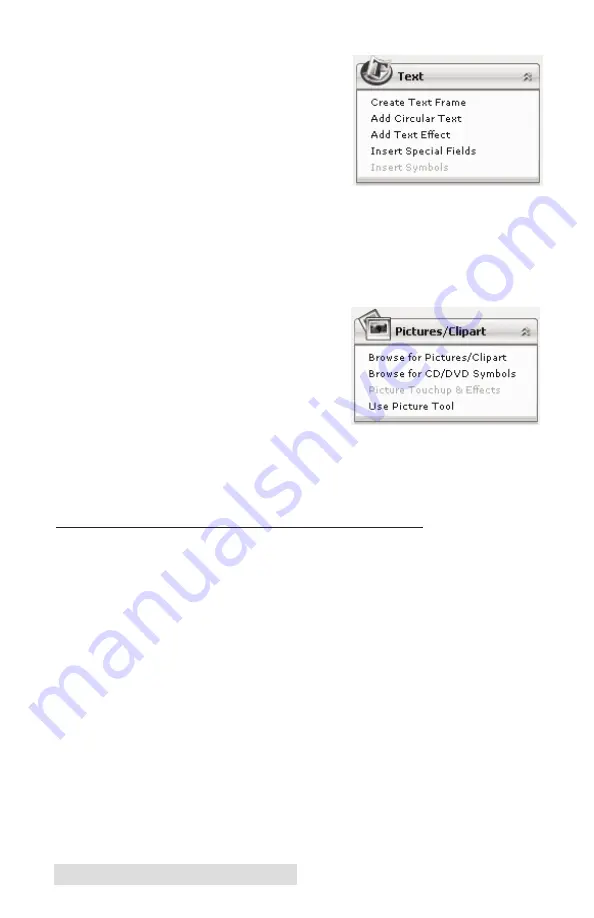
4A. Open the text panel by clicking
the arrow on the text button.
Add text by selecting one of
the options below. To create
text that follows the curve of
the disc choose Add Circular
Text.
4B. You may also choose from several SureThing smart
designs. These design templates automatically position
your text and use certain text effects to give your label a
professional look. You can easily toggle through smart
designs by using the middle toggle button on the toggle
bar below the label.
5.
Finally, Open the picture
panel by clicking the arrow
on the Pictures/Clipart but-
ton. Add any logos, graphics
or symbols to the label. These
graphics will appear on top of
the background image. You
can size them appropriately by dragging the corner of the
selected graphic.
6.
When you have completed design work save your label by
choosing Save Project in the Actions panel.
D. ADVANCED PRINTER DRIVER FUNCTIONS
Once the Publisher software has been successfully installed,
you will want to take a moment to familiarize yourself with the
printer driver settings for your Publisher. These settings affect
the print quality of your discs. The default settings of the
Publisher printer driver will fit most printing needs. Please
refer to the following steps to change or verify your printer
driver options:
1.
Click the
Start
button. For Windows 2000 point to
Settings
and click on
Printers
. For XP Professional click on
Printers
and Faxes
. For XP Home click on
Control Panel
, then click
on
Printers and Other Hardware
, then click on
Printers
and Faxes
.
22
Creating Discs on a PC
Содержание DP-XRP
Страница 4: ...iv...
Страница 62: ......
Страница 63: ......
Страница 64: ...P N 510951 Rev 110509...


