Hardware and Cable Set-Up 5
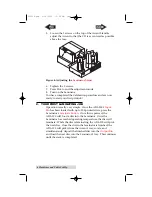
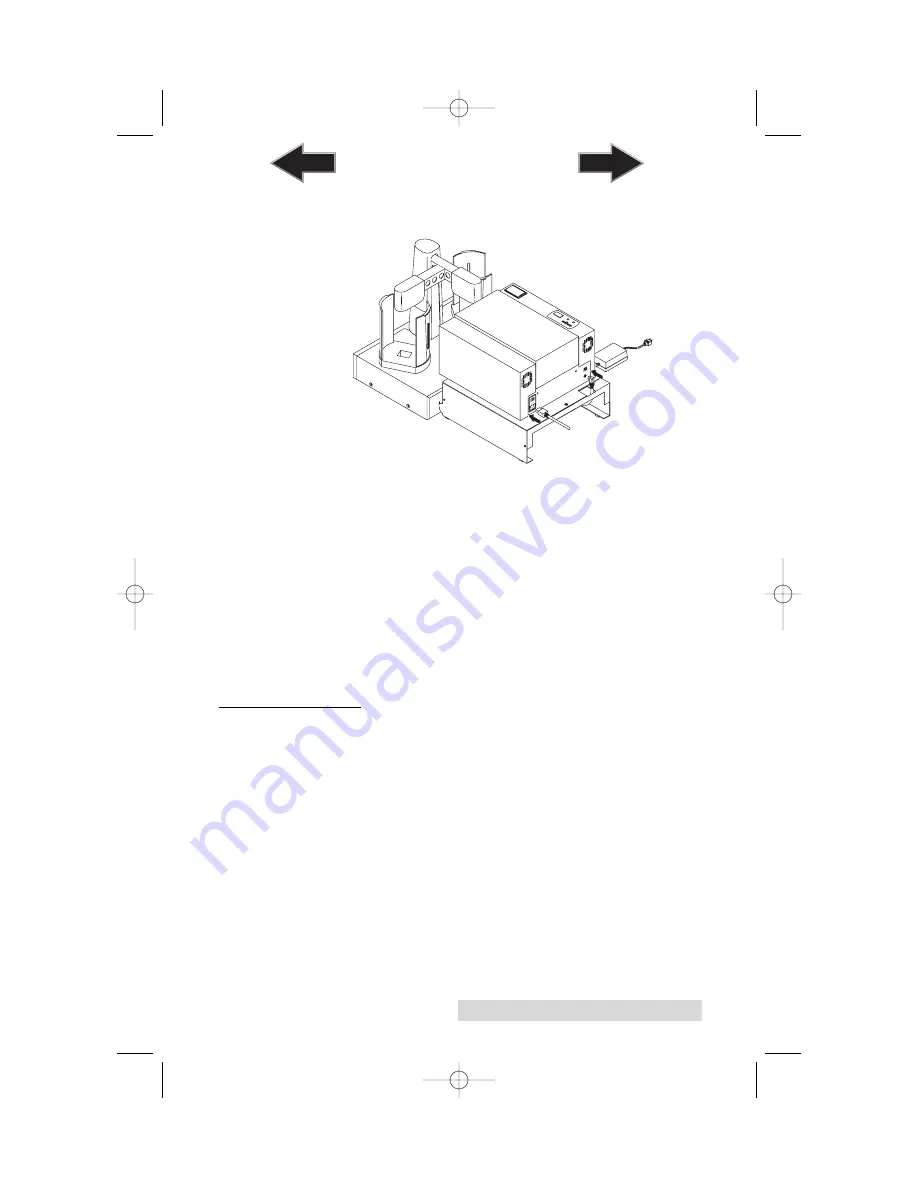
6. Connect the other end of the
Laminator Control Cable
to
the Laminator's rear-panel
6-pin mini-DIN port
.
Figure 7: Connecting the Laminator Control Cable
7. Apply power to the Laminator by connecting the
Laminator's Power Supply cord to the Laminator's rear-
panel
Power Input Port
. Connect the other end to a
suitable wall outlet.
8. Press the
Laminate Button
to eject the Laminator Tray
9.
Turn the Laminator off
. This will allow for easier
calibration.
10. With the Laminator Tray out and the Laminator turned off,
apply power to ADL-100 by plugging in the cord on the
other side of the Power Adapter to a suitable wall outlet.
B.
CALIBRATION
Please note:
To calibrate the laminator to the ADL-100, the Laminator's
Disc Tray should be in the out position and the Laminator
should be off.
1. Load the
Input Bin
with at least 4-5 CDs and place the
Output Bin
in the proper location.
2. Press the
Sequence Button
. The Input Arm should move
over the Input Bin and the Output Arm should move over
to the top of the Accent Tray.
3. Place a CD on the fingers of the Input AND Output Arms.
4. With the Accent tray extended and the Accent turned off,
press and hold the
Pick Button
for 5 seconds. This will
move the Output Arm down to the Laminator's CD tray.
510896.qxd 4/15/2004 11:50 AM Page 5
TOC
INDEX


