15
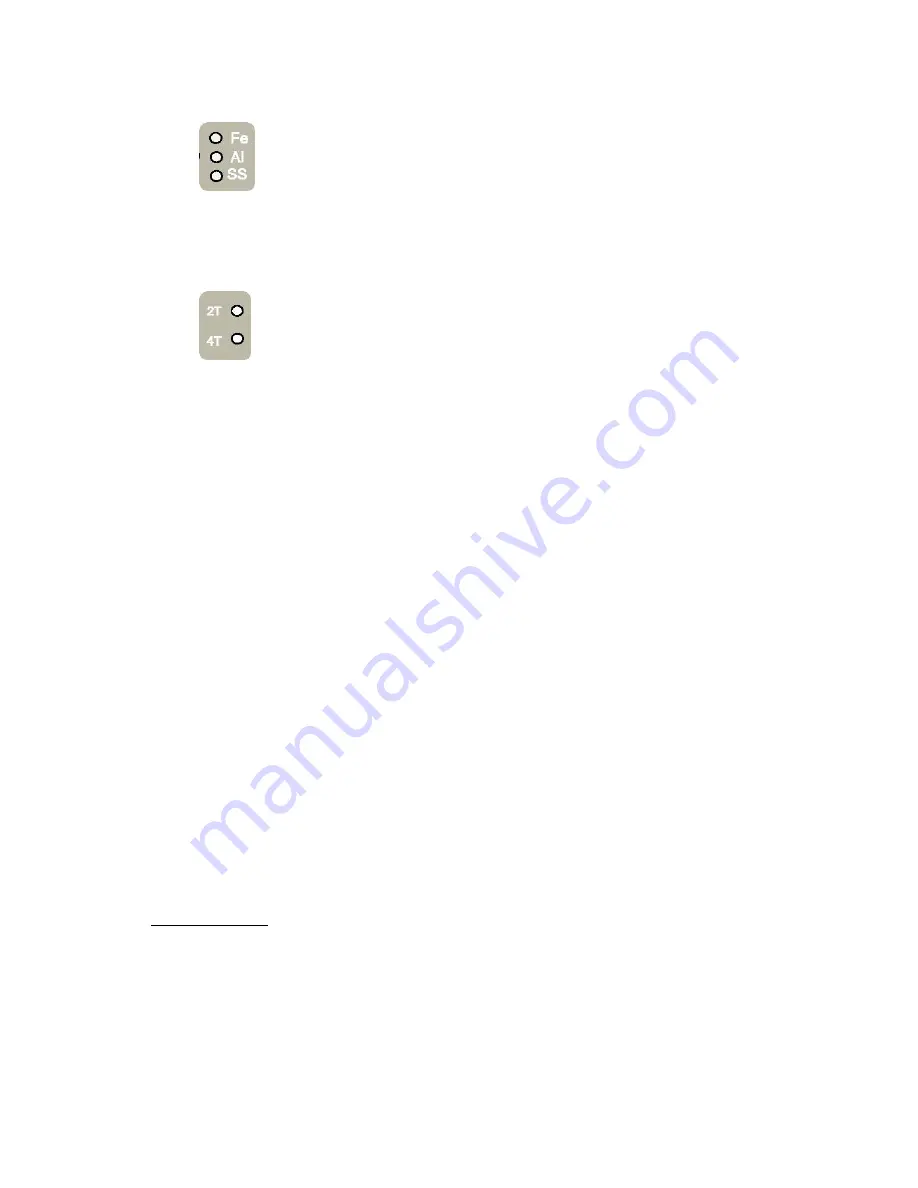
4. Select the filler wire type. Fe= Steel, Al= Aluminum, SS= Stainless Steel.
5. Select 2T or 4T function. 2T is simply press and hold the torch trigger to start and activate the
torch. 4T re-quires the trigger to be pressed to start the arc. Once started, the trigger should be released
to weld. The trigger should once again be pressed, held briefly and then released to terminate the arc when
ready.
6. If used in the manual mode (ALT), select the appropriate wire feed speed and voltage to match wire
type, and size. Listen for a steady frying sound while welding to give you a key as to when it is adjusted
properly. IF used while in Synergic mode, select the desired wire speed, and the voltage will adjust
automatically. If a minor voltage adjustment is felt like it is needed while in the synergic mode, simply turn
the volt-age knob to increase the voltage from the automatically selected setting. If more wire feed speed is
desired, the unit will default back to the automatic setting as the wire feed speed is increased or decreased.
However, manu-al control can once again be asserted over the automatic setting by simply turning the
voltage knob once again.
7. Use the Wave Form control to select the desired arc qualities, and adjust the arc qualities, whether
a stiff, penetrating arc with a narrow bead profile and slightly more spatter, or a wider, more fluid puddle that
easily wets in with low amounts of spatter. Overhead welding usually requires a more stiff penetrating arc.
Flat welding will accept a wider, more fluid puddle.
Adjust wire feed speed to suit voltage/wire diameter chosen.
Wire reel holder remove retainer screw cap and fit wire reel and refit securing screw cap. The reel holder
features an internal adjustable breaking system so that reel of wire stops quickly when torch trigger released,
other wise wire reel would continue for a few seconds causing wire to come of sides of reel and cause tangle
(birds nest)
Wire feed assembly. make sure rollers are correct size for wire diameter selected, to change rollers release
retaining knurled head screw fit rollers onto shafts making sure the right size groove is in line with wire and
refit retaining screws. Do not over tighten wire feed pressure rollers as this can cause premature motor and
roller failure. TIP: Correct way to adjust tensioners is to slacken off pressure so that wire does not feed,
slowly adjust pressure until wire feeds smoothly, you should be able to stop wire feeding by holding wire and
it should slip on rollers. If you have too little pressure wire will slip when welding causing unwanted Burnback
into tips, if you have too much pressure wire can snag in rollers when wire hits work and cause wire tangle by
rollers.
Welding operation
Once you have set machine up as per above instructions press the torch trigger to start welding, gas will
flow from torch and main welding power will start and wire feed will start and once wire has touched
Содержание POWER MTS175S
Страница 1: ...CC CV MULTI PROCESS WELDING MACHINE GMAW GTAW SMAW POWER MTS175S OPERATION INSTRUCTIONS...
Страница 19: ...19 MAIN UNIT Wiring diagram...
Страница 20: ...20...
Страница 21: ...21...
Страница 22: ...22...


