9
USB S
CANNER
I
NSTALLATION
G
UIDE
4.
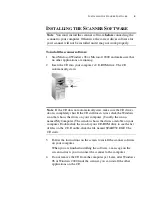
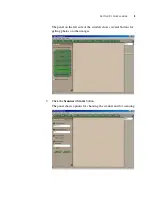
At the option
Choose a scanner
, click the drop-down arrow and
choose
USB Scanner.
The MGI PhotoSuite III SE application is now set up to scan with
your scanner.
Please see the MGI PhotoSuite III SE user’s manual for details
about the other features on the window.
5.
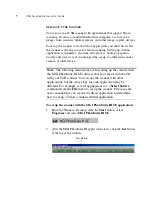
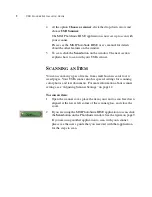
To scan, click the
Scan
button on the window. The next section
explains how to scan with your USB scanner.
S
CANNING
AN
I
TEM
You can scan many types of items, from small business cards to A4-
sized pages. Your USB scanner also has special settings for scanning
color photos and text documents. For more information about scanner
settings, see “Adjusting Scanner Settings” on page 12.
To scan an item:
1.
Open the scanner cover, place the item you want to scan face down
aligned at the lower left corner of the scanner glass, and close the
cover.
2.
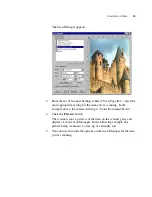
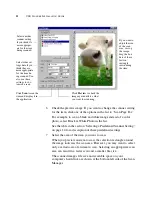
If you are using the MGI PhotoSuite III SE application to scan, click
the
Scan
button on the PhotoSuite window. See the figure on page 9.
If you are using another application to scan with your scanner,
please see the user’s guide that you received with that application
for the steps to scan.


