background image

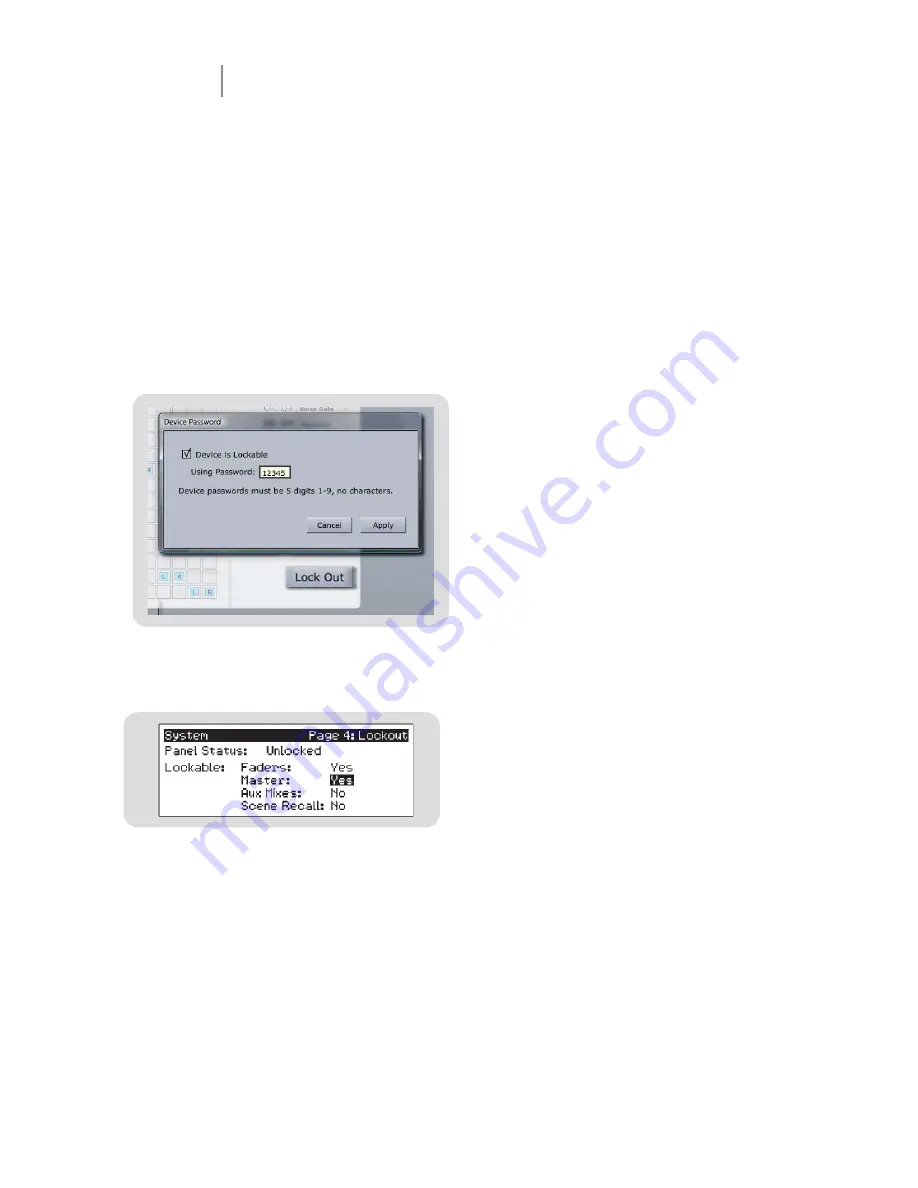
To lock your StudioLive, press the System 
button in the Digital Effects | Master Control 
section and navigate to Page 4: Lockout. Your 
StudioLive cannot be locked unless this page 
is active. If you have multiple StudioLive mixers 
connected, you only need to lock the Master 
unit to lock all mixers in the chain.

At its lowest level of security, Lockout mode allows you to freeze the current Fat Channel and effects 
settings. Faders, aux mixing, and Scene recall can still be enabled. Each of these mix functions can 
be added to Lockout mode. To lock your StudioLive, press the Select buttons that correspond to the 
5-digit password you have set. In this example, the password is 12345, so you would press the Select 
buttons for Channels 1, 2, 3, 4, and 5, in that order. The Panel Status will switch to Locked, indicating 
that Lockout mode is now active. 

To unlock your StudioLive, navigate back to Page 4: Lockout in the System menu if this page is 
not currently active. Press the same sequence of Select buttons. The Panel Status will change to 
Unlocked, and you will be able to resume your mix.

 VSL 

Virtual StuidoLive Quick Start Guide


Enabling Lockout Mode

Your StudioLive features a Lockout mode that allows you to temporarily disable nearly every feature 
on the StudioLive, although analog features (e.g., input-trim knobs, faders, and cue, tape-input, 
and monitor levels) can still be adjusted. Because of this, after unlocking your StudioLive and 
before resuming mixing, you should take a quick glance at your input trims and output levels. If you 
have locked your fader position, you will be able to recall your pre-lockout fader positions using 
the Locate button in the meter section. Until you connect your StudioLive to a computer, the mixer 
cannot be locked, so don’t worry about accidentally locking yourself out.

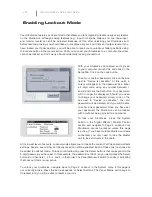
With your StudioLive connected and synced 
to your computer, launch VSL and click on the 
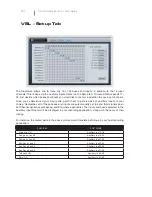
Setup Tab. Click on the Lock button. 

To set your custom password, click on the box 
next to “Device is Lockable.” At this point, a 
cursor will appear in the password box. Enter 
a 5-digit code, using any number between 1 
and 9, and click the Set button. Your password 
will no longer be displayed. Should you need 
to change your password, simply click on the 
box next to “Device is Lockable.” Your old 
password will be deleted, and you will be able 
to enter a new password. Once you have set 
your password, the StudioLive can be locked 
with or without being synced to a computer.

Содержание VSL -

Страница 1: ...all of the Scenes and presets stored on your StudioLive These stored settings can be loaded from disk or sent to and stored internally on the StudioLive You can even drag presets out of the browser a...

Страница 2: ...h Window Sample Rate Selector Changes StudioLive Sample Rate Set the sample rate to 44 1 or 48 kHz from the Launcher window when your StudioLive is connected to a computer A higher sample rate will in...

Страница 3: ...data to be converted from analog to digital and back to analog As a general rule the higher the buffer size the better the system performance but the less playable virtual instruments and the like be...

Страница 4: ...rmware A firmware updater is built into the Universal Control application Periodically a driver update will require that the firmware on your StudioLive be updated Whenever you install an update for t...

Страница 5: ...atures advanced WDM features See the next page for details Settings Always on Top Allows the Launch Window to Stay in View When Other Applications Are in Use When this is enabled the Launch window wil...

Страница 6: ...ndow will open By default WDM Outputs 1 and 2 are routed to StudioLive Channels 1 and 2 As previously mentioned we recommend that they be set instead to Channels 17 and 18 so as not to use input chann...

Страница 7: ...ransfers All Scenes Fat Channel FX and Graphic EQ Presets Stored on the StudioLive to VSL When you first launch VSL you will need to create a link between your StudioLive s internal memory and your co...

Страница 8: ...at you would like to overwrite the Scene or preset at the new position This will not immediately overwrite what is stored internally on your StudioLive it will merely overwrite what is stored in the V...

Страница 9: ...create complete snapshots of your StudioLive This can be especially useful when completing a project that may need to be revisited in the future To create a backup simply click on the Backup button T...

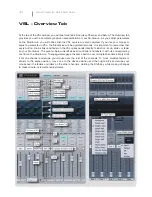
Страница 10: ...mber that every button knob slider and fader on the VSL corresponds directly to a button knob slider or fader on your StudioLive The graphic below identifies each controller and labels it with its cor...

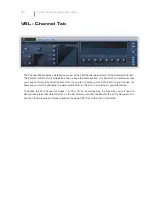
Страница 11: ...ve continuous bi directional control If you wish to grab a point in the EQ with your mouse for example you will be changing the parameters both in VSL and in real time on your StudioLive To access the...

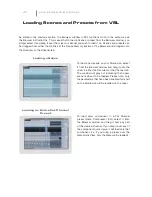
Страница 12: ...oading a Scene To load a new scene on your StudioLive select it from the Browser window and drag it over the mixer in either the Overview or the Channel tab The window will grey out indicating that a...

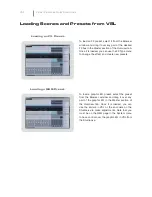
Страница 13: ...n use the FX Type menu to change the effect and create new presets Loading a GEQ Preset To load a graphic EQ preset select the preset from the Browser window and drag it over any part of the graphic E...

Страница 14: ...ls post Fat Channel dynamics processing and EQ where applicable The inputs and buses selected in the Auxiliary Input Router will be displayed in your recording application along with the name of their...

Страница 15: ...1 and 32 In addition to being available for recording via Aux In 31 and Aux In 32 these sends are normalled to the S PDIF output Capture enables you to record a stereo mix track in addition to the 16...

Страница 16: ...ling Lockout Mode Your StudioLive features a Lockout mode that allows you to temporarily disable nearly every feature on the StudioLive although analog features e g input trim knobs faders and cue tap...

Отзывы: