


3.5 Brightness Level Selection
Fig. 10 Tap the brightness icon
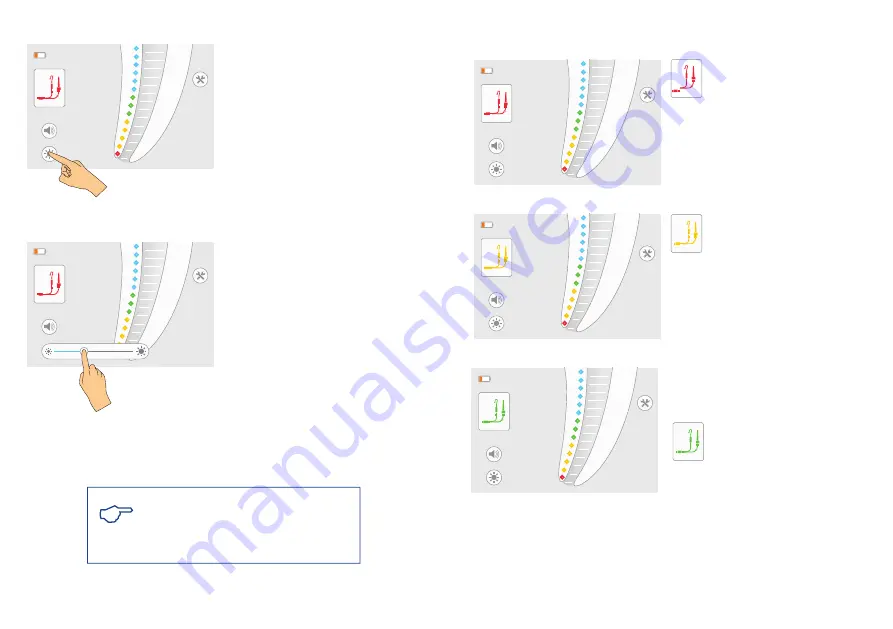
To adjust the brightness level of Apica Pro, tap
the brightness icon on the screen (Fig.10).
Fig. 11 Select the brightness level
Set status will exit after 3s automatically, or you can exit by tap any axis area directly.
Adjust the preferred brightness level (Fig.11).
Note: When Apica Pro is turned off, the selected
brightness level is stored in the device memory and is
activated automatically when the device is switched
on.
3.6 MEASURING OPERATION
3.6.1 Connecting the Device
Fig. 12 Measurement cable is disconnected
Fig. 13 Measurement circuit is open
Indicates that the measurement cable
is disconnected (Fig. 12)
• Plug the measurement cable into the receptacle
on the right side of Apica Pro.
The connector symbol will turn from red to yellow
Indicates that the measurement cable
is connected (Fig. 13)
Measurement cable is connected, you can start
the length determination, see chapter 3.6.3.
Fig. 14 Cable connection test
Optional cable connection test
The connector symbol and the lip
clip/file clip symbols will turn
green indicating proper connection
(Fig. 14).
From time to time it is recommended to check the
cables.
41
42
Содержание Apica Pro
Страница 17: ......


