Preparation
Inserting and Charging the Battery
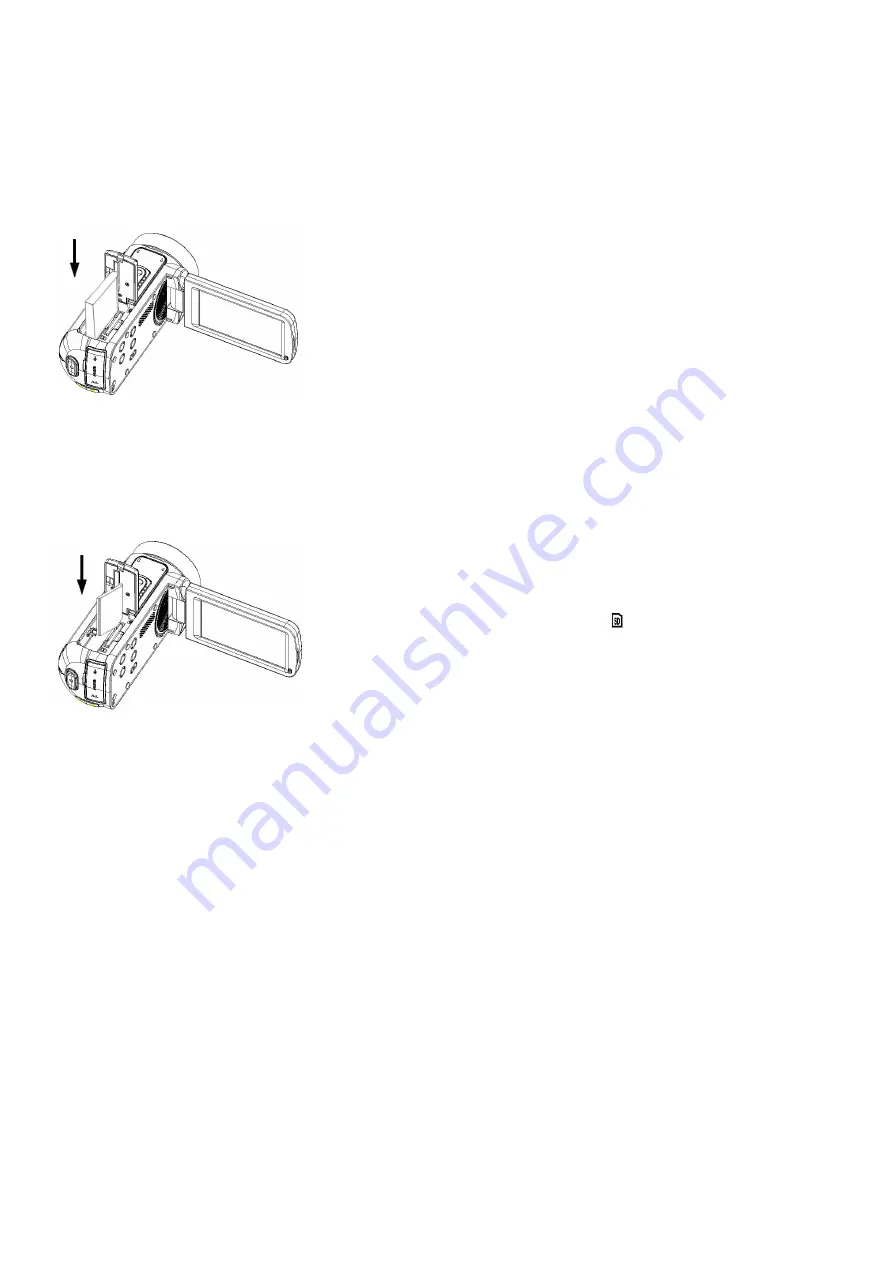
1. Slide open the battery compartment door.
2. Insert the included lithium-ion battery into the larger slot as shown in the figure. Ensure that the polarity on the battery matches the
polarity inside the battery slot.
3. To remove the battery, slide the battery latch back, and the battery will pop out from the battery compartment.
4. To charge the battery, connect your camcorder to your computer/laptop using the included USB cable. Charging will begin once the
camcorder’s screen is closed. A red indicator light will stay solidly lit while charging, and will turn off once charging is completed. Please
allow 3 hours to fully charge
5. Press the power button to power the camcorder on. The battery status icon will display in the right bottom corner of the LCD screen.
Basic Operation
Powering the Camcorder On and Off
There are two ways to power the camcorder on and off.
1. The camcorder can be powered on or off by flip-opening or flip-closing the LCD screen. Once flip-opening the LCD screen, allow the
camcorder two seconds for the CPU to initiate.
2. The camcorder can be powered on or off by pressing the power button.
Navigating the Camcorder’s Menus
You may navigate through the menus and user interface utilizing the buttons or the touch screen. The instructions below will be
outlined utilizing a combination of the physical buttons on the camcorder body and tapping of the touchscreen. You may navigate
through the menus using the W/T (zoom buttons) and the PHOTO button on the top of the camcorder when selecting a setting.
Setting the Date & Time
1. Power the camcorder on.
2. Press the MODE button to enter the main menu.
3. Tap the SETUP icon on the screen to enter the Setup menu.
4. Tap the DATE icon on the screen to enter the Date and Time setup.
5. You are presented with 3 options: Off, On and Set Date.
6. Select SET DATE by dragging up/down on the screen.Tap the green arrow key to proceed.
7. You are presented with 6 columns, each signifying the following format:
HH : MM : SS DD : MM : YYYY
8. Drag up/down on the screen in each column until you have completely entered your desired time and date.
9. Once complete, tap the green arrow key to confirm and save the setting.
10. Tap the green arrow key on the bottom to revert back to your main viewing screen.
Inserting a Memory Card
1. Slide open the battery compartment door.
2. Insert an SD card into the smaller slot as shown in the figure below. Ensure that the direction of insertion is correct.
3. Once it is inserted correctly, you will hear an audible click. Do not try to force the SD card into the slot. It can only be inserted one way.
4. To remove the SD card, press down on the card again and the card will pop out from the memory card slot.
Note:
• When the camera is off or the battery is removed, the photos and videos
saved to the internal memory will not be retained on the next power cycle.
• It is recommended to export the photos and videos saved in your camera to
your computer periodically.
• Remove the battery if you will not use your camcorder for a long time.
Note:
The maximum capacity and speed memory card compatible with your
camcorder is 64GB, class 10.
When an SD card is properly inserted, an icon will display on the LCD
screen, indicating that the SD card is correctly installed and that all the photos
and videos you take or shoot will be saved onto the external SD card, rather
than the internal memory.
3


