V4.0
Metal Punch Kit
8639106
Visit www.princessauto.com for more information
5
Contents:
•
Hex ratchet wrench, 1/2 in.
•
Socket, 19 mm
•
Round punches and dies (see Specifications)
•
Draw stud with bearing, 3/8 in. 24UN
•
Draw stud with bearing, 3/4 in. 16UN
OPERATION
Dashed numbers in parenthesis (Fig. 1-1) refer to a specific point in an
illustration or image.
Each conduit punch has the metric diameter listed on the side. This indicates the
hole size that the punch will create. See Specifications for the diameter in inches.
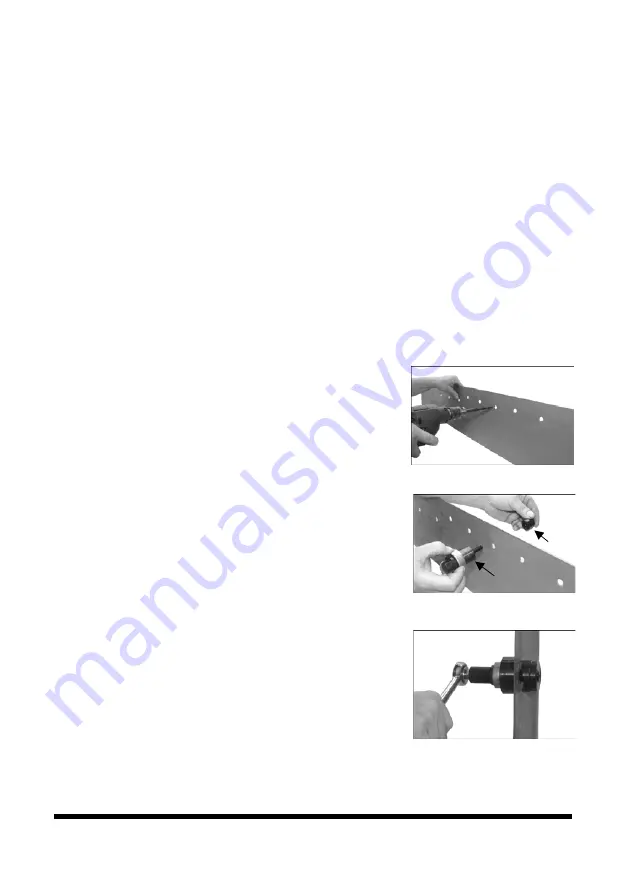
1. Choose the conduit punch size to apply to the workpiece.
a. Drill a 3/8 in. pilot hole if choosing the
57/64 in. punch (Fig. 1).
b. Drill a 3/4 in. pilot hole if choosing the
1-1/8 in. or larger punch (Fig. 1).
2. Separate the punch from the cutting die. Slide
the punch onto the draw stud that matches the
pilot hole with the cup side facing the material
(Fig. 2-1). Insert the draw stud through the pilot
hole (Fig. 2-1). Screw the punch onto the draw
stud with the cutting blades facing the
workpiece (Fig. 2-2). Tighten by hand until the
blades touch the workpiece
3. Place the 19 mm socket over the end of the
draw stud. Click the ratchet’s driver into the
socket (Fig. 3).
4. Turn the draw stud for force the blades to cut
through the material. Continue turning until the
punch completes the hole. The punch unit
(punch, die and draw stud) may fall free, toward
the die side, when the hole is complete.
Fig. 1
Fig. 2
2-1
2-2
Fig. 3


