


Working with this program
15
All rights are reserved.
·
Double-click the icon
on the desktop.
For Mac OS:
·
Double-click the icon
in
Finder
>
Applications
>
Plustek
>
Your scanner
model name
.
·
Click the icon
in the Dock.
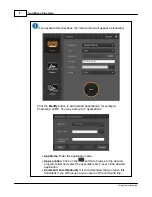
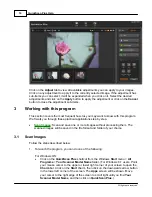
2.
You will be greeted by the
Scan
screen. Select your desired scan mode by clicking
on one of the buttons on the left. Adjust the scan settings in the middle if necessary.
Insert your film tray and click on the
Scan
button when you are ready to scan.
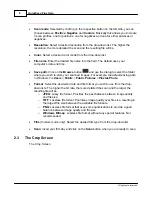
3.
A progress bar will be shown while the scan is being performed. After the scan is
completed, the
View
screen will be shown. Please skip to step 5.
4.
The
Crop
screen will be shown if you selected the
Custom
scan mode or when
automatic framing and cropping failed. Adjust the crop area using click and drag,
and add or delete areas by clicking on the respective buttons. When you are done
adjusting the crop areas, click on the
OK
button. You will be taken to the
View
screen.
5.
Click on the
Save
button, your images are already saved and can be found in the
folder you set under
Save path
on the
Scan
screen.
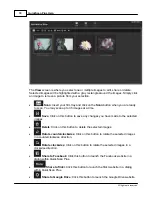
You may select one or multiple images to delete, rotate or share at the same time.
Selected images will be highlighted with a gray rectangle around the images. Simply click
an image to remove a picture from your selection. Click on the
Edit
button above the
frames to switch to the
Edit
screen to apply various filter effects and make more detailed
adjustments to your images.