


QuickScan Plus Help
8
All rights are reserved.
·
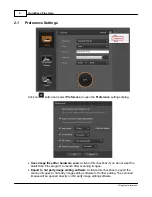
Scan mode
: Selected by clicking on the respective button on the left side, you can
choose between
Positive
,
Negative
and
Custom
. Basically this allows you to create
3 scan profiles; one for positives, one for negatives and one for either positives or
negatives.
·
Resolution
: Select a desired resolution from the drop-down list. The higher the
resolution, the more detailed the scan and the resulting file will be.
·
Color
: Select a desired color mode from the drop-down list.
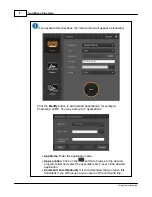
·
File
name
: Enter the desired file name into the field. The default uses your
computer's date and time.
·
Save
path
: Click on the
Browse
button
and use the dialog to select the folder
where you wish to store your scanned images. For example, the default saving path
in Windows 7 is
Users
>
Public
>
Public Pictures
>
Plustek Photo
.
·
Format
: Select the desired bit rate and file format you wish to use from the drop-
down lists. The higher the bit rate, the more detailed the scan and the larger the
resulting file will be.
o
JPEG
: Lossy file format. Provides the best balance between image quality
and file size.
o
TIFF
: Lossless file format. Prioritizes image quality over file size, resulting in
the largest file size between the available file formats.
o
PNG
: Lossless file format that uses some optimizations to provide a good
balance between image quality and file size.
o
Windows Bitmap
: Lossless file format without any special features. Not
recommended.
·
Film
(Custom mode only): Select the desired film type from the drop-down list.
·
Scan
: Insert your film tray and click on the
Scan
button when you are ready to scan.
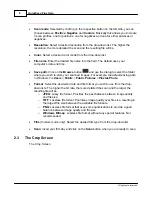
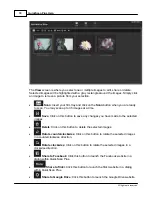
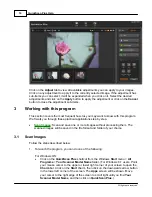
2.3
The Crop Screen
The Crop Screen