10
7. Click “Login” to enter the system.
Attention
The “admin” and “admin” are the default user name and
password for your first login of the NVR as Administrator. Please
change the default password as soon as possible. To change
the password, please refer to the section “
”.
Log in to the NVR - Method II. - by using the Internet Explorer (IE)
When you connect the NVR to the LAN with a static IP address, you may log in to the
NVR by directly entering the IP address in the IE Address Bar.
Information
If you are provided with a dynamic IP address in an
organization’s network, please refer to the “
” section for more instructions.
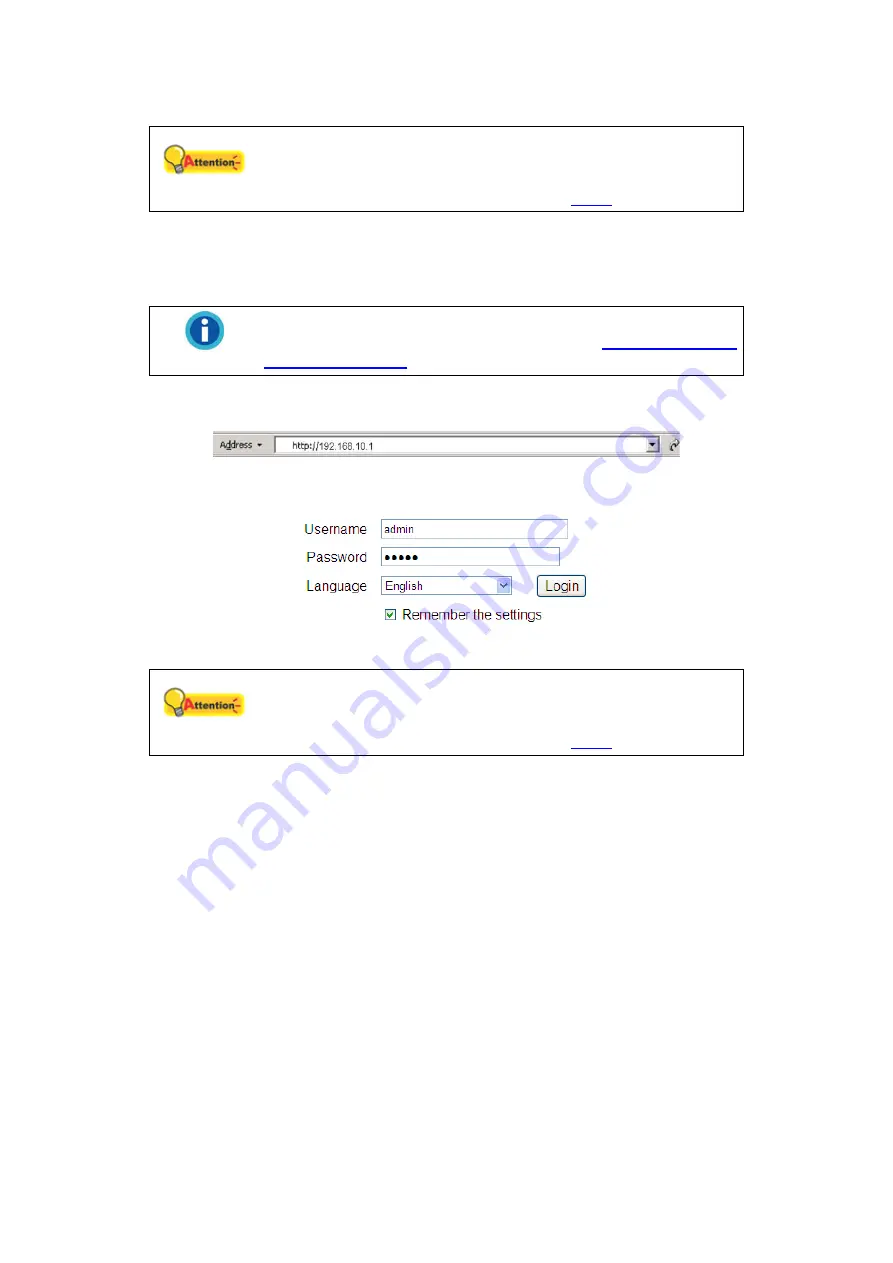
1. Start the Internet Explorer, enter the IP address of the NVR in the IE address bar,
and press “Enter“ on the keyboard to launch the System Login page.
2. The System Login page is displayed. You may choose the system language from
the drop-down list.
3. Enter “admin” as your user name, “admin” as your password and click “Login”.
Attention
The “admin” and “admin” are the default user name and
password for your first login of the NVR as Administrator. Please
change the default password as soon as possible. To change
the password, please refer to the section “
”.
Log in to the NVR - Method III. - by using EasyLink and UDID
The EasyLink program allows you to easily connect to your NVR from any computer
using the NVR’s
U
nique
D
evice
Id
entification (UDID).
1. Connect a USB drive to the NVR.
2. Press the “Multi-function” button.
3. The NVR will beep and copy the files required to establish a connection via
EasyLink to the USB drive (including a .bmp file containing a QR-code image with
the UDID).
4. The NVR will beep twice to indicate that the files have been copied successfully.
Please wait 5 seconds before removing the USB drive from the NVR, and then
connect it to any desired computer.
5. Launch the EasyLink.exe file on your USB-drive. The UDID will be loaded
automatically. If you are prompted to allow the program through the Windows
Firewall, please click on the “Allow access” button to allow it.
6. Click on the “Create Tunnel” button.
Содержание NVR Slim380Pro
Страница 1: ...Setup Configuration Technical Guides ...


