


Operating in YCbCr/VGA/DVI mode
Plasma Screenland
04/07
13
En
Operating in YCbCr/VGA/DVI mode
Settings
Note:
To open the menu, first switch the remote control
to PC mode by pressing the Mode 37 button (TV
and DVD LEDs light up simultaneously).
Menu overview
1.
Pressing the menu button 34 opens the picture set-
tings menu.
2.
Pressing the menu button 34 repeatedly displays the
different menus available.
9300
BRIGHT
40
A
B
C
D
Menu
A
Picture settings
B
System settings
C
Adjustment (only available in VGA mode)
D
PIP (only available in VGA and DVI mode)
3.
Pressing the menu button 34 again closes the menu.
Navigating within the menu
You can select the individual menu items by pressing the ar-
row buttons 15 on the remote control.
You can modify individual values by pressing the arrow but-
tons 31 on the remote control.
See menu structure in the appendix on page 17
Menu picture settings
9300
BRIGHT
40
1
2
3
4
5
6
Menu Settings
1
Brightness
2
Contrast
3
Colour
4
Tone
5
Hue
6
Temperature: Warm/cold colour setting to match
colour reproduction
Modify values by pressing the arrow buttons 31 on the remote
control. Press the menu button 34 to exit the menu and save
your settings.
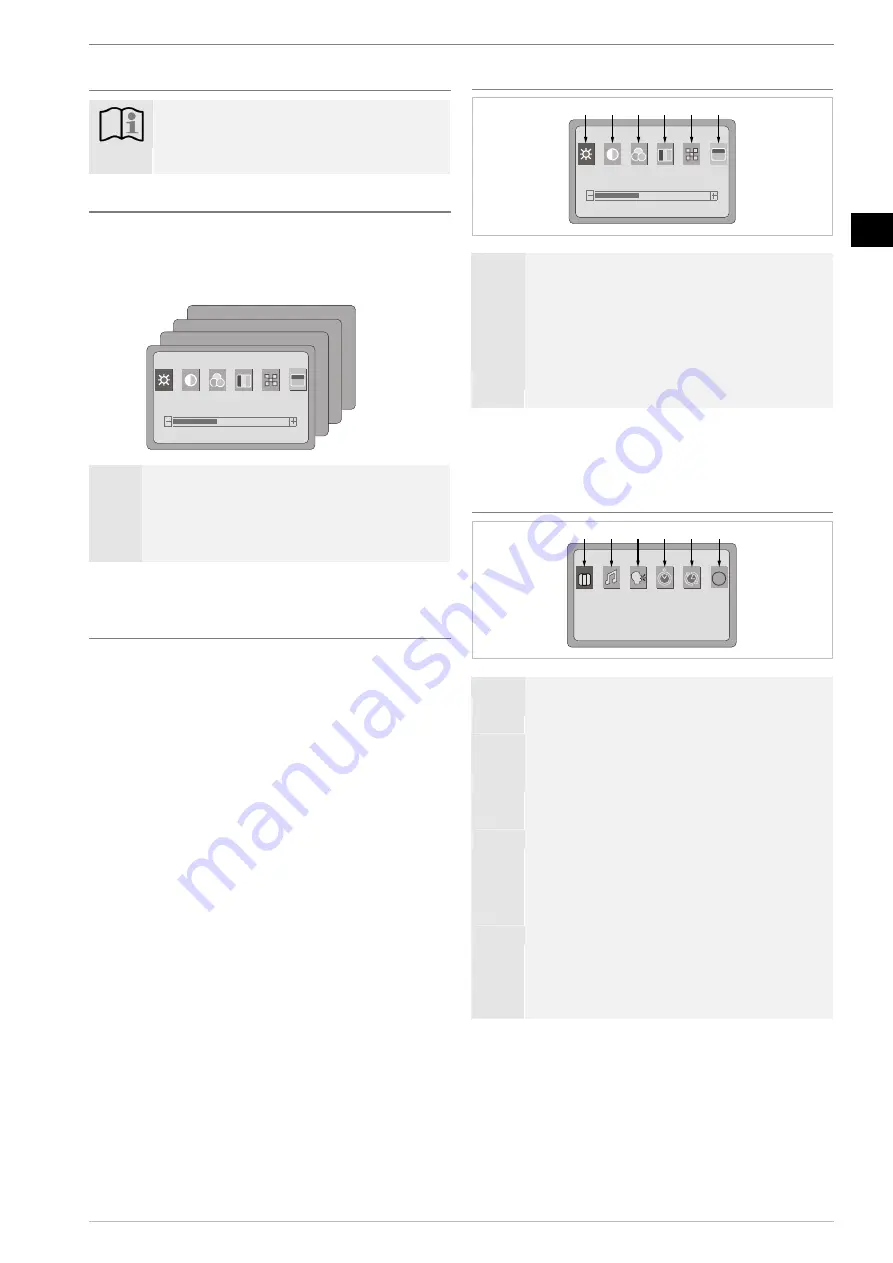
Menu system settings
R G B
OFF
COLOR SYS
NO USE
1
2
3
4
5
6
Menu Settings
1
Standard: Country-specific standard TV settings
AUTO, PAL, NTSC 3.58, NTSC 4.43, SECAM
2
Sound mode: currently no function
3
Language: OSD language setting
4
Clock: Set the system time via the numerical buttons
36 on the remote control,
Format: --:-- (hh:mm)
5
Time ON: Set the automatic switch-on time via the
numerical buttons 36 on the remote control, format: -
-:-- (hh:mm)
The unit automatically switches on after the entered
time.
6
Time OFF: Set the automatic switch-off time via the
numerical buttons 36 on the remote control, format: -
-:-- (hh:mm)
The unit automatically switches off after the entered
time.
Modify the values in menus 1-3 by pressing the arrow buttons
31 on the remote control. Press the menu button 34 to exit the
menu and save your settings.


