Ingress Priority Session Wall, Sniffer Pro or Netxray.
802.1p priority 802.1p priority=7:0: allow assign high and low on each priority.
Table 3-8
Descriptions of the QoS Configuration Screen Objects
After setup is complete, press
"Esc"
key to return to Actions menu and use the
"Tab"
key to choose the
<Save>
for saving
the current configuration. The screen in figure 3-29 appears with message
"Operation completed successfully!"
Figure 3-29
QoS Configuration save successfully screen
3.2.9 Bandwidth Control
Press 7
on your keyboard or use the
"Tab"
key to move the highlight to the Bandwidth control and press
"Enter"
to access
the screen of
Bandwidth control
from the
Main Menu
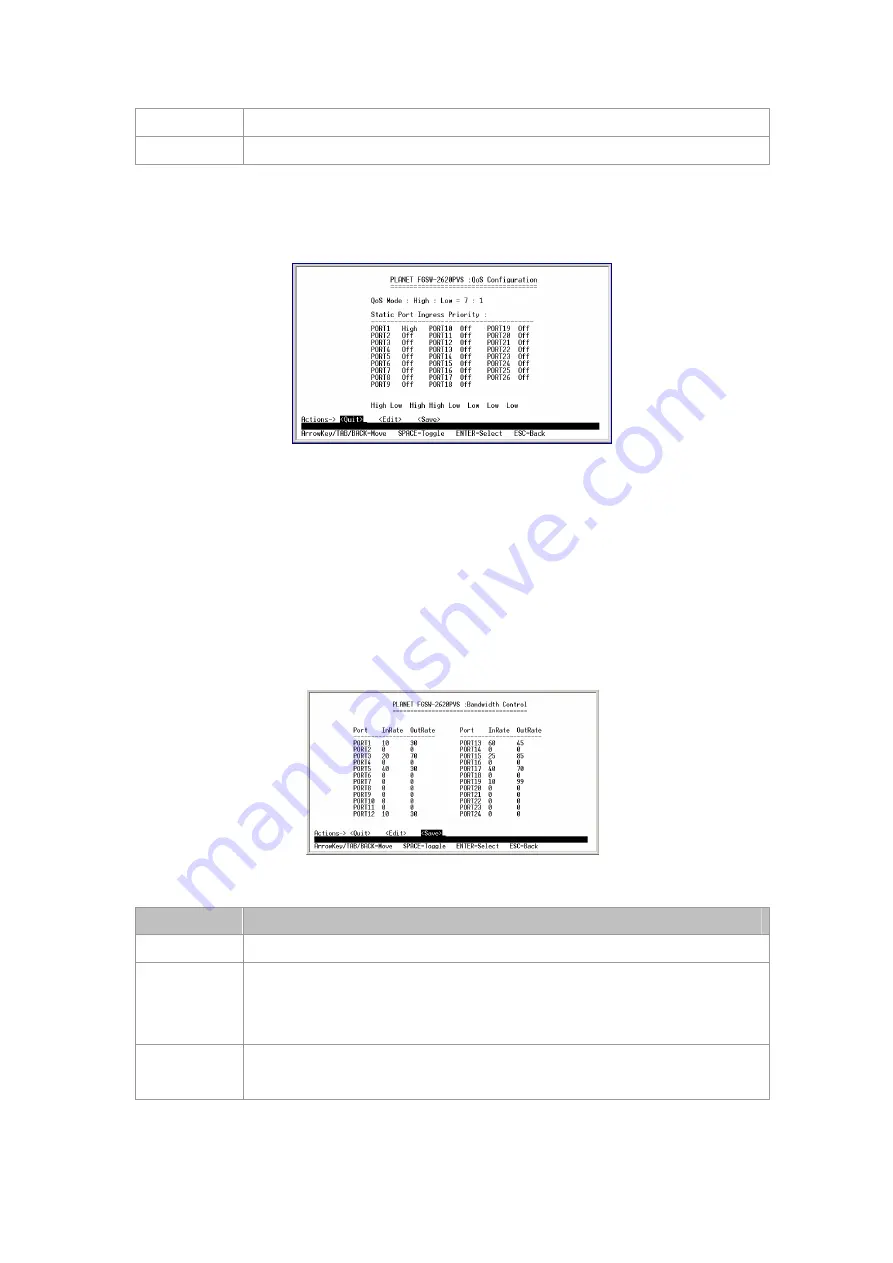
screen (please see the figure 3-4). Table 3-9 shows the descriptions
of the
Bandwidth control
screen Objects. Use the "Tab" key to choose the
<Edit>
, and start to modify these settings. The
screen of Bandwidth control in figure 3-30 appears.
Figure 3-30
Bandwidth Control setting Screen
Object
Description
Port
Indicate port 1 to port 24
InRate
Allow user to input the value of packet rate sent from the connected port to this port.
You must enable the flow control feature of this port for the function to work normally.
The available value ranges from 1 to 99.
OutRate
Allow user to input the value of packet rate sent from this port to the connected port.
The available value ranges from 1 to 99.
Table 3-9
Descriptions of the Switch Information screen Objects
After setup is complete, press
"Esc"
key to return to Actions menu and use the
"Tab"
key to choose the
<Save>
for saving
the current configuration. The screen in figure 3-31 appears with message
"Operation completed successfully!"


