008-0159-00A
6
2013
Portrait Mode Installation
1.
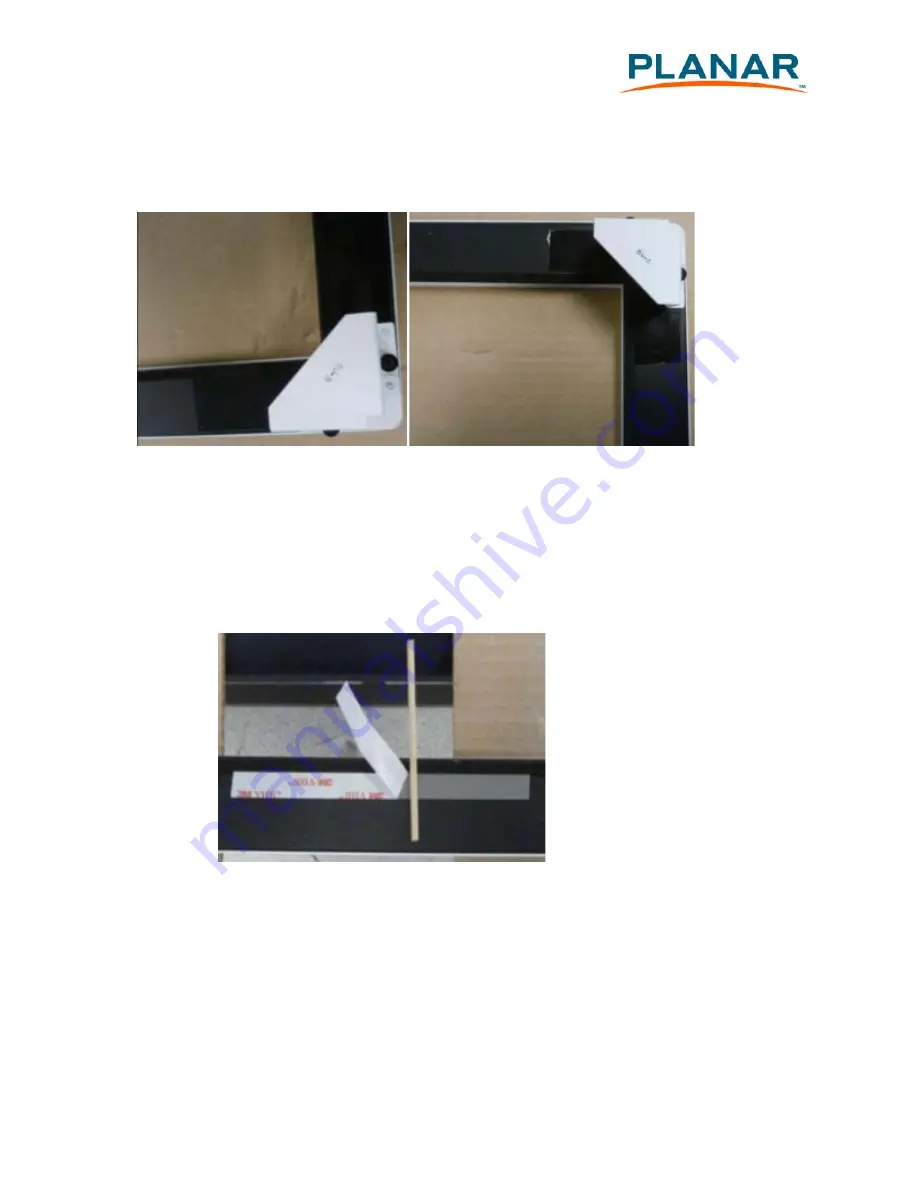
Attach one “A” bracket to the upper right corner of the touchscreen and one “B” bracket to the lower
right corner of the touchscreen. Upper right and lower right are when viewing the back of the
touchscreen. Lower right is the corner with the USB and power cable.
2.
Remove the adhesive liners from the VHB (Very High Bond) tape along the back of the touchscreen.
Caution:
The VHB tape has an extremely high tack adhesive surface. Handle with extreme care when the
adhesive handle is exposed.
3.
Tack on the provided dowels to the VHB tape so you can remove it from the front. The dowels will
prevent accidental “sticking” and allow centering and adjustment of the touchscreen during
installation.
4.
Hang the touchscreen onto the display using the two brackets. Swing the bottom of the touchscreen
out slightly at a small angle to prevent the touchscreen from sticking to the display.
5.
Center the touchscreen using the lighted display’s active area as a guide.
6.
Once satisfied with the touchscreen position, completely remove the liner from the VHB and remove
the dowels starting from the top. Ensure the touchscreen does not move while removing the dowels.
7.
Press on top of the tape location to bond the top of the touchscreen to the top of the display.
8.
Remove the dowels on both sides of the touchscreen. Ensure that the touchscreen does not move while
removing the dowels. Press on top of the tape location to bond the touchscreen to the display.


