


9
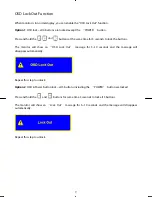
OSD Lock Out Function
When monitor is in normal display, you can enable the “OSD Lock Out” function.
Option 1
: OSD lock – all 4 buttons are locked except the
“
POWER
"
button.
Press and hold the
,
and
buttons at the same time for 3 seconds to lock the buttons.
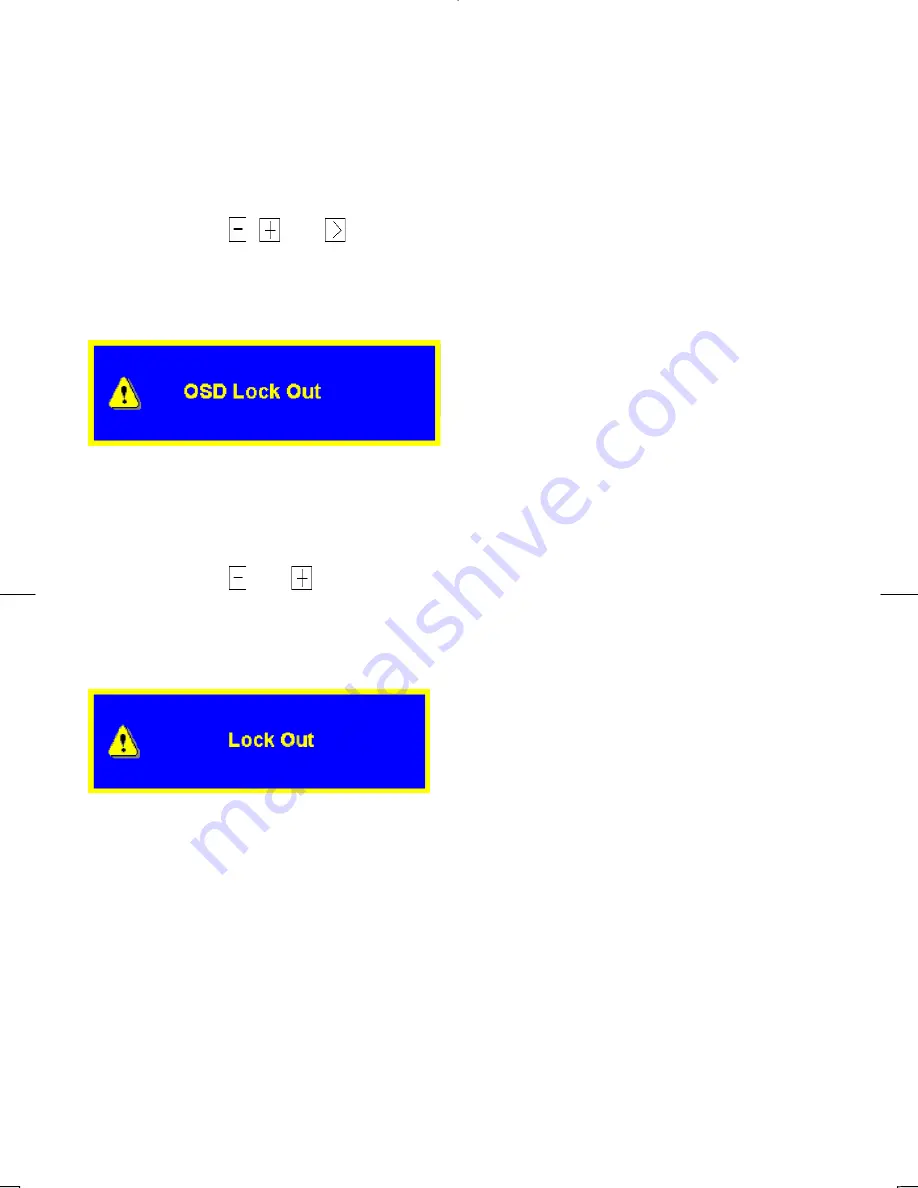
The monitor will show an
“
OSD Lock Out
"
message for 5~10 seconds and the message will
disappear automatically.
Repeat this step to unlock.
Option 2
: OSD & Power button lock – all 5 buttons including the
“
POWER
"
button are locked.
Press and hold the
and
buttons for same time 3 seconds to lock all 5 buttons.
The monitor will show an
“
Lock Out
"
message for 5~10 seconds and the message will disappear
automatically.
Repeat this step to unlock.