


16
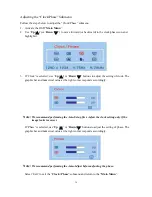
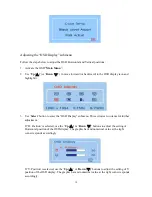
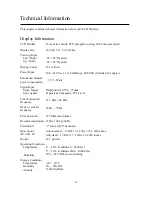
Adjusting the “Clock/Phase” Submenu
Follow the steps below to adjust the “Clock/Phase” submenu:
1.
Activate the OSD “
Main Menu
”.
2.
Use ‘
Up (
△
)
’ (or ‘
Down (
▽
)
’) to move forward (or backward) to the clock/phase icon and
highlight it.
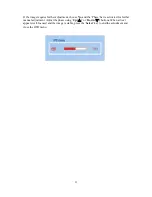
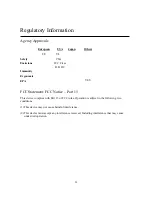
3.
If ‘Clock’ is selected, use ‘
Up (
△
)
’ or ‘
Down (
▽
)
’ buttons to adjust the setting of clock. The
graphic bar and numerical value at the right corner responds accordingly.
Note:
We recommend performing the Auto-Setup first. Adjust the clock setting only if the
image looks incorrect.
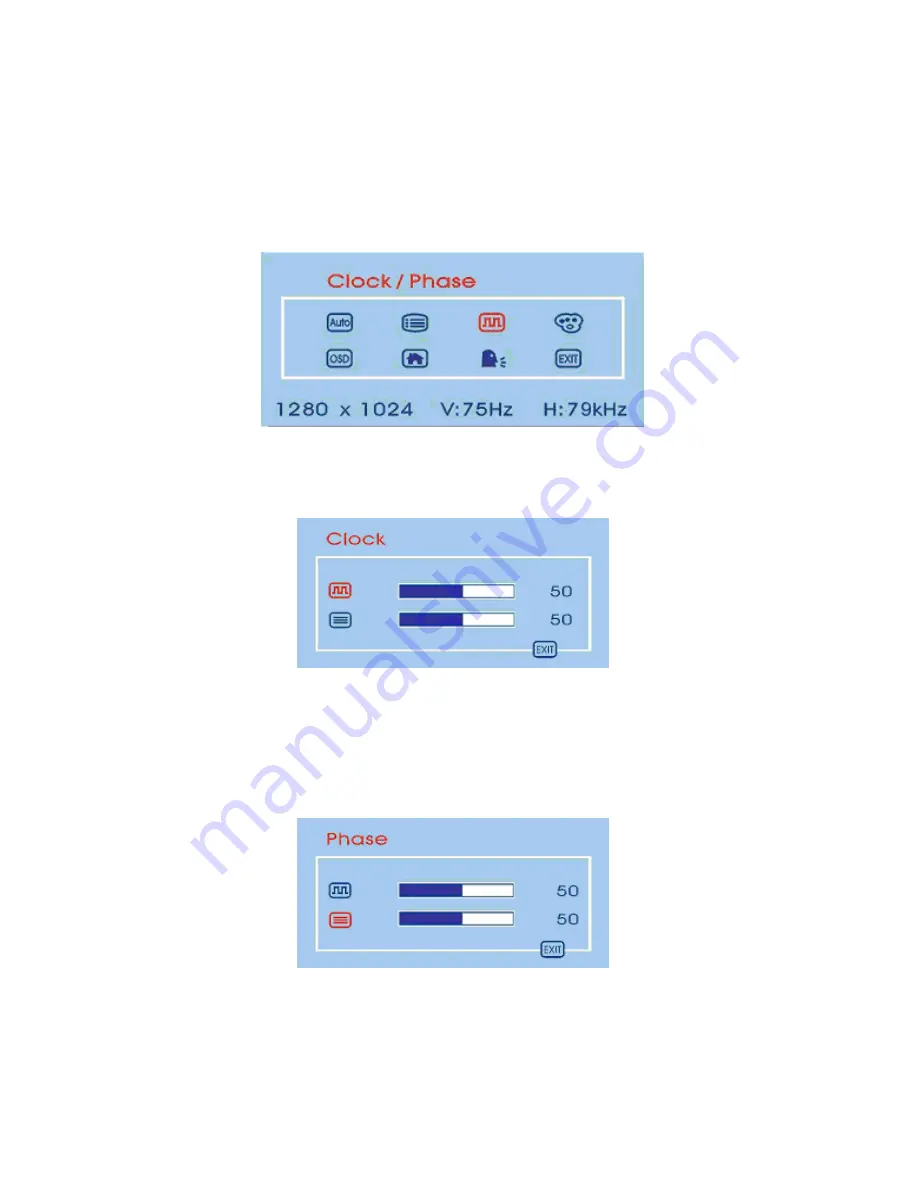
If ‘Phase’ is selected, use ‘
Up (
△
)
’ or ‘
Down (
▽
)
’ buttons to adjust the setting of phase. The
graphic bar and numerical value at the right corner responds accordingly.
Note:
We recommend performing the Auto-Adjust before adjusting the phase.
Select ‘Exit’ to exit the “
Clock / Phase
” submenu and return to the “
Main Menu
”.