Page 4
For technical questions, please call 1-888-866-5797.
Item 69259
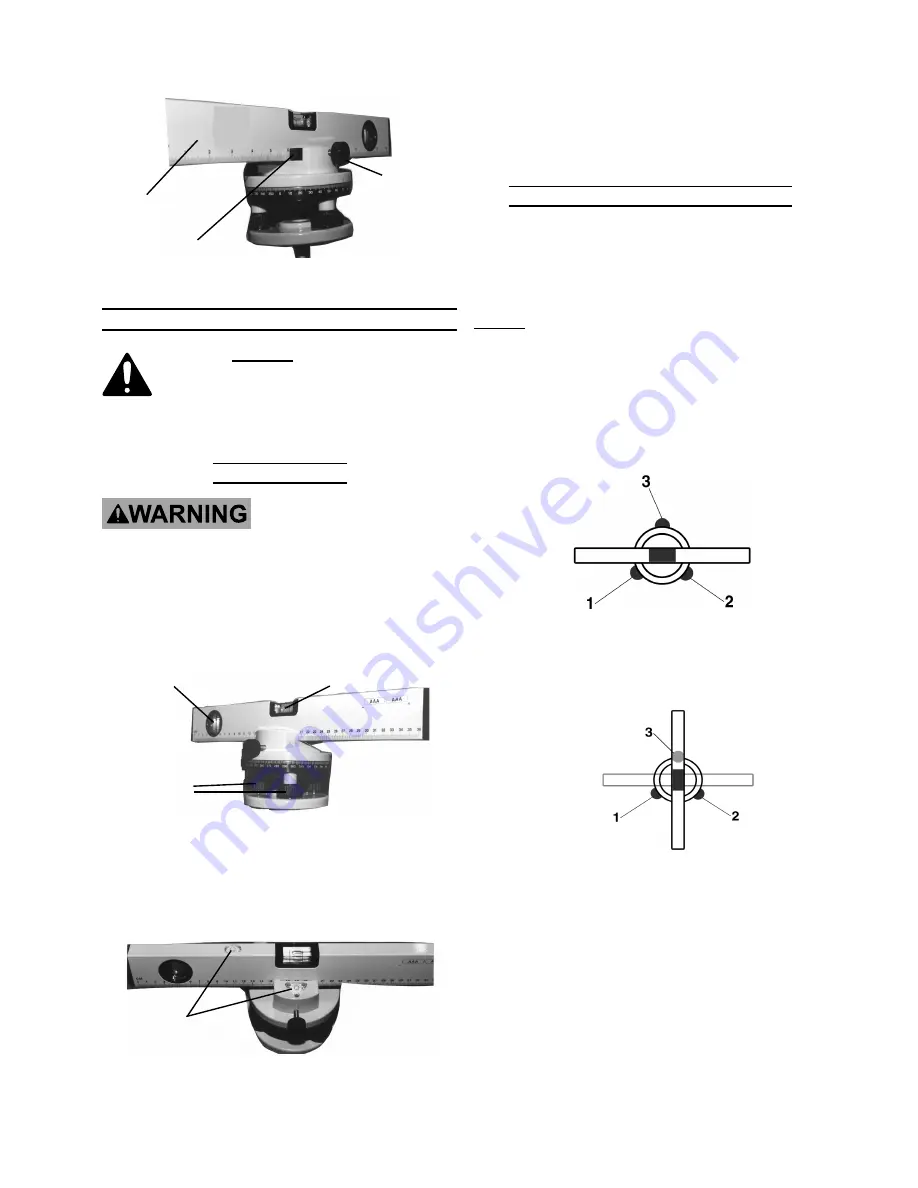
the Knob (14) on the top of the Tripod
to secure the Body in place.
Knob (14)
Body (5)
Figure 3
Tripod slot
OPERATING INSTRUCTIONS
Read the ENTIRE IMPORTANT
SAFETY INFORMATION section at the
beginning of this manual including all
text under subheadings therein before set up
or use of this product.
Initial Leveling
TO PREVENT SERIOUS INJURY FROM
ACCIDENTAL OPERATION: Turn Power
Switch to Off before adjusting Level.
1. Turn the three Adjusting Knobs (16) one at a
time to level the Rotating Head (7).
See Figure 4, below.
Adjusting
Knobs (16)
Vertical Bubble (3)
Figure 4
Horizontal Bubble (4)
2. Keep turning the Adjusting Knobs (16)
until the Bulls-Eye Bubbles (19)
float exactly in the center of the
circle. See Figure 5, below.
Bulls-Eye
Bubbles (19)
Figure 5
3.
NOTE:
The Bulls-Eye Bubbles (19) are
intended for initial leveling of the Rotating
Head (7) only. After placing the Body (5)
into the tripod slot, further leveling should be
done using the Horizontal Bubble (4) as a
reference. See Figure 4 on preceding page.
General Operating Instructions
1. Designate a work area that is clean
and well-lit. The work area must not
allow access by children or pets to
prevent distraction and injury.
NOTE:
The numbers indicated in
Figures 6a and 6b are for reference only.
The Laser Level knobs are not numbered.
2. Set the level parallel to knobs ‘1’ and
‘2’ as shown in Figure 6a below. Adjust
knobs ‘1’ and ‘2’ until the Horizontal
Bubble (4) is in the center.
Figure 6a
Top View
3. Turn the level 90°. It should now be over
knob ‘3’ as shown in Figure 6b below.
Figure 6b
Top View
4. Adjust knob ‘3’ until the Horizontal
Bubble (4) is again in the center.
5. Turn Level back 90°, to the position as
shown in Figure 6b. The Horizontal
Bubble (4) should still be in the center.
If it is not, repeat the steps above. If,
after repeated attempts, the Level is still
uneven check all mountings to ensure
nothing is loose and that the Body (5)
is properly seated in tripod slot.


