3-16
SV61027 Rev. D
3 • DA700/DA750 Features and Adjustments
Once your printer is set up, you can load material and make
a test print.
To avoid misfeeds, follow these instructions:
1. Make sure the input area is free of dust and other
matter.
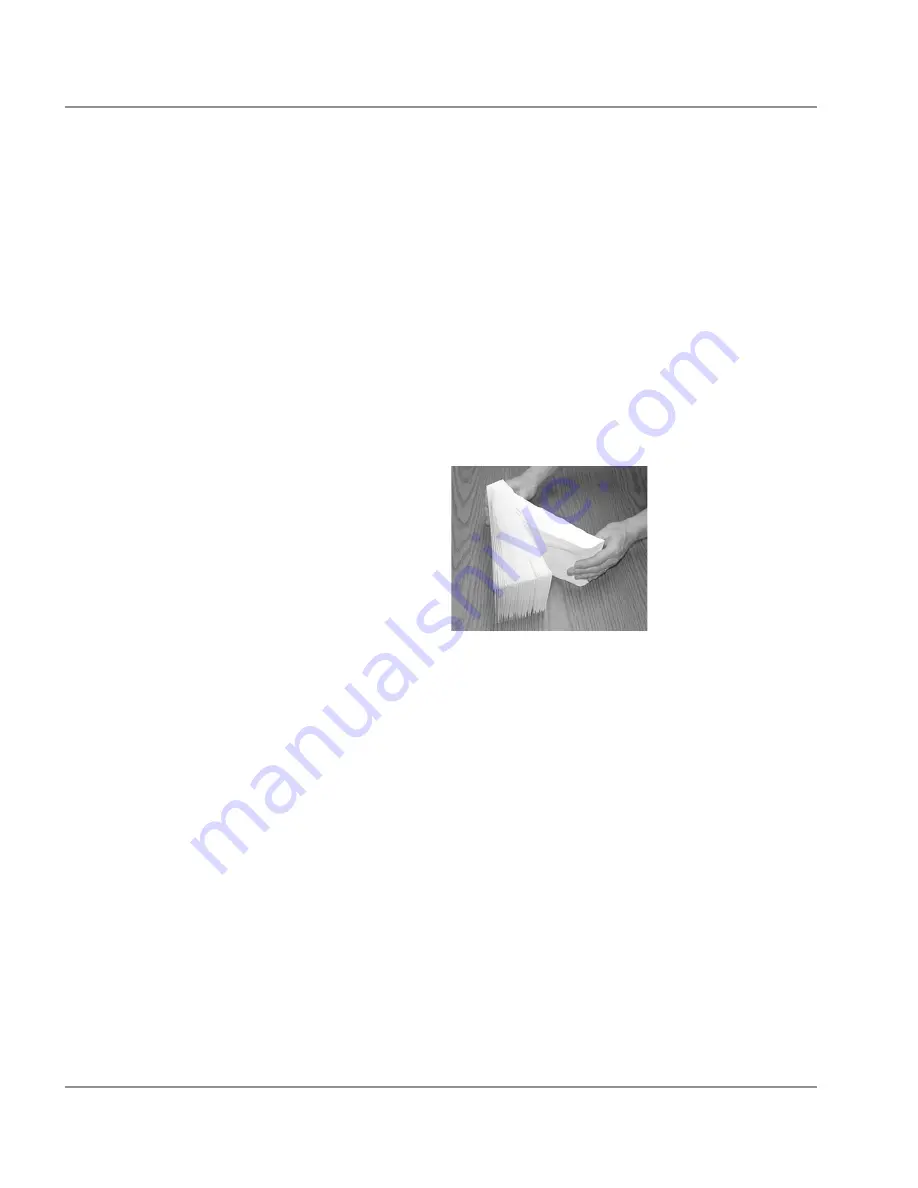
2. Take a manageable amount of material and while
holding it as shown, fan all sides of the material to
separate each piece. This step helps keep misfeeds
to a minimum.
6. Load Material
Setting Up A Job
(continued)
3. Tamp the material on a flat surface, making sure
that the stack is square.
4. Shingle the stack as you load it into the input area.
Load envelopes so the side to be printed aces up.
Flaps should be down and oriented away from the
feed roller (flaps trailing). Position the right edge of
the envelopes flush against the rear wall.
Begin with just a few envelopes to start the stack and
get the proper contour, then add several more pieces.
Then add the remainder of the stack.
5. Adjust the position of the media thickness knob as
described on the next page.
Содержание ADDRESSRIGHT DA700
Страница 1: ...AddressRight Printer DA700 DA750 Operator Guide US English Version ...
Страница 6: ...iv SV61027 Rev D Table of Contents This page is intentionally blank ...
Страница 14: ...1 8 SV61027 Rev D 1 DA700 DA750 Printer Overview This page is intentionally blank ...
Страница 50: ...3 22 SV61027 Rev D 3 DA700 DA750 Features and Adjustments This page is intentionally blank ...
Страница 66: ...4 16 SV61027 Rev D 4 Using the DA700 DA750 with Your Computer This page is intentionally blank ...
Страница 120: ...A 36 SV61027 Rev D Appendix A Control Panel Menus This page is intentionally blank ...
Страница 132: ...B 12 SV61027 Rev D Appendix B DA700 DA750 Specifications This page is intentionally blank ...
Страница 133: ...Index ...
Страница 139: ......


