Installation and Operation
Manual
for the Gas and Electric
Rethermalizer
Model Numbers
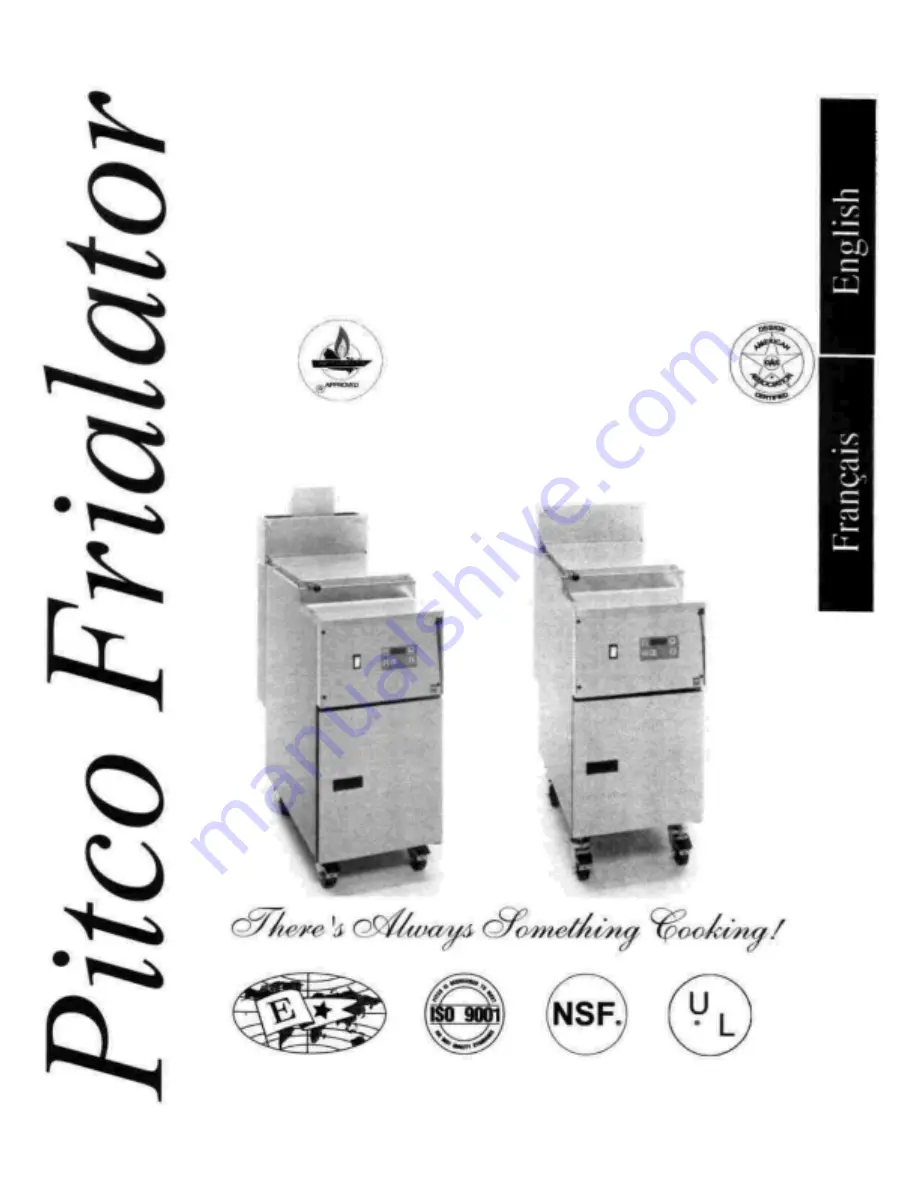
RTG14 & 18
&
RTE14
L20-144
Rev 6
Rev. Date 01/98
Страница 1: ...Installation and Operation Manual for the Gas and Electric Rethermalizer Model Numbers RTG14 18 RTE14 L20 144 Rev 6 Rev Date 01 98...
Страница 2: ...and heed the notices throughout this manual The WARNINGS are listed below and on the following page for your review prior to operating the unit FOR YOUR SAFETY DO NOT store or use gasoline or other f...
Страница 3: ...truct the flow of combustion ventilation or air opening around the Rethermalizer Ensure that you meet the minimum clearances specified in the installation instructions Adequate clearance around the un...
Страница 4: ...the Rethermalizer 6 Pilot Light System Gas machines with Electronic Ignition Pilot only 6 Pilot Light System Gas machines with Standing Pilot only 7 Main Burner System Gas machines only 8 Initial Cle...
Страница 5: ...a safe place for future reference Checking your new Rethermalizer Every effort has been made to ensure that your Rethermalizer will be delivered to you in perfect condition As you unpack the Rethermal...
Страница 6: ...ine c Mount the bolts from the inside of the unit with the nut on the outside of the cooker The nuts have lock washers attached to them therefore it is not necessary to use lock washers d When all fou...
Страница 7: ...n NOTICE NEVER use an adaptor to make a smaller gas supply line fit the cooker connection This may not allow proper gas flow for optimum burner operation resulting in poor cooker performance Quick Dis...
Страница 8: ...be plugged into a wall receptacle supplied from the ventilation control This will ensure that the Rethermalizer can not be operated unless the ventilator is also on to provide proper ventilation Disc...
Страница 9: ...atest Edition Filter Unit ANSI UL 5 86 Latest Edition ANSI NFPA 96 Latest Edition ANSI UL 900 Latest Edition Types of Fire Extinguishers and Detection Equipment CO2 ANSI UL 154 Latest Edition ANSI NFP...
Страница 10: ...thermalizer is equipped with an automatic water level maintaining system To fill the unit with water press the key This causes the solenoid valve to open and supply water to the unit through the fill...
Страница 11: ...will need to purge the air form the system e Press the key The electronic control unit will come on and display the temperature of the water There will also be a red light lit between the left and mi...
Страница 12: ...the flame and the millivolt output Turning the screw counterclockwise increases flame size and millivolt output g Rotate the screw in the direction to achieve a reading of 400 50 mV NOTE Allow 3 to 5...
Страница 13: ...er f To remove the pressure gauge press the key for Digital controls or the ON OFF switch for computer controls Turn the gas valve knob to PILOT or OFF Remove the gauge and install the pressure tap pl...
Страница 14: ...inue to rinse the tank until the cleaner has been rinsed from the tank e Now that the tank is clean you are ready to fill and operate the Rethermalizer High Limit Switch Gas machines The High Limit sw...
Страница 15: ...olenoid valve open the valve in the bypass pipe This should only be done if the solenoid valve fails and the Rethermalizer needs to be operated When finished filling the Rethermalizer ensure that the...
Страница 16: ...to turn the gas valve clockwise to the OFF position Gas machines with Electronic Ignition pilots These machines can only be shut down to a COMPLETE condition Press the key to turn the Digital control...
Страница 17: ...fic cooking needs Follow the instructions below for the desired changes To enter the programming mode press the key and then release it press the key again and hold it for 5 seconds Setting the operat...
Страница 18: ...Hours Minutes and Seconds The cook time is displayed by depressing the Product Key ONE time The COOK time can be cancelled by depressing the Product Key THREE times Temperature The water temperature...
Страница 19: ...he key two times at any point during this procedure will return you to the normal cook mode Level 2 Programming There are several features that merit mention at this point Their programming functions...
Страница 20: ...t be disconnected before servicing or cleaning the appliance CAUTION Do NOT use chlorine based cleaning agents in your tank the chlorine will attack the metal and lead to premature failure Your Rether...
Страница 21: ...oker cooled down check for corrosion or blockage of the flue and erosion of the baffles Ensure that the cooker is shutdown and do not turn it on during the examination WARNING Examination of the flue...
Страница 22: ...18...
Страница 23: ...19...