39
EN
English
Other Operations
Other Operations
4
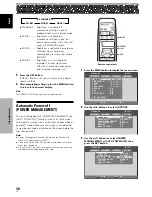
Press the
2
/
3
buttons to confirm selection of the
[POWER MANAGEMENT] or [AUTO POWER OFF].
5
Press the SET button.
[POWER MANAGEMENT] or [AUTO POWER OFF] is
set, and you return to the display shown in step 3.
Selecting POWER MANAGEMENT
SET
SET
EXIT
MENU
OFF
:
P O W E R M A N A G E M E N T
Selecting AUTO POWER OFF
SET
SET
EXIT
MENU
DISABLE
:
A U TO P O W E R O F F
At the time of shipment from the factory, the POWER
MANAGEMENT setting is [OFF], and the AUTO
POWER OFF setting is [DISABLE].
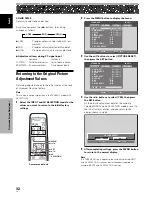
Each time the button is pressed, the setting alternates
as follows:
÷
OFF/DISABLE.....
The unit will continue in operating mode, regardless
of the presence/absence of an input sync signal.
÷
POWER MANAGEMENT: ON.....
If a sync signal is not detected, a warning message is
first displayed for 8 seconds, after which the unit
automatically enters the standby mode, and the
STANDBY indicator lights red. If a sync signal (*1) is
input again later, the unit automatically returns to
normal operating mode.
*1 Except when input signal is G ON SYNC or composite
SYNC.
÷
AUTO POWER OFF: ENABLE.....
If no sync signal is detected for 8 minutes or more, a
warning message will be displayed for 30 seconds,
after which the unit’s power will switch to power off
mode.
6
After completing settings, press the MENU button
to return to the normal display.
To return to operating mode:
÷
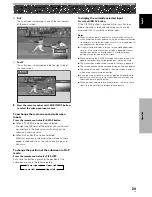
To return to normal operation from the [POWER
MANAGEMENT] function’s standby mode, either
operate your computer or press the
STANDBY/ON
button on this unit or the remote control unit once.
÷
To return to normal operation from the [AUTO POWER
OFF] function’s power off condition, press the
STANDBY/ON
button on the unit or on the remote
control unit.
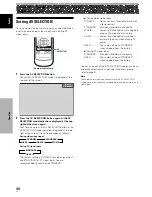
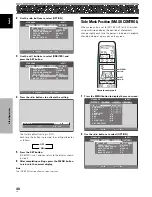
Setting the Orbiter (ORBITER)
The function gradually moves the display position of the
screen after a set amount of time (approximately every 8
minutes, the screen position is moved at random
horizontally or vertically).
When displaying a still image, setting [ORBITER] to [ON]
helps prevent the screen from being burnt with a lag
image.
÷
This function is not supported when using the
multiscreen function or menu display.
MENU
5
/
∞
SET
2
/
3
Remote control unit
1
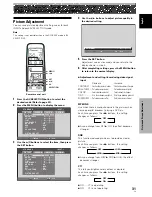
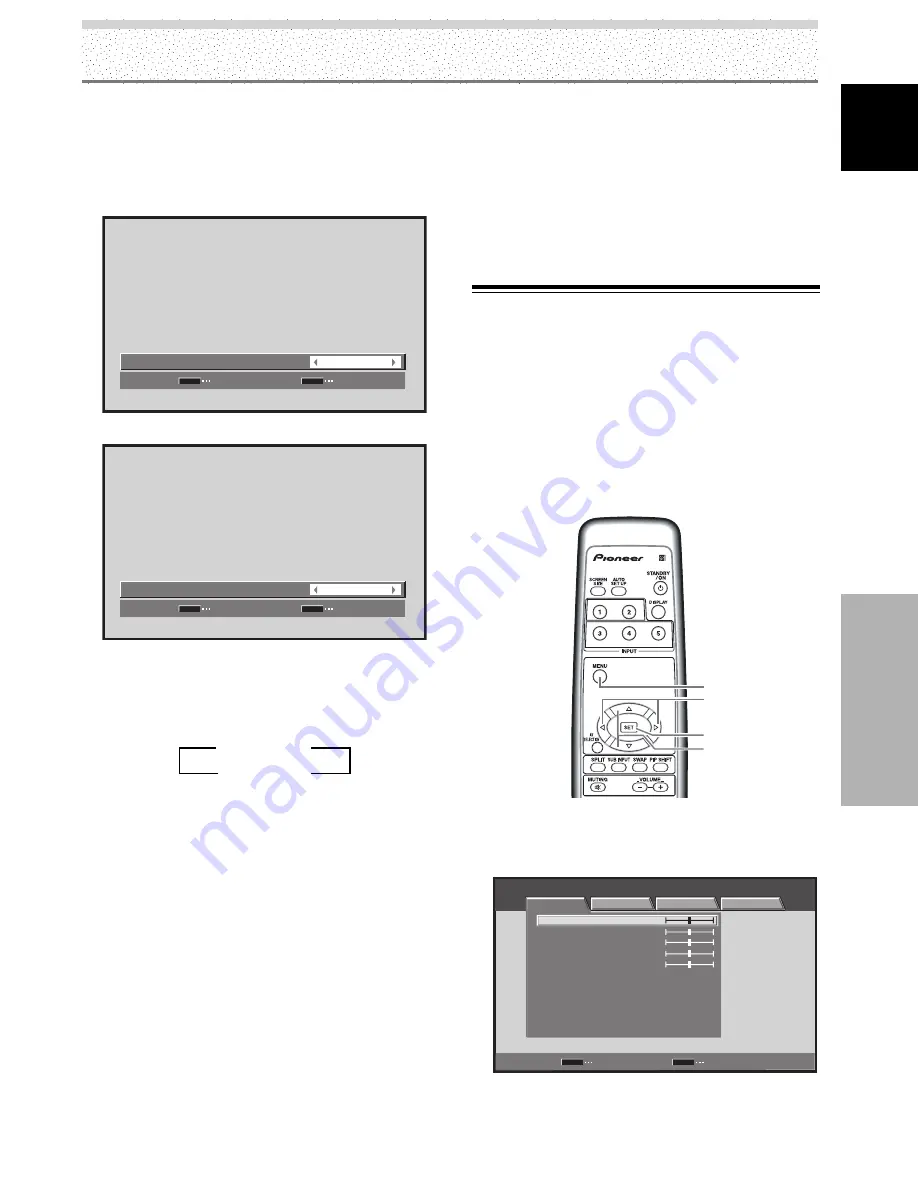
Press the MENU button to display the menu
screen.
STANDARD
INPUT1
PICTURE
SCREEN
SETUP
OPTION
CONTRAST
BRIGHTNESS
COLOR
TINT
SHARPNESS
MPEG NR
DNR
CTI
ON
MID
ON
COLOR TEMP.
MID
PICTURE RESET
ENTER
SET
EXIT
MENU
:
0
:
0
:
0
:
:
:
:
:
0
:
0
3
OFF/DISABLE
2
3
ON/ENABLE
2

