50
Chapter 4
Editing the Navigation Utilities
NAVI
5
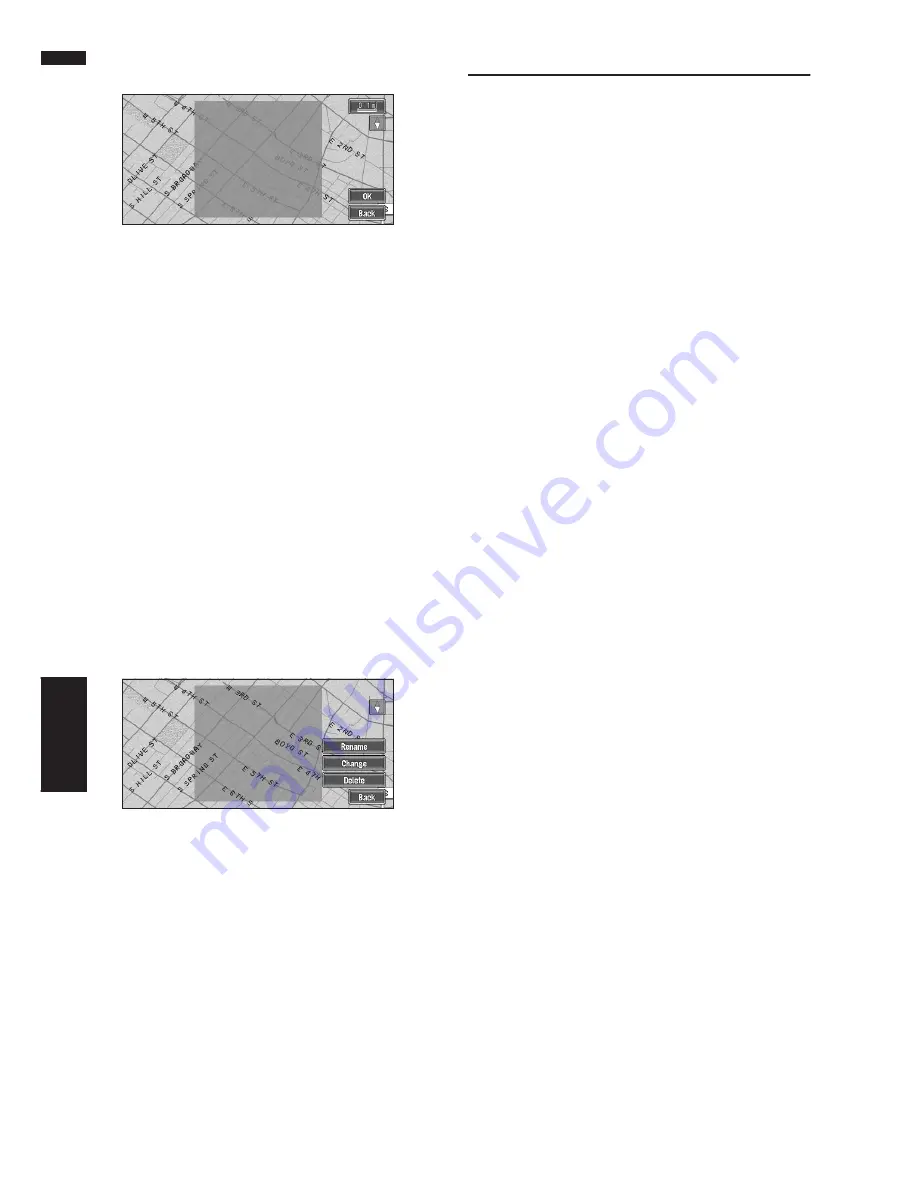
Scroll the map, adjust the position of the
red frame, and touch “OK”.
If you want to stop registration, touch “
Back
”.
❒
Depending on the setting of route search con-
ditions, you may not be able to avoid the spec-
ified areas. The confirmation message is
displayed on the screen at this time.
➲
Information on route calculation conditions
➞
Page 40
Changing or deleting an Area to
Avoid
You can subsequently change/rename/delete an
Area to Avoid.
1
Touch “Route Options” in the Main menu,
then touch “Designate Areas to Avoid”.
2
Select the area you want to change or
delete.
3
Select the desired operation.
On this screen, you can select the following
options:
Rename :
Changes the name. Enter the new name and
touch “
OK
”. This returns you to the Route
Options menu.
Change :
A specified area can be changed. For the next
steps, see Step 3 in the “Registering an Area
to Avoid” above.
Delete :
Delete the selected Area to Avoid.
Changing Background Picture
In the menu operation screen, you can indicate a
picture you like on the background. Some pic-
tures are already stored, but you can also use pic-
tures (JPEG format data) created by a personal
computer or a digital camera. If you save the pic-
tures to a CD-R (or CD-RW), you can use them as
background pictures. The following two types of
background pictures can be changed:
•
AV Background
: Background for the screen
during the operation of audio, or during play-
back.
•
Navigation Background
: Background of
navigation menu screen.
Several background pictures are stored in the
Pioneer DVD map disc. If you want to use these
pictures, insert the Pioneer DVD map disc.
Here, a method of changing background picture
is described with an example of loading the pic-
ture stored on a CD-R (-RW) onto the navigation
system as the background picture.
❒
When storing original pictures on a CD-R (-
RW), create a folder named “
BG
” in a CD-R (-
RW), and store the picture files in this folder.
Up to 20 picture files can be used in the
BG
folder.
❒
When creating a “
Background Picture Set-
ting
” CD-R (-RW) for changing the navigation
unit background picture, make sure the total
data size of the CD-R (-RW) is greater than
100MB. However, you cannot use a CD-R (-
RW) containing MP3 files or the Audio data
part (CD-DA session) for the “
Background
Picture Setting
” function.
1
Insert a CD-R (-RW) to the disc loading
slot.
2
Touch “Settings” in the Main menu, then
touch “Background Picture Setting”.
The picture selected for each screen is indi-
cated on the right side of “
AV Background
”
and “
Navigation Background
” items.
Содержание AVIC N1 - Navigation System With DVD player
Страница 1: ...Operation Manual DVD MULTIMEDIA AV NAVIGATION SERVER AVIC N1 ENGLISH ...
Страница 20: ...18 ...
Страница 28: ...26 Chapter 1 Basic Operation NAVI AV ...
Страница 36: ...34 Chapter 2 Menu and Map Display NAVI ...
Страница 56: ...54 Chapter 4 Editing the Navigation Utilities NAVI ...
Страница 72: ...70 Chapter 6 Using the AV Source Built in DVD Drive and Radio AV RADIO ...
Страница 82: ...80 Chapter 7 Using the AV Source Pioneer AV Equipments AV S DVD ...
Страница 125: ...123 Appendix NAVI AV ...
Страница 126: ...124 Appendix NAVI AV ...


