WIRING
HARNESS INSTALL
1. Start by plugging the supplied harness extension into the lamps. The harness can now be routed down the drivers
side of the hood.
2. Use the supplied wire ties to secure the harness following the factory wiring down the hood.
3. Make sure the wires will not interfere with opening/closing of the hood. You can tie them so they will either fold
up nicely where the ground stud is or so they follow the hinge. Also make sure they will not get pinched or pulled
while opening or closing the hood.
4. Route the harness extension through the factory grommet into the engine bay.
5. Locate a place to mount the relay, we use a nut that is located on the middle of the firewall.
6. Route the lamp leads to the harness extension and plug in.
7. Route the switch wire up to the drivers side head light following the lamp lead harness extension and secure it
with wire ties. Using the supplied wire splice tap into the high beam positive (+) wire (yellow/green).
8. To connect the main power (+) wire route it to the power (+) post or battery power (+).
9. To connect the main ground (-) wire route it to
a grounding spot.
10. To get the switch wires into the passenger compartment
of the Mini Cooper we chose to go through a grommet
that is located behind the brake booster on the drivers
side of the firewall.
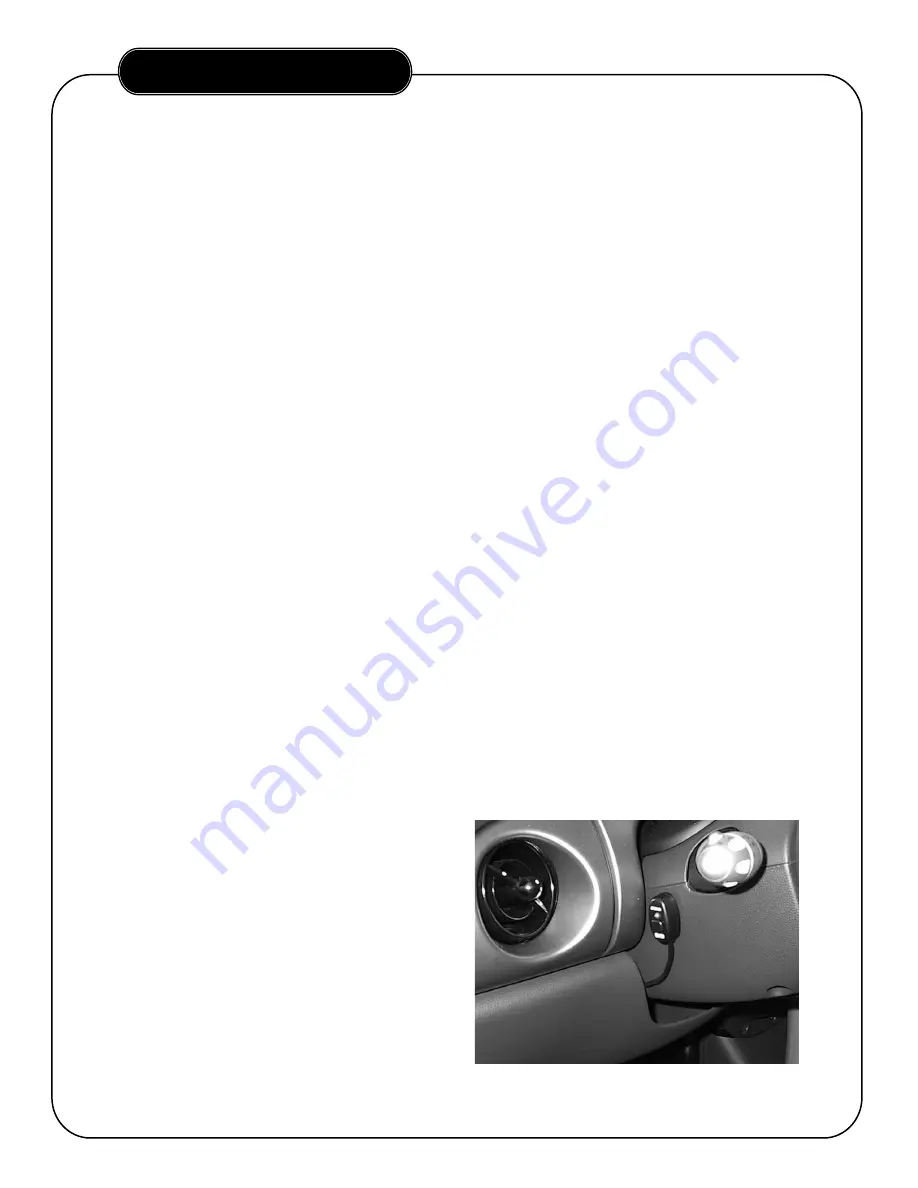
11. Mount switch in a location that is easy to operate
and that will not interfere with the driver.
12. After all harness leads are routed to their locations
there may be extra harness length. Bumdle it up
and tie it out of the way with wire ties.
3.
figure 3


