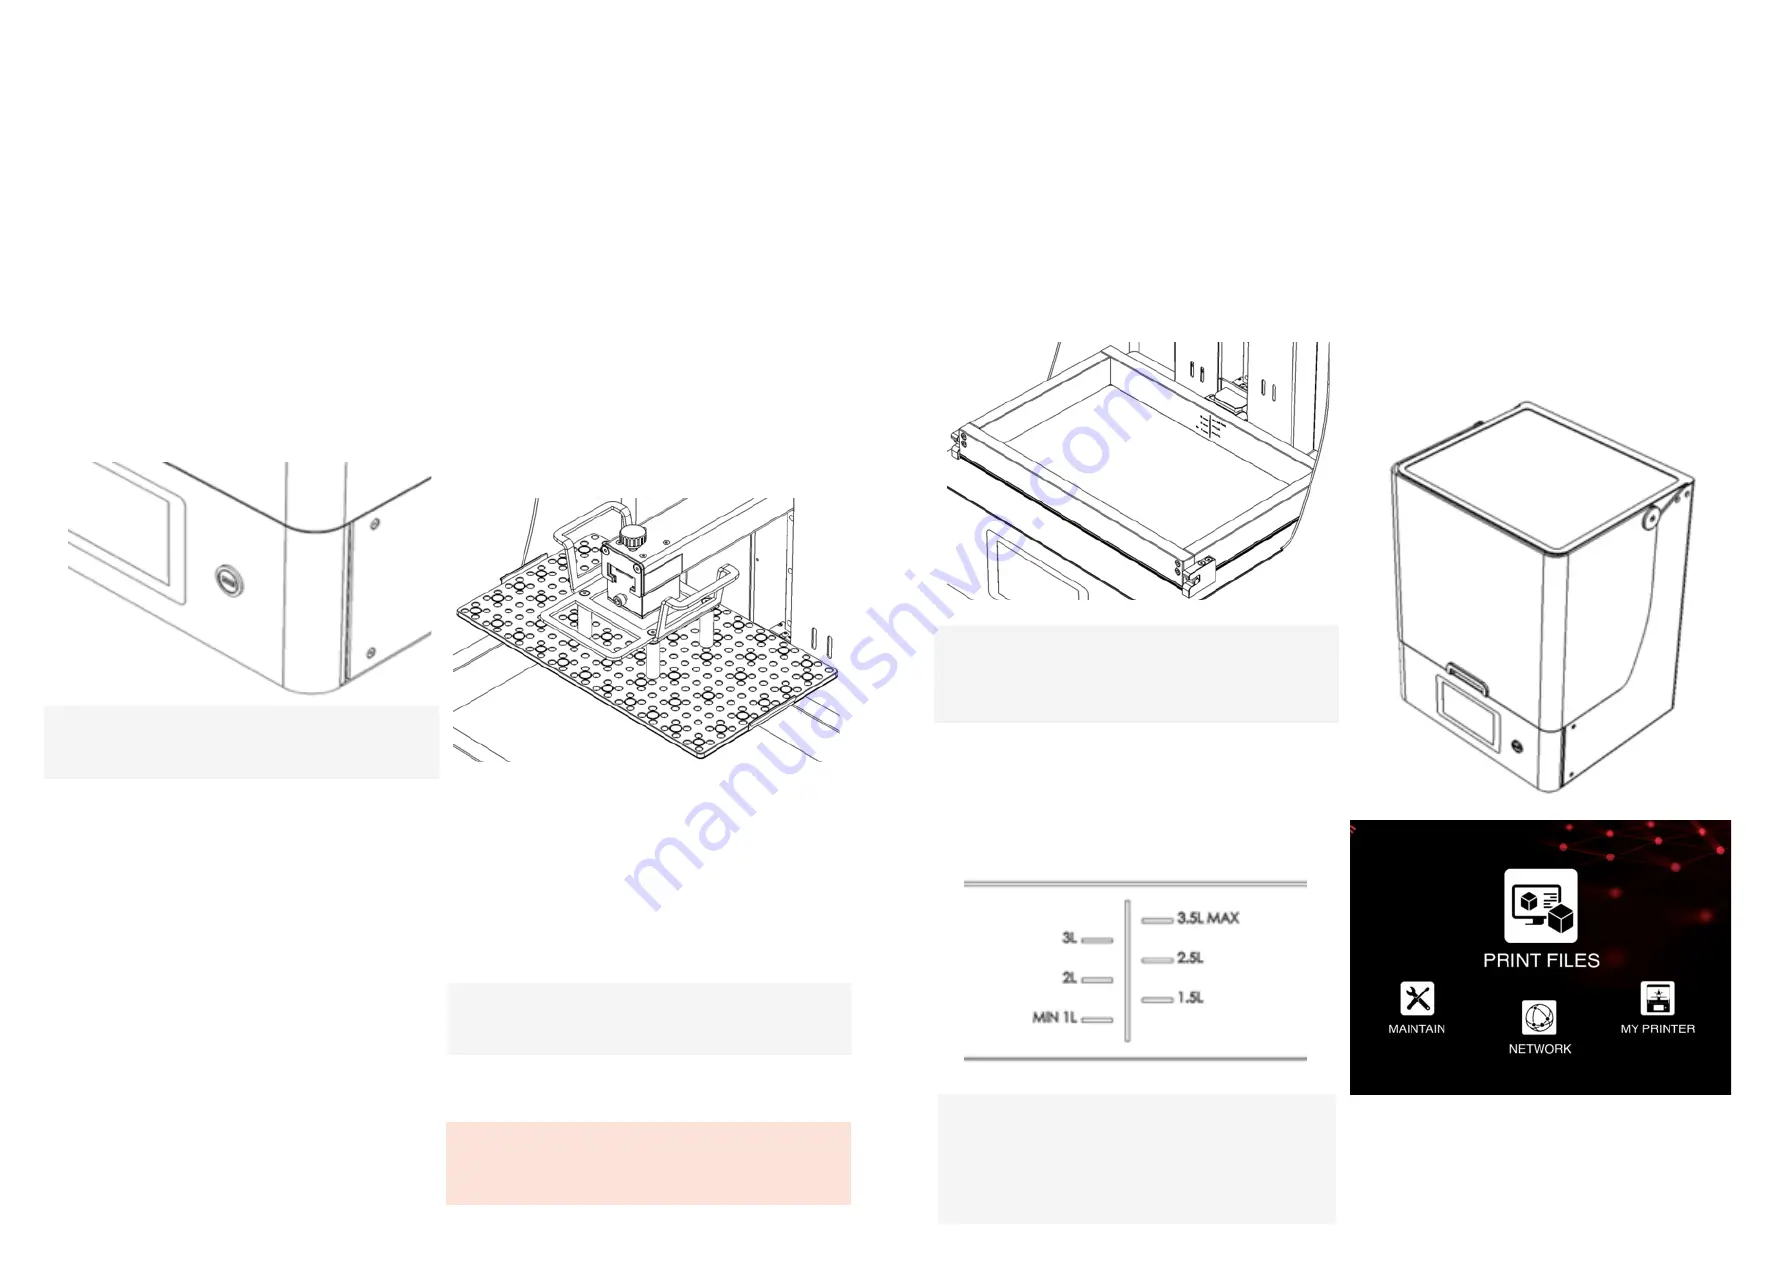
16. On your LC Dental, go to ‘MAIN’ screen, and
select ‘PRINT FILES’
off-line file transfer
17. If you need to transfer a new print file to your
Liquid Crystal Dental, copy it onto the USB flash
drive, then plug the drive into the USB port on the
front of the machine
18. Select ‘REFRESH’, your new print file should
appear
NOTE:
See section 5.2 for instructions on transferring
print files via a network connection.
5.3 PHOTOCENTRIC
STUDIO SETUP
A 16 GB USB flash drive is supplied with your
Liquid Crystal Dental. On this drive you can find
a license number for Photocentric Studio. This
allows you to activate a perpetual license for up
to two PCs.
Photocentric Studio can be downloaded from this
webpage:
h t t p s : / / p h o t o c e n t r i c g r o u p . u s / s u p p o r t -
photocentric-studio/
On this page, you can also find guidance on the
following:
The minimum system requirements for Photocentric
Studio
- Installing the software
- Getting started
- Adding supports and slicing files
- Updating the software
1. Ensure that your Liquid Crystal Dental is
positioned on a stable, level surface where it will
not be subject to movement or vibrations during
the printing process
2. Ensure that the print platform is completely clean
and dry, failure to do so may result in damage to
your vat film or a failed print
3. Load the print platform into the printer, you
should feel a positive click
4. Tighten the turn knob firmly to lock the print
platform in place
5. Ensure that the resin vat is completely clean and
dry to avoid print failures or damage
6. Check the vat film for signs of damage or wear, if
you have any doubt about the condition of the vat
film, refer to section 9.1
NOTE:
Printing with a damaged vat will cause failures and
leaks causing permanent damage to the printer
7. Load the resin vat into the printer, you should
feel a positive click
WARNING:
Photopolymer resin is an irritant. always wear
PPE. See Pg 4
8. Select the correct resin for the file you wish to
NOTE:
Correct resin is based on profile selected in
Photocentric Studio. If correct resin is not used the
print will fail.
9. Check the volume of resin required for the file
(Photocentric Studio will provide this figure), add
an extra 300 ml to make sure there is enough
10. Pour the resin into the vat, for smaller files top
up to a minimum of 1 litre
NOTE:
You can ensure your printer is level at this point by
pouring a small amount of resin into the vat and
checking that it sits in an even layer over the vat
film.
11. Close the printer hood, the icon in the top right
of the touchscreen should show a green closed
door
12. On the ‘MAIN’ screen, select ‘PRINT FILES’
13. ‘PRINT’
14. Your Liquid Crystal Dental will start the printing
process
6 PRINTING
8
7
DENTAL
Liquid Crystal
DENTAL
Liquid Crystal


