9
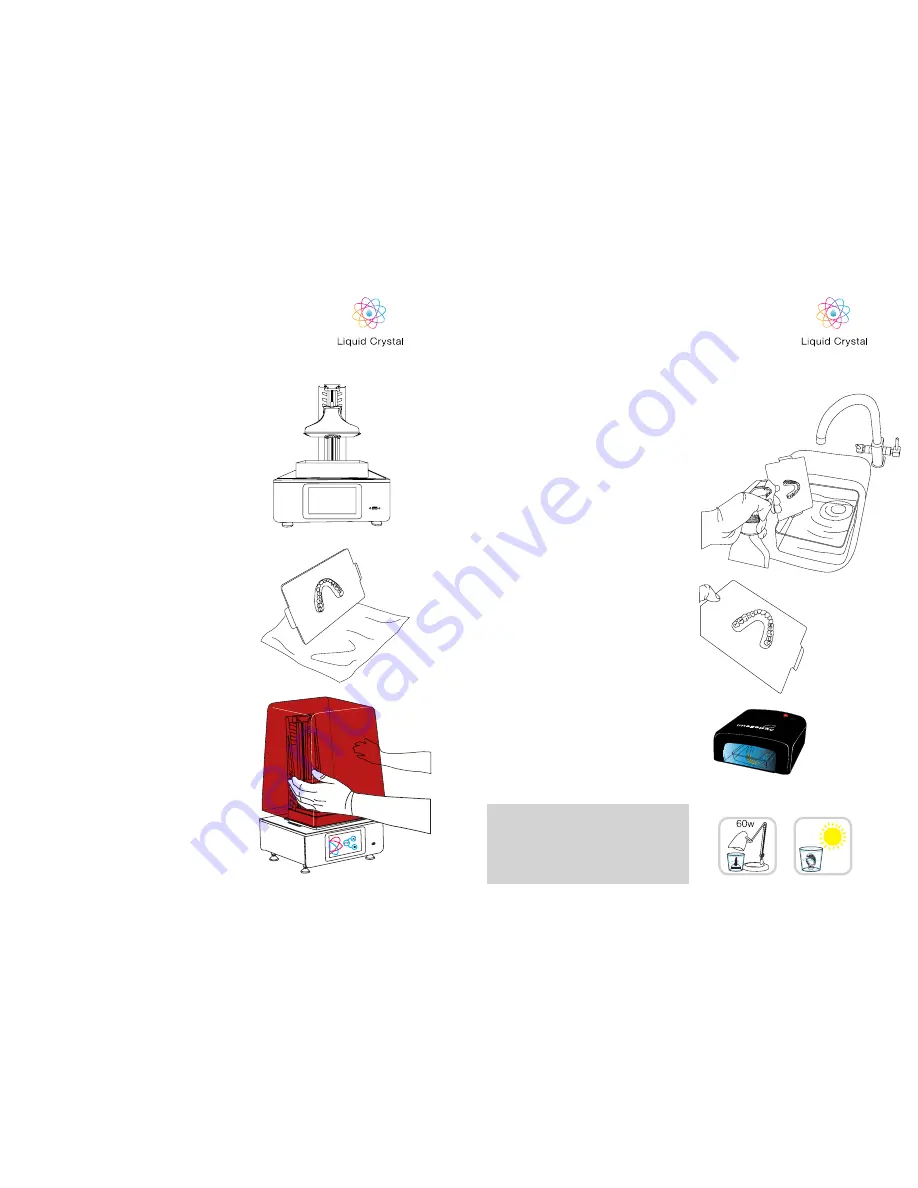
10
1
. When your print has finished, press the ‘+50’
button and the platform will rise to above the
level of the vat.
2
. Remove the hood again and with absorbent
paper under it, remove the flex plate or build
platform and set it down on the paper. Place
the hood back on to protect the resin in the vat
from light.
4. WASHING
3
. Gentlyremove any excess polymer with
absorbent paper. The fastest way to clean it
and achieve a dry surface is by removing the
flex plate and spraying or immersing it in IPA.
Alternatively, you can wash it in hot water and
detergent. Hold the flex plate under running
hot water and gently clean the part with a soft
brush or sponge and liquid detergent. Then
remove the object by twisting the flex plate and
cut off the supports. Take care not to damage
it, it will not achieve full hardness until after
post exposing in light. An ultrasonic cleaner is
useful to clean delicate objects.
1.
When clean of residual resin, place in water of
Aprox. 60º and leave under UV unit for ideally 2
hours. For optimum post-cure results, replace
the water with hot water as needed. Longer
may be needed if using Daylight not UV.
Remove from water and dry.
120 mins
post exposure
5. HARDENING
NOTE
If you’re printing dental prints, something
delicate or you wish for your print to stay in
its constructed shape, you will need to
complete the post exposure in water whilst
the print is still.
HR2
HR2


