32BDL3651T/43BDL3651T
44
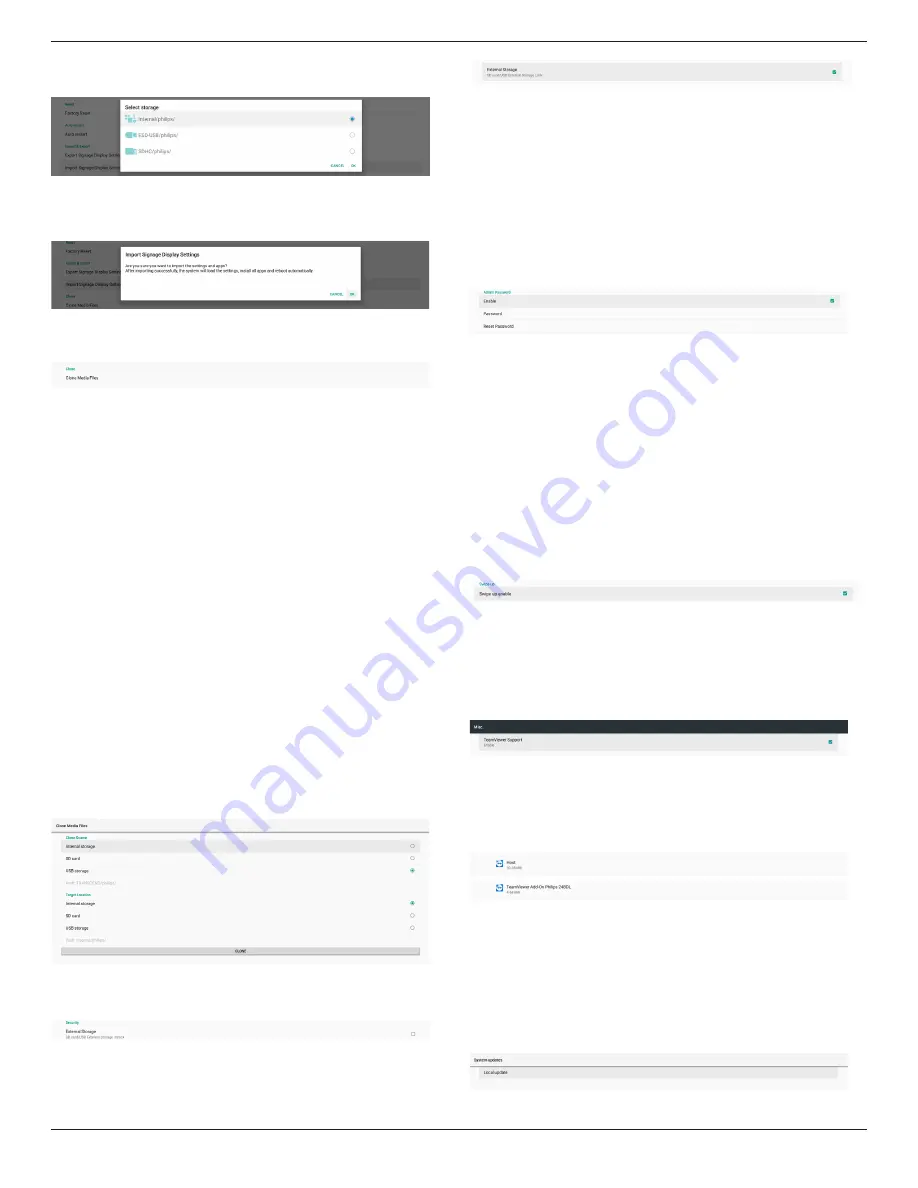
A list of all available storage (internal storage, SD card and USB
storage):
A confirmation dialog box is displayed before importing the
settings and APKs. Click the “OK” button to start importing the
data.
Clone
Settings -> Signage Display -> System Tools -> Clone
Clone Media Files
This function allows you to copy the media files from the
selected source storage to the target storage.
(1).
System clone files are under the following folder:
philips/photo
philips/music
philips/video
philips/cms
philips/pdf
philips/browser
(2).
Clone CMS files (file extension is “.cms”):
Source storage
Source is internal storage
Check if there is CMS file on the FTP server.
If there is no CMS file on the FTP server, check philips/
folder in source storage
Source is external storage (SD card or USB storage)
Check CMS file in root directory of storage
Target storage
Target is internal storage
CMS file will be saved to philips/ folder
Target is external storage (SD card or USB storage)
CMS file will be saved to root directory of storage
Security
Settings -> Signage Display -> System tools -> Security
External Storage
Click the checkbox to lock or unlock external storage (SD
card and USB storage). Default is unlocked.
(1). Unchecked (Disable): SD card/USB External Storage
Unlock.
(2). Checked (Enable): SD card/USB External Storage Lock.
Note:
When you disable external storage lock to enable state,
please unplug and plugin external storage again (for both
SD card and USB storage). After that, system can detect
external storage again.
Admin Password
Settings -> Signage Display -> System tools -> Admin Password.
Enable:
Click the checkbox to enable or disable Admin Password.
Default is disable.
Once it is enabled, you will need a password to login into
Admin mode. Default password is “1234”.
Password:
Change the password if needed.
Reset Password:
Reset the password to its default value which is “1234”. If reset
is successful, it shows a message as “Successful”.
Swipe up
Enable/disable up slide to turn on source menu.
6.1.2.6. Misc.
TeamViewer Support
Click the checkbox to enable or disable TeamViewer support.
TeamViewer will send a virtual HOME key to open Admin
mode. Default is enable.
TeamViewerHost and TeamViewerQSAddOn APKs will be
installed to the system automatically. Or, system will remove
them if “TeamViewer Support” is disabled.
The following two APKs will be listd in Settings->Apps if
“TeamViewer support” is enabled.
6.1.2.7. System updates
Local update
Settings -> Signage Display -> System updates -> Local update
System will auto search “update.zip” in root folder of USB disk
and SD card. If “update.zip’ is found on the external storage, a
list will be shown for user to select the file to update.


