32BDL3651T/43BDL3651T
42
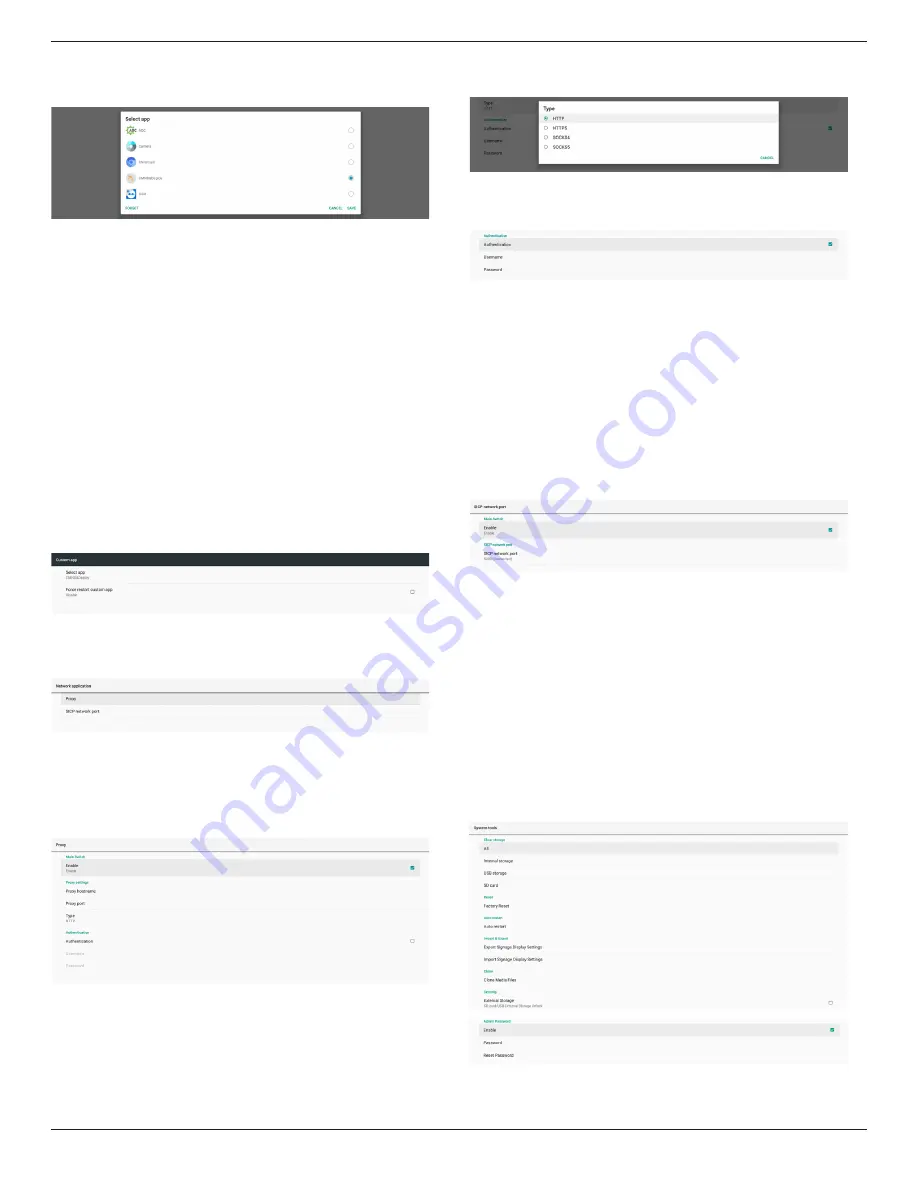
Select APP
Select a specific APP for custom APP source.
Note:
The APKs pre-installed by the system will not be shown on the
list. Only the APKs that were installed manually will be listed.
(1). FORGET button
Clear the custom source application. It will be shown in gray
if the customer source application has not been set.
(2). CANCEL button
Quit without saving changes.
(3). SAVE button
Click the “Save” button to select the APS as the custom
source application. It will be shown in gray if no available
application can be selected.
Force Restart Custom APP
When this feature is enabled, the system can monitor the status
of custom APP. If the custom APP doesn’t exist and that boot
on source is set to “Custom app”, the system will then try to
launch custom APP again.
Default setting is Disable.
6.1.2.4. Network Application
Settings -> Signage Display -> Network Application
Proxy
Settings -> Signage Display -> Network Application -> Proxy
Enable the proxy server by clicking the checkbox of “Enable”.
User can set up the host IP and port number of the proxy server.
The default setting is “Disable”.
System supports the following proxy types: HTTP, HTTPS,
SOCKS4, and SOCKS5. Choose one for your proxy server.
If an authorization is requested by proxy server, click the
checkbox of “Authorization” and enter the username and
password.
SICP Network Port
Settings -> Signage Display -> Network Application -> SICP
Network Port
Set up the default port of SICP and enable/disable the network
SICP. The default SICP is enabled with the port 5000.
Note:
Port number ranges from 1025 ~ 65535.
The following ports are already occupied and cannot be
assigned: 8000, 9988, 15220, 28123, 28124. The default FTP
port is 2121.
6.1.2.5. System Tools
Settings -> Signage Display -> System Tools
There are eight major features in signage display system tools:
(1). Clear Storage
(2). Reset
(3). Auto restart
(4). Import & Export
(5). Clone
(6). Security
(7). Admin Password
(8). Swipe up
Clear Storage
Settings -> Signage Display -> System Tools -> Clear Storage


