Getting Started
16
Adjusting the Settings
Most of the Remote Control’s features can be set to your own wishes.
1. Touch and hold the Remote Control icon for three seconds.
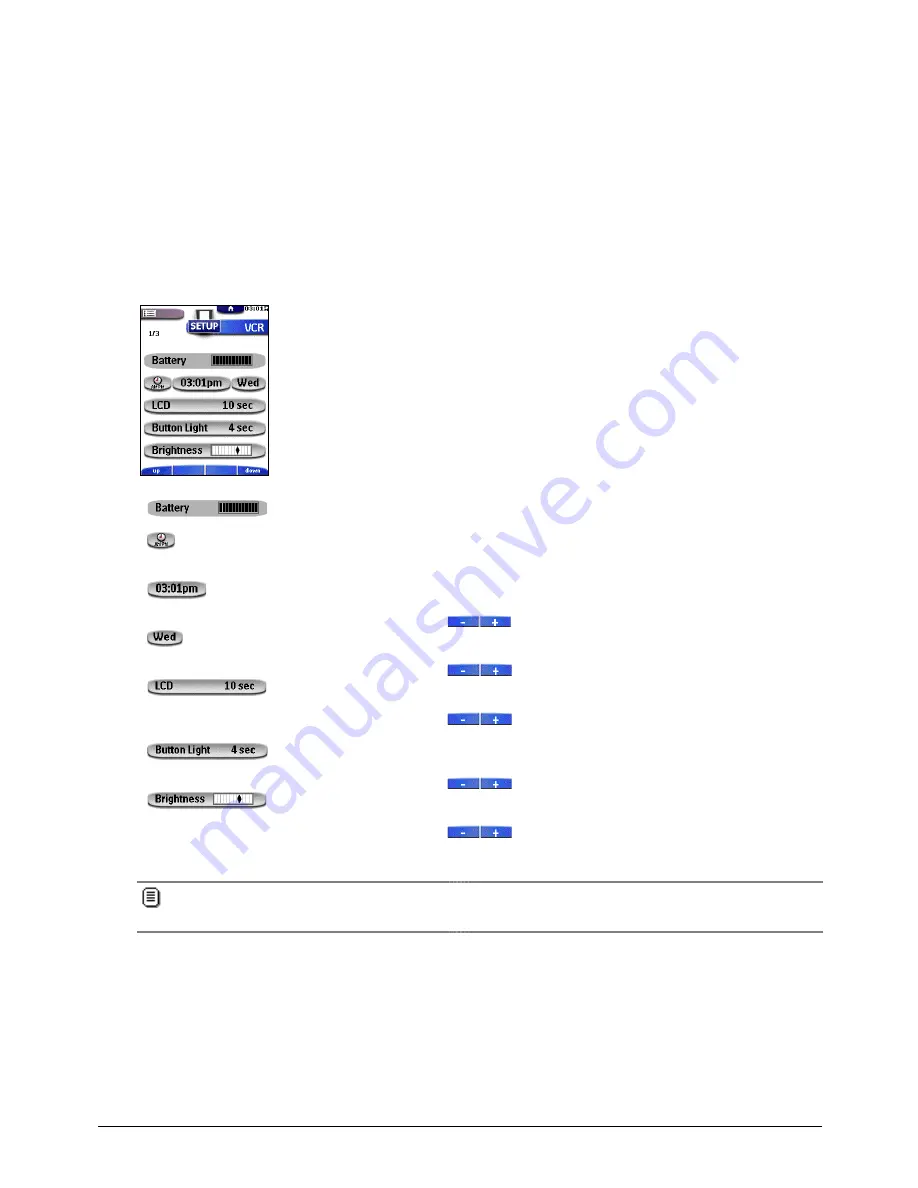
The Remote Control switches to Setup mode. The first setup panel appears.
2. Tap the button of the setting you want to adjust.
The button is activated.
3. Tap the button repeatedly to toggle between the different options for the selected setting.
-or-
Use the action buttons to adjust the setting.
4. Use the Page Up and Page Down buttons to display the second and third setup panel.
First setup panel
Setting
Function
Adjusting
Shows the battery level.
Turns the clock display
on or off and lets you set
12 or 24h time display.
Tap the clock repeatedly.
Sets the clock.
Tap the time button and use
the action buttons
.
Sets the day.
Tap the day button and use
the action buttons
.
Sets how long the touch
screen and the backlight
of the touch screen stay
on.
Tap the LCD button and use
the action buttons
.
Sets how long the
backlight of the buttons
stays on.
Tap the Button Light button
and use the action buttons
.
Adjusts the brightness of
the touch screen in 4
levels. Level 3 is the
default brightness level
Tap the Brightness button
and use the action buttons
.
When you set the brightness level
above
the default level (3), battery life time will be reduced.
When you set the brightness level
below
the default level (3), battery life time will be prolonged.


