English
19
IMPORTANT!
– Make sure to complete the
preparation procedures before operating
the system.
Before using the remote control
1
Pull out the plastic protective sheet.
2
Select the source you wish to control by pressing
one of the source select keys on the remote
control (for example DISC, TUNER).
3
Then select the desired function (for example
ÉÅ
,
à
,
á
).
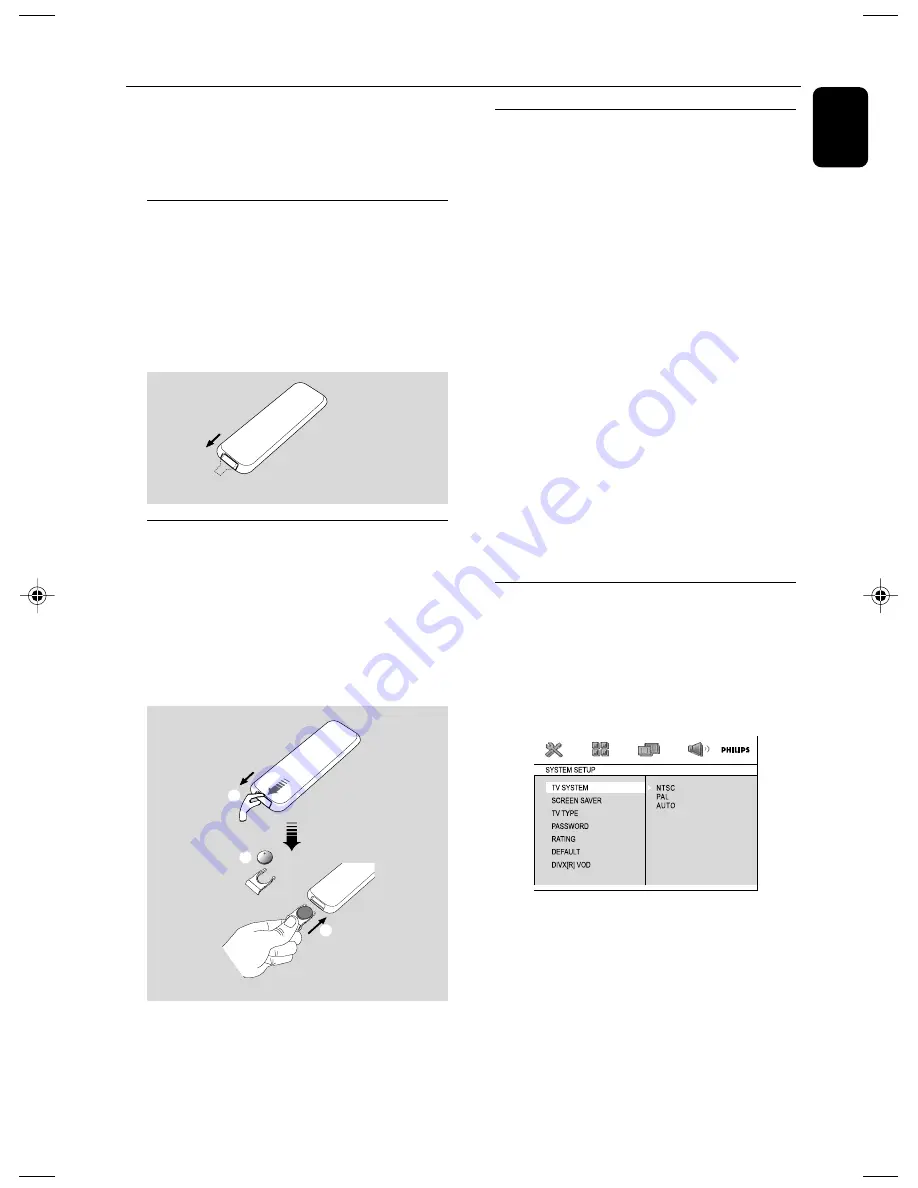
Replacing battery (lithium
CR2025) into the remote control
1
Press the slot on the battery compartment.
2
Pull out the battery compartment.
3
Replace a new battery and fully inser t the
battery compartment back to the original
position.
1
2
3
CR2025
CAUTION!
Batteries contain chemical substances, so
they should be disposed of properly.
Preparations
Step 1: Setting the clock
1
Go to Standby mode.
2
Press and hold
DISPLAY/CLOCK
on the
remote control.
➜
"
SET CLOCK
" is displayed briefly. Then, the
hour digits flash on the display screen.
3
Press
/-
on the front panel or
VOL
+/-
on the remote to set the hours.
4
Press
DISPLAY/CLOCK
again.
➜
The minute digits flash on the display screen.
5
Press
/-
on the front panel or
VOL
+/-
on the remote to set the minutes.
6
Press
DISPLAY/CLOCK
to confirm the clock
setting.
Notes:
– The clock setting will be erased when the system
is disconnected from the power supply.
– The system will exit clock setting mode if no
button is pressed within 15 seconds.
Step 2: Setting video
preference
IMPORTANT!
– Make sure you have completed all the
necessary connections. (See
"Connections-Connecting TV".)
Turn on the TV set and set it to the correct
Video-In channel.
➜
You may go to channel 1 on your TV set, then
press the channel button repeatedly until you
see the Video In channel.
➜
Or, you can use the TV remote control to
select different video modes.
➜
Or, set TV to channel 3 or 4 if you are using
an RF modulator.
Remove the plastic protective sheet
pg001-pg039_MCD149-12-Eng
2007.9.13, 15:35
19
Содержание MCD149
Страница 3: ...3 7 1 2 3 4 5 6 8 9 0 4 ...
Страница 4: ...4 1 7 8 6 4 0 7 8 5 2 3 9 2 ...


