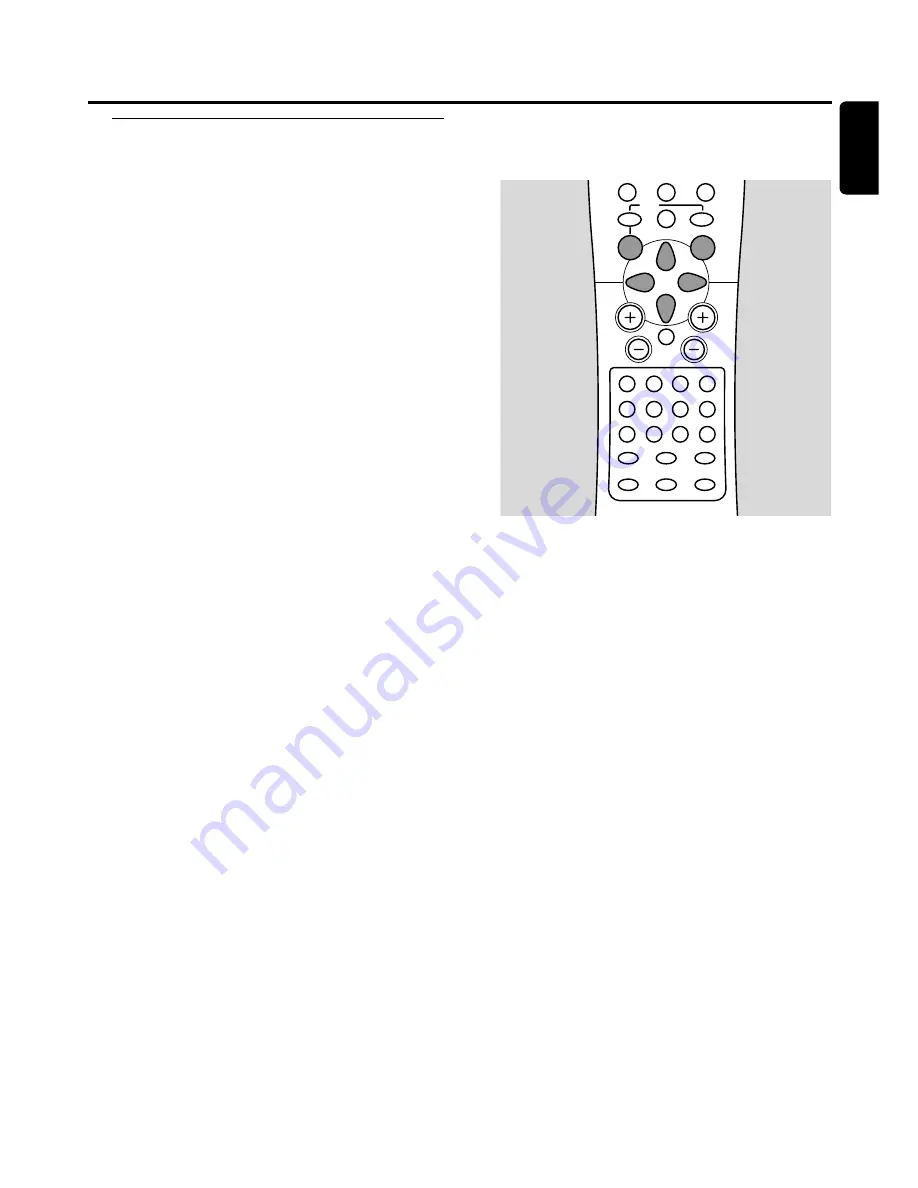
Selecting the recording mode
By selecting a recording mode, you determine the picture
quality of recordings and the maximum of possible
recording time on a disc.
1
Switch your TV set on. If necessary set the TV to the
correct audio/video channel for the DVD recorder system.
Such channels may be called AUX or AUXILIARY IN,
AUDIO/VIDEO or A/V IN, EXT1, EXT2 or EXTERNAL IN,
etc.These channels are often near channel 00.
2
Load a disc on which you want to record in the tray.
3
Press DVD/MON on the remote control as often as
necessary to see the currently selected TV channel.
➜
The currently selected TV channel is displayed.
4
Press CH+ or CH- on the remote control as often as
necessary to select the desired TV channel (programme
number) from which you wish to record.
5
Press REC MODE repeatedly on the remote control to
select the desired recording mode:
➜
HQ
,
Record mode: HQ
: the recording mode
H
igh
Q
uality offers the best picture quality and a
maximum recording time of 60 minutes.
➜
SP
,
Record mode: SP
:The recording mode
S
tandard
P
lay offers excellent picture quality
(pre-recorded DVD quality) and a maximum recording
time of 120 minutes.
➜
SP+
,
Record mode: SP+
:The recording mode
S
tandard
P
lay+ offers a better picture quality than
S-VHS and a maximum recording time of 150 minutes.
➜
LP
,
Record mode: LP
:The recording mode
L
ong
P
lay
offers S-VHS picture quality and a maximum recording
time of 180 minutes.
➜
EP
,
Record mode: EP
:The recording mode
E
xtended
P
lay offers a better picture quality than VHS
and a maximum recording time of 240 minutes.
➜
EP+
,
Record mode: EP+
:The recording mode
E
xtended
P
lay+ offers VHS picture quality and a
maximum recording time of 360 minutes.
Selecting the recording mode via the menu
You can also select the desired recording mode via the
system menu.
1
Press SYSTEM MENU on the remote control.
2
Press
1
on the remote control as often as necessary until
A
is selected.
3
Press
4
or
3
on the remote control as often as necessary
until
z
Record settings
is selected.
4
Press
2
on the remote control to confirm the selection.
5
Press
1
or
2
on the remote control as often as necessary
until the desired recording mode in the line
Record mode
is selected.
0
0
If you selected the recording mode
LP
,
EP
or
EP+
, you
can do an additional setting: Use
4
on the remote control
to go to the line
Filter mode
. Use
1
or
2
on the remote
control to select either
Stndrd
(improves the picture
quality for standard contents) or
Sport
(improves the
picture quality for fast movements).
6
Press OK on the remote control to confirm the new setting.
7
Press SYSTEM MENU on the remote control to end.
0
0
To switch off the system menu bar press SYSTEM MENU
again on the remote control.
Recording
41
English
MENU
REC MODE
DISC
DISPLAY
CLEAR
RETURN
EDIT
PLAY MODE
TREBLE
TIMER
LOUDNESS
BASS
SUBWOOFER
REAR
NIGHT
VOICE
TV VOL
CH
VOL
MUTE
SELECT
SURR.
+
-
AUDIO
DISC
É
É
É
0
OK
H
§
T/C
SURR.
2
;
∞
9
7
9
8
SYSTEM
É
Содержание LX9000R/22
Страница 1: ...DVD Recorder Home Entertainment System LX9000R LX9000R ...
Страница 66: ...66 ...
Страница 67: ...67 ...


