


12
Philips · GoPix 1 GPX1100
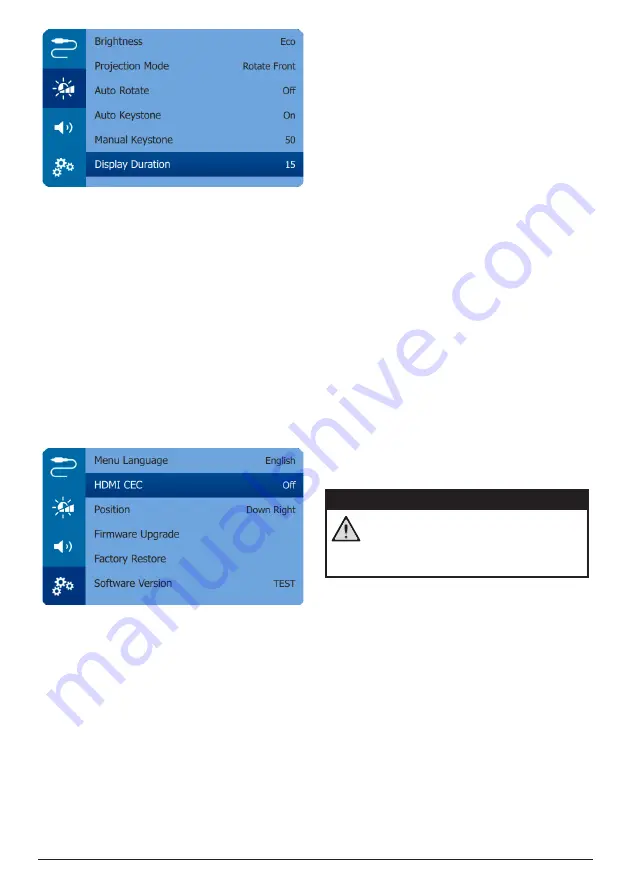
Restore default settings
If the projector does not function normally,
reset the projector to the default settings. It will
delete all the current settings.
•
Navigate to
Factory Restore,
and press
OK
, then follow on-screen instructions to
complete resetting.
Other settings
You can also access the following options.
•
HDMI ARC:
Activate or deactivate HDMI
ARC function.
•
HDMI CEC:
Activate or deactivate EasyLink
between the devices through HDMI
connection (
see Use EasyLink, page 10
).
•
Position:
Re-position the settings menu on
the projection screen when it appears.
•
Software Version:
Display the current
software version of the projector.
•
Firmware Upgrade:
Upgrade system
software via a USB device (
see Update
software, page 13
).
6 Service
Built-in battery care
The capacity of the built-in battery diminishes
with time. You can prolong the life of the
battery if you observe the following points:
•
Without a power supply, the projector
operates on the built-in battery. When the
battery does not have sufficient power, the
projector turns off. In this case connect the
projector to the power supply.
•
Charge the battery regularly. Don’t store
the projector with a completely discharged
battery.
•
If the projector is not used for several
weeks, discharge the battery a little by
using the projector before storing it.
•
Keep the projector and the battery away
from sources of heat.
•
If the projector cannot be charged after
connecting to the power supply, use a small
pin to press the reset key (a small hole) next
to the
DC
socket on the projector.
Note about deep discharge of battery
When the built-in battery is in deep discharge,
it may take longer for the actual charging
process to start. In this case, charge the
projector for at least five hours before using it.
DANGER!
Risk of explosion with incorrect type
of batteries!
Do not try to replace the built-in
battery yourself.


