19
Select and prioritize what syncs
automatically
If
WMP11
selects to sync MUSE automatically,
you can choose not to sync your entire media
library. You can choose what to sync from
existing playlists or create new playlists. The
playlists you select sync to MUSE every time
you connect MUSE to the computer.
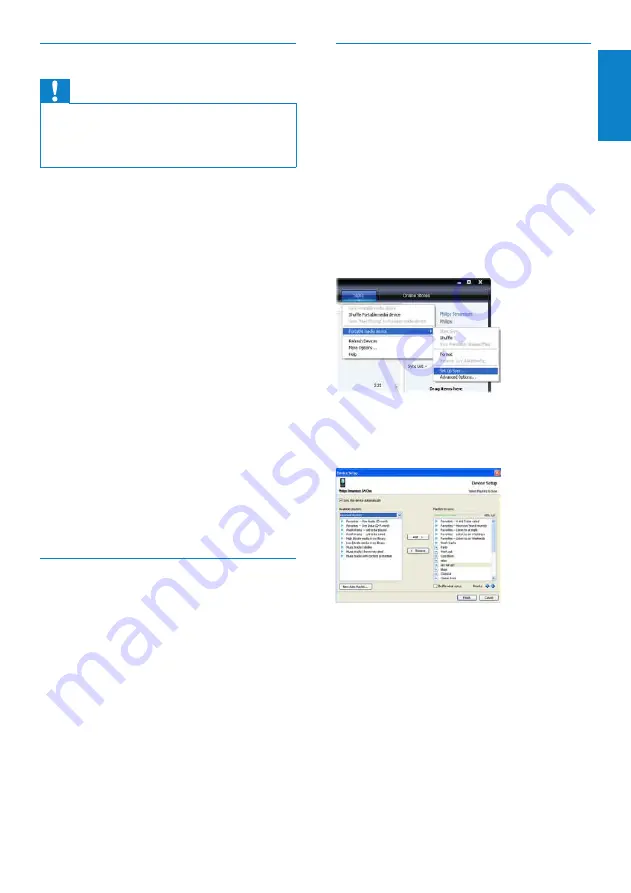
1
Click the down arrow beneath the
Sync
tab and select
Philips MUSE
>
Set Up
Sync
.
The Device Setup dialog box appears.
»
2
In the Available playlists pane, select the
existing playlists you want to sync, then
click
Add
.
3
To create a playlist, click
New Auto
Playlist
, then follow the steps on the
screen to specify criteria. (See also
section
Create an Auto Playlist
).
4
To remove a playlist, click the playlist
in the list of
Playlists to sync
, then click
Remove
.
Set up MUSE for WMP11
Caution
Do not disconnect MUSE while transfer is in
•
progress. If you disconnect MUSE, the transfer
is incomplete and Windows may not be able
to recognize MUSE afterwards.
1
Start
WMP11
.
2
Turn on MUSE.
3
Connect MUSE to the computer.
4
Set up sync:
If you are prompted: select the
•
option to sync MUSE using
WMP11
.
If
•
WMP11
selects to sync MUSE
automatically: click
Finish
.
Your entire library syncs to
•
MUSE. Thereafter, MUSE syncs
automatically when connected to the
computer.
You can also choose what syncs
•
automatically (see section
Select and
prioritize what syncs automatically
).
If
•
WMP11
selects to sync MUSE
manually, click
Finish
.
You are required to click the
•
Sync
tab and manually select the files and
playlists for sync (see section
Select
files and playlists for manual sync
).
Switch between automatic and
manual sync
After the first sync setup, you can switch
between automatic and manual sync:
1
Click the down arrow beneath the
Sync
tab, then select
PhilipsMUSE
>
Set Up
Sync
.
2
Select or deselect the
Sync this device
automatically
check box.
English
EN


