Service Modes, Error Codes, and Fault Finding
5.
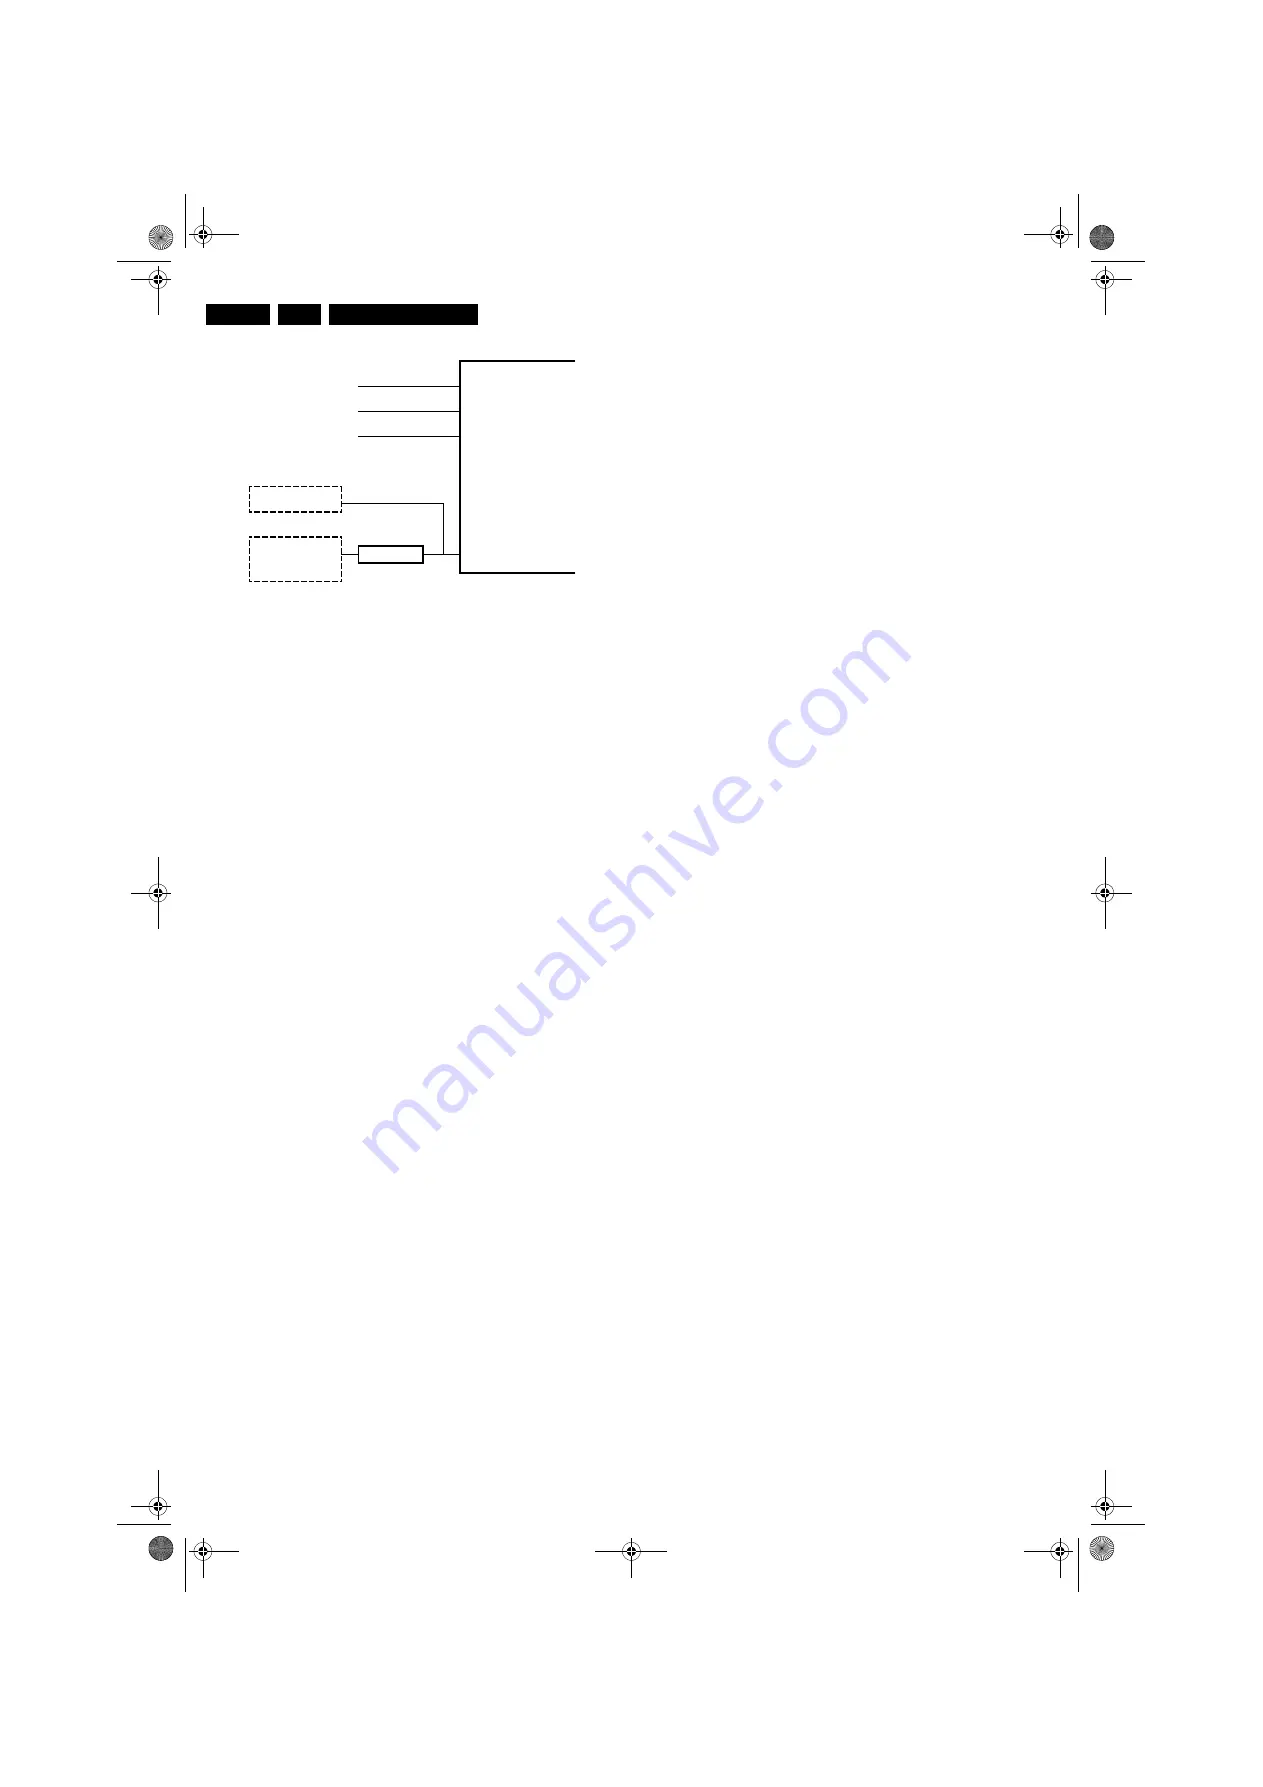
Figure 5-3 Protection diagram.
There are several types of protections:
•
I2C related protections.
•
OTC related protections (via polling on I/O pins or via
algorithms).
•
Hardware protection
All protections are explained below.
5.7.2
I2C Related Protections
In normal operation, some registers of the I2C controlled ICs
are refreshed every 200 ms. During this sequence, the I2C
busses and the I2C ICs are checked.
An I2C protection will take place if the SDA and SCL lines are
short-circuited to ground, or to each other. An I2C error will also
occur, if the power supply of the IC is missing.
DC/DC protection
When a 3V3 supply is short-circuited the DC/DC converter
switches off and goes in protection. The FBX, EPLD IC, and
3D comb IC have no supply voltage and give no acknowledge.
In this case, the set should go into protection. An error code is
written in the NVM: DC/DC error.
FBX protection
The FBX protection is not available any more. It is replaced by
the DC/DC protection.
5.7.3
OTC Related Protections
If a protection is detected at an OTC input, the OTC will start to
scan all protection inputs every 200 ms for 5 times. If the
protection on one of the inputs is still active after 1 s, the
microprocessor will put the set in the protection mode. Before
the scanning is started, a so-called “ESD refresh” is carried out.
This is done, because the interrupt on one of the inputs is
possibly caused either by a flash or by ESD. As a flash or ESD
can influence IC settings, the HIP, MSP, 3D Comb and wireless
module (not used in this set) are initialized again, to ensure the
normal picture and sound conditions of the set.
8 V and 5 V protections
The microprocessor senses the presence of the 8 V and 5 V
(via the “+5V_CON” and “+8V_CON” lines). If one (or both) of
these voltages is (are) not present, an error code is stored in
the error buffer of the NVM, and the set is put in the protection
mode.
Audio DC protection
The OTC senses if the audio module is in protection via IRQ-
DIGITAL (pin 98 of OTC). If this is the case, the OTC puts the
set in protection.
5.7.4
Hardware Protection
Short-circuiting the 3V3 supply from the DC/DC converter will
shut down the DC/DC converter. The absence of the 3V3
supply line is also sensed via I2C (see description DC/DC
protection above), this is useful if there is something wrong in
the detection circuit of the DC/DC converter. There are no
hardware protections in this chassis, which switch off the
supply.
5.8
Repair tips
5.8.1
3V3 Supply (DC/DC converter)
As mentioned above, the DC/DC converter is switched “off”
when something goes wrong (detection of a missing 3V3
supply at one of the devices supplied by the 3V3). Because of
this, the set goes to protection (I2C protection). Error code 55
is logged.
For further diagnoses, you need to overrule the I2C protection:
put the set in Service Default Mode by means of the solder
pads on the SSB.
The DC/DC converter is still not working because it is switched
“off” by the 3V3_FAULT line (schematic B12). Now you have
some possibilities:
1.
First, measure the impedance over diode 6U06. In normal
conditions, you should measure approximately 120 ohm (if
possible, verify this with another set). If the impedance is
much too low, do not try to start up the converter as
mentioned below. Remind that if FET 7U03 is short-
circuited, this will also influence your measurement.
2.
Desolder coils 5U05 and 5U06, connect an external 3V3
supply at capacitor 2U23 (current limitation to 500 mA) and
a second external 3V3 supply at capacitor 2U31 (current
limitation to 800 mA). The normal working current of the
3V3_SIM line is approximately 400 mA and the normal
working current for the 3V3_DCDCFBX line is
approximately 700 mA. Therefore, if one of the currents
exceeds their nominal value you can determine in which
circuit the overload is situated. If the set would start up and
you have normal picture, there is probably no overload but
a problem in the detection circuits.
3.
If you do not have two external power supplies, you can do
the following: Desolder coils 5U02, 5U03, and 5U04 (you
must desolder all three, otherwise the circuit could be
damaged), connect an external power supply of 3V3 at the
cathode of diode 6U06. Make sure to limit the current of this
external supply to approximately 1200 mA. If the supplied
current exceeds 1100 mA (approximately normal working
current) you can conclude that one of the devices supplied
by 3V3 is short-circuited.
4.
Another possibility is to force the converter to start up by
short-circuiting (and keep short-circuited) resistor 3U25
(B12).
Caution
: Be aware that this can damage the set. Even if
you measure approximately 120 ohm over diode 6U06,
there can still be something wrong in the converter itself.
By short-circuiting resistor 3U25, the internal protection of
the converter is disabled.
5.8.2
ComPair
This chassis does not have an IR transmitting LED (as in MG-
sets). Therefore, a “Service” (ComPair) connector is
implemented at the bottom of the set, which is directly
accessible. In addition to this, there is also a blinking LED
procedure to show the contents of the error buffer.
When you use ComPair, you have the possibility to activate a
“stepwise start-up” mode. With this mode, you can initiate the
start-up sequence step by step. This also means that in certain
steps, some protections are not activated. This is sometimes
very convenient during repair.
DC_PROT (from audio)
IRQ-DIGITAL (98)
+8V_CON
+8V SENSE (105)
+5V_CON
+5V SENSE (106)
OTC
TUNER
FAST I2C BUS BLOCKED
SLOW I2C BUS BLOCKED
DC/DC
I2C
PROTECTION
EPLD
+
FBX
+
3D COMB (US)
CL 36532053_065.eps
100703
FTL13U_AA_AB_312278513481.book Page 28 Thursday, December 30, 2004 1:50 PM


