3
Enjoy
Need help?
User Manual
See the user manual that came with your Philips Recorder
Online
Register your product and get support at www.philips.com/welcome
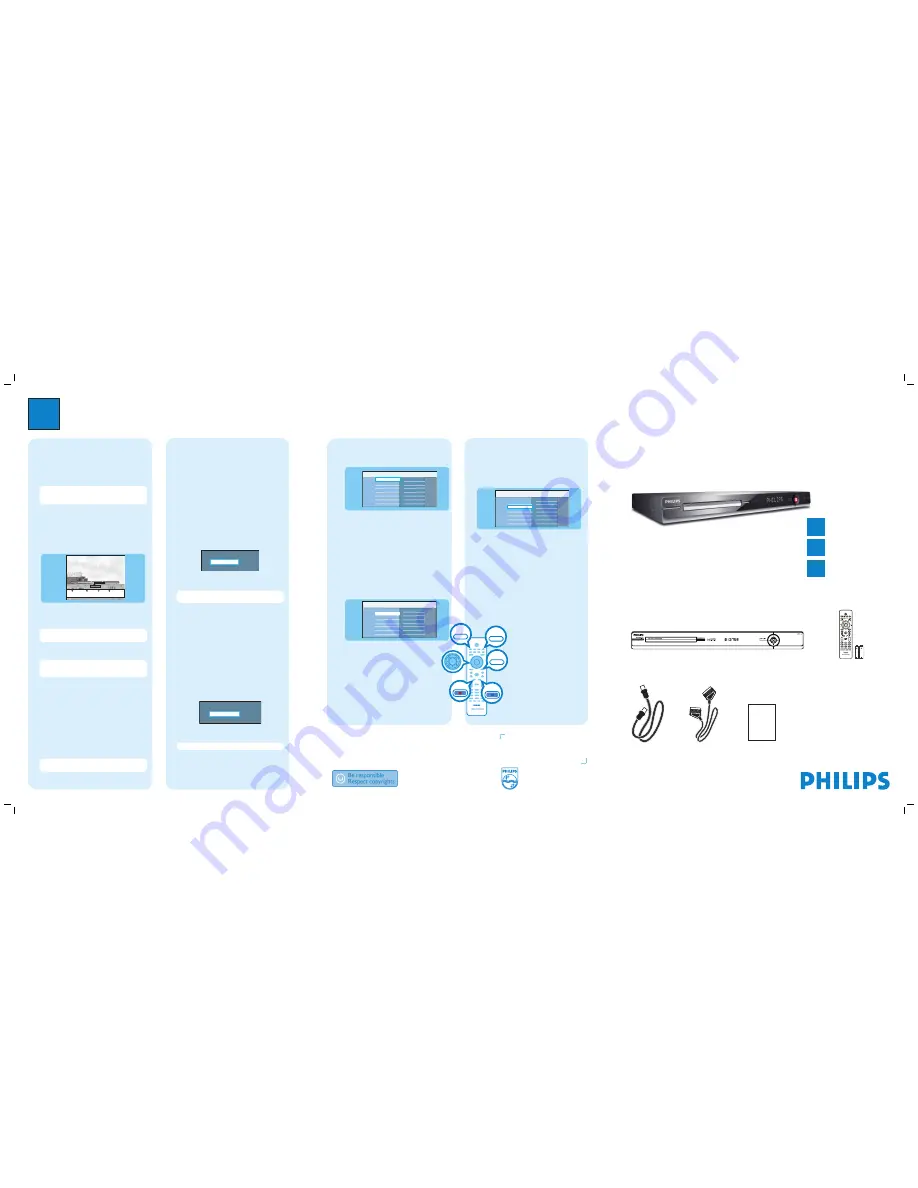
Start playback
A
Playback from hard disk
Disc Tray
USB
Recordings
Video files
Music
Photo
Source
Content
Hard Disk
A
Press
HOME
.
B
Select {
Hard Disk
} and press
right
.
C
Select the contents type and press
right
.
D
Use
keys to reach the title/file you want
to play and press
u
to start playback.
B
Playback from disc
A
Hold down
STOP
until the disc tray opens. Load a
disc and close the disc tray.
B
Press
HOME
and select {
Disc Tray
}.
Hard Disk
USB
Title 01
Title 02
Title 03
Title 04
Title 05
Title 06
Title 07
Title n
Disc Tray
Source
Titles
C
Use
keys to reach the title/file you want
to play and press
u
to start playback.
2007 © Koninklijke Philips N.V.
All rights reserved.
12 NC 3139 245 28451
www.philips.com
Hard Disk / DVD Recorder
DVDR3575H / DVDR3577H
DVDR3595H / DVDR3597H
Quick Start Guide
Connect
Set up
Enjoy
1
2
3
What’s in the box?
Hard Disk/ DVD Recorder
RF antenna cable
(connect between
recorder and TV)
Remote Control
and 2 batteries
User
Manual
Scart cable
SUBTITLE
INFO
SELECT
EDIT
SCART
AUDIO
PAUSE LIVE TV
Record/Copy to hard disk
A
Record current TV programme
A
Press
REC
to start recording. It can record up to
6 hours.
Note
To set the recording time length, press
REC
repeatedly to extend the recording time in 30-minute
increments, up to 6 hours.
B
To stop the recording before the scheduled time,
press
STOP
.
B
Mark a specifi c content in the Time
Shift Buffer for recording
23:30
22:13
21:00
Cancel Rec.
Prog Info
A
Press
left
or
right
to search for the scene
where you want to record.
B
Press
REC
to start recording from here.
Note
Pressing the
Red
button will cancel the
recording.
C
Press
right
to search for the scene to end the
recording, then press
STOP
.
Note
The title will be marked in red and the
recording will only take effect when you turn off the
recorder.
C
Copy TV programmes from hard
disk
A
Insert a recordable DVD into the recorder.
B
Press
HDD LIST
on the remote control.
C
Select a title to copy and press the
Green
button
on the remote control for {
Copy
}.
D
The making disc copy information appears. Press
the
Green
button again to start copying.
Note
It is not possible to copy the TV recordings to
USB device.
D
Copy fi les from USB
You can only copy the data fi les (MP3, WMA, DivX and
JPEG) from your USB device to the recorder’s hard disk
drive or recordable DVD.
A
Insert your USB device to the USB port at the front
panel of the recorder.
B
Press
USB
on the remote control to view the
content menu.
C
Use
keys to reach the file you want to
copy.
D
Press the
Green
button on the remote control for
{
Copy
}.
Target for copy.
Choose destination for copy.
To Disc
To Hard Disk
E
Select the destination for copying and press
OK
to
confirm.
Note
If select { To Disc }, insert an empty
recordable DVD into the recorder.
F
Press
OK
again to start copying.
E
Copy fi les from Disc
Copy prohibited contents cannot be copied to this
recorder.
A
Insert a CD/DVD into the recorder.
B
Press
HOME
and select {
Disc Tray
}.
C
Use
keys to reach the title/file you want
to copy.
D
Press the
Green
button on the remote control for
{
Copy
}.
Target for copy.
Choose destination for copy.
To USB
To Hard Disk
E
Select the destination for copying and press
OK
to
confirm.
Note
Only data fi les are able to copy to USB device.
F
Press
OK
again to start copying.
C
Playback from USB device
A
Insert the USB device to the USB socket.
B
Press
USB
to show the contents list.
Folder 01
Folder 02
Root
Video
Photo
Music
Content
C
Select the contents type and press
right
.
D
Select a data file (MP3, WMA, DivX and JPEG) and
press
u
to start playback.
HDD LIST
USB
REC
STOP
HOME
dvdr357xh-359xh_58qsg_eng_28451.2 2
dvdr357xh-359xh_58qsg_eng_28451.2 2
2007-06-15 11:19:10 AM
2007-06-15 11:19:10 AM
Содержание DVDR3575H/
Страница 152: ...Front Board Waveforms Emitter 7106 7108 2140 I102 1110 I103 1110 ...
Страница 153: ...Layout Front Board Bottom View Front Board Bot View 3139 243 36464_sh132_a4 eps 2007 07 11 ...
Страница 154: ...Layout Front Board Testpoint Overview Front Board Testpoint 3139 243 36464_sh132_a4 eps 2007 07 11 ...
Страница 155: ...Layout Front Board Top View Front Board Top View 3139 243 36464_sh132_a4 eps 2007 07 11 ...
Страница 156: ......
Страница 157: ......
Страница 158: ......
Страница 159: ......
Страница 164: ...Layout Analog Bottom View Analog Bottom 3139 243 37473_sh132_a3 eps 2007 07 11 ...
Страница 165: ...Layout Analog Board Testpoint Overview Analog Testpoint Overview 3139 243 37473_sh132_a3 eps 2007 07 11 ...
Страница 166: ...Layout Analog Top View Analog Top 3139 243 37473_sh132_a3 eps 2007 07 11 ...
Страница 172: ... 1 LUFXLW LDJUDPV DQG 3 D RXWV D RXW LJLWDO 7RS 9LHZ ...
Страница 182: ... 1 D RXW LJLWDO RWWRP 9LHZ LUFXLW LDJUDPV DQG 3 D RXWV ...
Страница 183: ... 1 7HVW 3RLQWV 2YHUYLHZ IRU LJLWDO RDUG ORFN LDJUDPV DYHIRUPV LULQJ LDJUDP LJLWDO RDUG 7HVW 3RLQWV RYHUYLHZB B BD HSV ...
Страница 187: ...Layout HDMI Bottom View HDMI Bot View 3139 243 36753_sh132_a4 eps 2007 07 11 ...
Страница 188: ...Layout HDMI Board Testpoint Overview HDMI Testpoint Overview 3139 243 36753_sh132_a4 eps 2007 07 11 ...
Страница 189: ...Layout HDMI Bottom View HDMI Top View 3139 243 36753_sh132_a4 eps 2007 07 11 ...


