background image

4

1.

Read these instructions.

2.

Keep these instructions.

3.

Heed all warnings.

4.

Follow all instructions.

5.

Do not use this apparatus near
water.

6.

Clean only with dry cloth.

7.

Do not block any ventilation
openings. Install in accordance with
the manufacturer´s instructions.

8.

Do not install near any heat sources

such as radiators, heat registers, stoves, or
other apparatus (including amplifiers) that
produce heat.

9.

Do not defeat the 
safety purpose

of the

polarized or 
grounding-type plug.
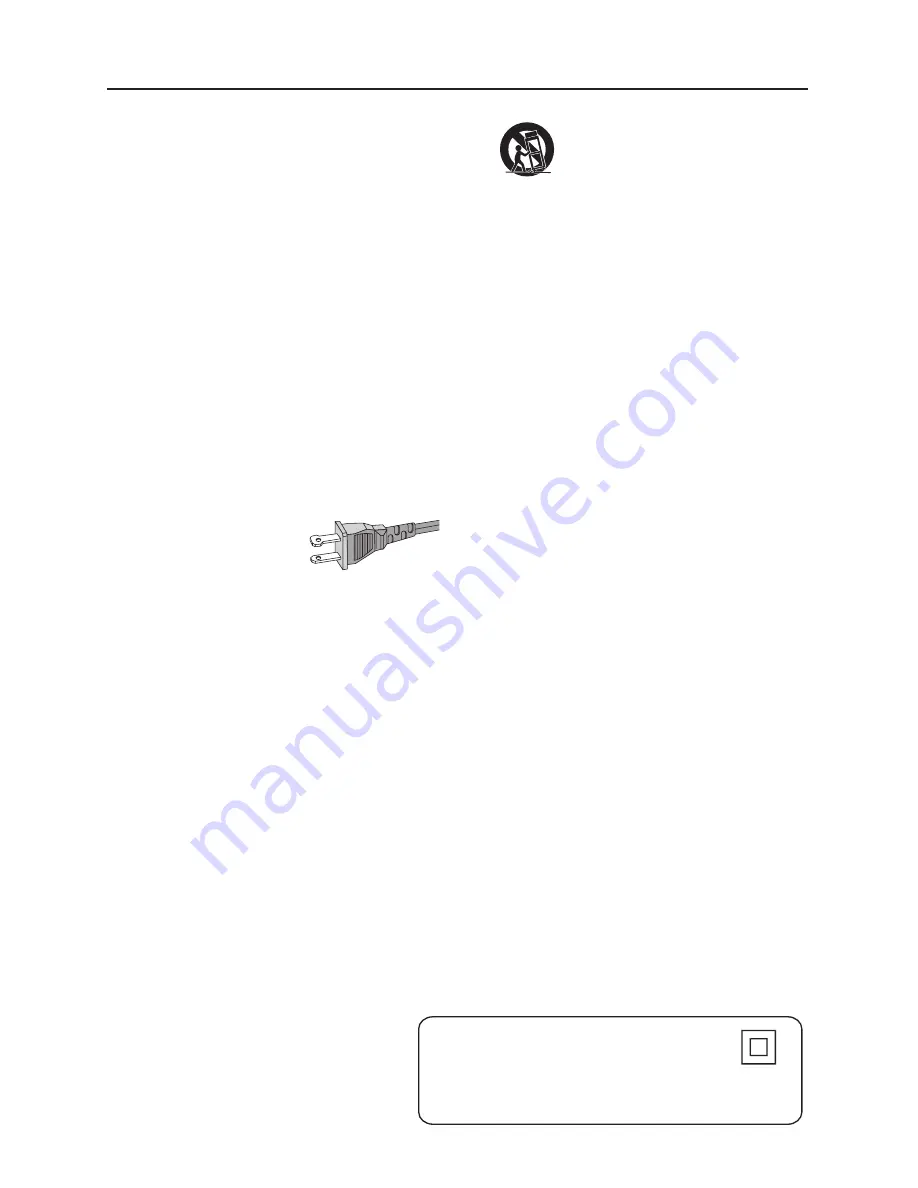
A polarized plug has two blades with one
wider than the other. A grounding type plug
has two blades and a third grounding prong.
The wide blade or the third prong are
provided for your safety. If the provided plug
does not fit into your outlet, consult an
electrician for replacement of the obsolete
outlet.

10.

Protect the power cord

from being

walked on or pinched, particularly at plugs,
convenience receptacles, and the point
where they exit from the apparatus.

11.

Only use attachments/accessories

specified by the manufacturer.

12.

Use only with the cart,

stand,

tripod, bracket, or table specified
by the manufacturer or sold with
the apparatus. When a cart is
used, use caution when moving
the cart/apparatus combination
to avoid injury from tip-over.

13.

Unplug this apparatus

during lightning

storms or when unused for long periods of
time.

14.

Refer all servicing

to qualified service

personnel. Servicing is required when the
apparatus has been damaged in any way,
such as power-supply cord or plug is
damaged, liquid has been spilled or objects
have fallen into the apparatus, the apparatus
has been exposed to rain or moisture, does
not operate normally, or has been dropped.

15.

Battery usage 

CAUTION

– To

prevent battery leakage which may result in
bodily injury, property damage, or damage
to the unit:

Install 

all

batteries correctly,

+

and 

-

as

marked on the unit.

Do not mix batteries (

old

and 

new

or

carbon

and 

alkaline

, etc.).

Remove batteries when the unit is not used
for a long time.

EL 6475-E004: 02/8

IMPORTANT SAFETY INSTRUCTIONS

AC Polarized

Plug

WARNING

To reduce the risk of fire or electric
shock, this apparatus should not be 

exposed to rain or moisture, and 

objects filled with liquids, such as vases, 
should not be placed on this apparatus. 

Class II equipment symbol

This symbol indicates that the unit has  

a double insulation system

Содержание DVD963SA

Страница 1: ... problems Philips Representatives can help you get the most from your new product by explaining Hookups FirstTime Setup and Feature Operation Do not attempt to return this product to the store For fast help call us first 1 800 531 0039 Thank you for making Philips a part of your home S EE WHY INSID E I M PORTAN T Return yourWarranty Registration Card within 10 days DVD963SA DVD963SA ...

Страница 2: ...rms your right to maximum protection under the terms and conditions of your Philips warranty Owner Confirmation Your completed Warranty Registration Card serves as verification of ownership in the event of product theft or loss Model Registration Returning your Warranty Registration Card right away guarantees you ll receive all the information and special offers which you qualify for as the owner ...

Страница 3: ...ng or disassembly is prohibited Laser safety This unit employs a laser Due to possible eye injury only a qualified service person should remove the cover or attempt to service this device USE OF CONTROLS OR ADJUSTMENTS OR PERFORMANCE OF PROCEDURES OTHERTHAN THOSE SPECIFIED HEREIN MAY RESULT IN HAZARDOUS RADIATION EXPOSURE NOTE PICTURES SHOWN MAYBE DIFFERENT BETWEEN COUNTRIES LASER Type Semiconduct...

Страница 4: ...t or table specified by the manufacturer or sold with the apparatus When a cart is used use caution when moving the cart apparatus combination to avoid injury from tip over 13 Unplug this apparatus during lightning storms or when unused for long periods of time 14 Refer all servicing to qualified service personnel Servicing is required when the apparatus has been damaged in any way such as power s...

Страница 5: ...age 20 Features 20 Other Feature 20 Operation Basic Playback 21 Playing a DVD Video 21 Playing a disc 21 Smart Resume 21 Playing aVideo CD 22 Playing a disc 22 Playing a Super Audio CD 22 Playing a disc 22 Sound Mode SACD playback 22 Playing an Audio CD 23 Playing a disc 23 Special DVD features 23 Title Disc Menu 23 Camera Angle 23 Changing the Audio Language 23 Subtitle Language 23 SpecialVCD SVC...

Страница 6: ...t allow about 2 5cm 1 inch of free space all around the player for adequate ventilation Do not expose your player to extreme of temperature or humidity If the DVD player is brought directly from a cold to a warm location or is placed in a very damp room moisture may condense on the lens of the disc unit inside the DVD player Should this occur the DVD player would not operate normally Leave the pow...

Страница 7: ...yer with conventional two channel stereo CD audio information The two layers are read from the same side of the disc The HD layer is read by and DVD laser The bottom reflective layer with conventional CD sound is read by the CD laser through the second semi transmissive HD layer SACD Disc Types Single layer Disc Dual layer Disc Hybrid layer Disc HD layer HD layer HD layer CD layer SACD reality in ...

Страница 8: ... next frame B PLAY starts audio video playback 9 STOP to stop playback AUDIO DIRECT shut down video circuity to obtain better audio quality Disc tray SOUND selects required sound mode for SACD CD Stereo or Multi channel if available for DVD VCD Stereo Dolby Surround compatible 3D sound or Multi channel PROGRESSIVE SCAN LED lights up when the P Scan is ON and the output is Progressive Output UPSAMP...

Страница 9: ... outlet COAXIAL Digital audio out connect to AUDIO inputs of a digital coaxial audio equipment OPTICAL Digital audio out connect to digital optical audio equipment CVBS VIDEO OUT connect to CVBS Video inputs of a TV AUDIO OUT Left Right connect to AUDIO inputs of a TV Pr Cr Pb Cb Y VIDEO OUT connect to a TV with Pr Cr Pb Cb Y inputs Progressive Interlace SELECTOR to switch between Progressive or i...

Страница 10: ...knowledge menu selection S search backward go to a previous chapter or track REPEAT repeat chapter track title disc REPEAT A B repeat a specific segment SHUFFLE play tracks in random order SCAN play the first 10 seconds of each track chapter within a disc POWER B switch DVD player ON or go to standby on mode 0 9 numerical key pad select numbered items in a menu DISPLAY activate deactivate CD text ...

Страница 11: ...to your amplifier receiver stereo orTV Warning Never make or change connections with the power switched on Connect the DVD SACD player directly to yourTV instead of eg aVCR to avoid distortion because DVD video discs are copy protected Do not connect the DVD SACD player AUDIO OUT to the PHONO IN of your amplifier or receiver Connecting to aTV Make one of the following connections depending on the ...

Страница 12: ...Progressive Interlace Connecting to an Audio System 1 You can also listen to the sound of audio CDs stereo SACDs and DVDVideo discs by connecting to an optional stereo system 2 Connect the FRONT LEFT RIGHT AUDIO OUT on the DVD player multichannel audio output to the Left and Right AUDIO IN on the stereo system Important For the best sound quality with playback of audio CDs and stereo SACDs always ...

Страница 13: ... VIDEO Y Pb Cb Pr Cr SURROUND SURROUND L R CENTER SUB WF L R 1 2 MAINS L R Progressive Interlace 3 1 2 AMPLIFIER TO VIDEO IN OR TO S VIDEO IN TO COMPONENT VIDEO IN OR Connecting to a Digital Audio Equipment If your receiver has an Dolby Digital DTS or MPEG2 decoder 1 Connect the COAXIAL or OPTICAL DIGITAL AUDIO OUT of the DVD player to the COAXIAL or OPTICAL DIGITAL AUDIO IN on your receiver 2 Set...

Страница 14: ...D player should match If all three are not the same the DVD may play in only black and white the picture may roll continuously or the picture may appear distorted To activate the conversion refer to page 16 Switching On 1 Connect the AC power cord to the power outlet 2 Switch on theTV and DVD SACD player 3 Set theTV to the correctVideo IN channel eg EXT1 EXT2 AV1 AV2 AUDIO VIDEO etc refer to your ...

Страница 15: ...he menu bar 3 Press 4 to activate the Personal Preferences menu To select a preferred menu language 1 Press 4 until r is highlighted 2 Press 2 to enter the submenu and 4 to choose Menu language 3 Use the 3 4 to select your preferred menu language For navigation and selection in Personal preferences 1 Use the 1 2 3 4 keys to toggle through the functions and select your preferred option 2 Press OK t...

Страница 16: ...ect TV System 2 Press 3 or 4 to select PAL NTSC or AUTO Notes If you have a PAL onlyTV ensure that yourTV System setting is PAL AUTO can only be selected when using aTV that supports both the NTSC and PAL systems multisystems This setting is applicable for CVBS output on cinch and SCART only Slight picture distortions may occur due to this conversion This is normal Thus the AUTO format is most sui...

Страница 17: ...he player will perform DTS decoding or Dolby Digital 5 1 channel decoding when applicable and Dolby Pro Logic decoding on DVD Video andVideo CD discs with 2 channel sound tracks No Dolby Pro Logic decoding is done with Super Audio CD discs Stereo In this setting the 5 1 audio channels are down mixed to a stereo signal Select this setting when connecting to aTV stereo amplifier receiver etc Notes M...

Страница 18: ...is 96kHz the digital output will be muted to comply with the standards In such cases select 48kHz to enable digital output CD Upsampling Allows you to upsample your CD from 44 1 kHz 16 bit to various higher sampling rate for superior CD reproductions The selections are OFF 96kHz 24bits 172kHz 24bits The upsampling of CD can be toggle ON OFF via the AUDIO key on the remote control Speaker settings ...

Страница 19: ...area where the surround speakers are about 150cm nearer to the listening position than the front speakers and the center speaker is in line with the front speakers To adjust for other listening area arrangements adapt delay times according to the following Digital Surround Measure the distances in centimeters from the front speaker plane and from the surround speaker plane to the listening positio...

Страница 20: ...g features Child Lock When Child Lock is set to ON a 4 digit code needs to be entered in order to playback discs Parental control Allows the conditional presentation of DVDs containing Parental Control information see Access Control section Status Window Displays the current status of the player and appears with the menu bar When disc playback is stopped it is displayed with the Temporary Feedback...

Страница 21: ... screen use 431 2 keys or numerical keys on the remote control to select an option and continue playback 3 If the titles are numbered press the numerical keys or use the 4 3 keys to select desired title in the menubar 4 To stop playback press STOP Smart Resume The playback of a disc can be interrupted at any point and then resumed from the point where the playback was last stopped The RESUME featu...

Страница 22: ... DVD player s display 2 Press PLAY The current track number and its elapsed playing time will be displayed 3 Playback will stop at the end of the disc 4 To stop playback press STOP 5 Disc Resume feature is also applicable forVCDs and SVCDs see Smart Resume section Playing a Super Audio CD Super Audio CDs contain onlyTRACKS Select tracks using the menubar on theTV screen or by pressing the numerica...

Страница 23: ...ess the appropriate numerical key or use the 4 3 2 1 keys to highlight your selection in the DVD menu and press OK to confirm Title Disc menu 1 Press DISC MENU If the current title has a menu the menu will appear on the screen Otherwise the disc menu will be displayed 2 If disc menu is available on the disc audio language subtitle options chapters for the title and other options will appear for se...

Страница 24: ...the CD text display press DISPLAY on the remote control during playback 4 Press DISPLAY on the remote control again to switch on the text display mode General Features Note Unless stated all operations described are based on remote control use Some operations can be carried out using the menu bar on theTV screen Moving to another title chapter DVD VCD When a disc has more than one title track or c...

Страница 25: ... your chosen chapter track press SCAN again or press PLAY Repeat DVD Repeat chapter title disc To repeat the current chapter press REPEAT REPEAT CHP appears on the front display To repeat the current title press REPEAT a second time REPEAT TTL appears on the front display To repeat the entire disc press REPEAT a third time REPEAT DISC appears on the front display To exit Repeat mode press REPEAT a...

Страница 26: ...n allows you to enlarge the video image and to pan through the enlarged image 1 Select ZOOM 2 Press 3 4 to activate the ZOOM function and select the required zoom factor 1 33 or 2 or 4 Playback will continue The selected zoom factor and Press OK to pan appears below the menu bar The zoomed picture will appear on theTV screen 3 Press OK to confirm the selection The panning icon appears on the scree...

Страница 27: ...top playback 2 Press 4 to go to the list of available tracks 3 Use 2 and 1 to select the required tracks or directly using remote control numeric key 4 Press OK to store the selected tracks The track number will be added to the list of selections Switching a Program ON OFF 1 Use 34 to move and select desired tracks 2 Press 2 or 1 to select either ON or OFF Erasing a track in a Program 1 Use 4 to g...

Страница 28: ...c Playback In compliance with the SDMI digital out is muted while playing MP3 discs Due to the recording nature of Digital Audio MP3 DAM only Digital Audio music will play The disc reading time may exceed 10 seconds due to the large number of songs compiled onto one disc For multi session discs with different formats only the first session will be available Album Title Playback This feature allows...

Страница 29: ...d and can always be played even if the Child Lock is set to ON Notes The player memory can maintain 120 authorized Child safe disc titles A disc will be placed in the list when Play Always is selected Each time a child safe disc is played it will be placed on top of the list When the list is full the last disc in the list will be replaced when a new disc is added Double sided DVDs and multi volume...

Страница 30: ... 4 Press the 2 key 5 Select a country using 3 4 6 Press OK or 1 to confirm then press 1 again to exit the menu Changing the 4 digit code 1 When disc playback is stopped select ACCESS CONTROL in the Personal Preferences menu using the 3 4 keys 2 Enter the current 4 digit code 3 Move to CHANGE CODE using the 4 and press the 2 key 4 Enter the new 4 digit code 5 Enter the code a second time and reconf...

Страница 31: ...uency 50kHz Front 40kHz Surround Center Subwoofer Signal Noise 1kHz 125 dB Dynamic Range 1kHz 105 dB Crosstalk 1kHz 120 dB Total Harmonic Distortion 1kHz 100 dB AUDIO PERFORMANCE TYPICAL DA Converter 24 bits DVD fs 96 kHz 4 Hz 44 kHz CD Video CD fs 44 1 kHz 4 Hz 20 kHz S Video CD fs 48 kHz 4 Hz 22 kHz fs 44 1 kHz 4 Hz 20 kHz Signal Noise 1kHz 120 dB Dynamic Range 1kHz 95 dB Crosstalk 1kHz 110 dB T...

Страница 32: ...eo signal of your television orVideo CD See NTSC PAL Conversion Settings No sound or distorted sound Adjust the volume Check that the speakers are connected correctly Cleaning the Cabinet Use a soft cloth slightly moistened with a mild detergent solution Do not use a solution containing alcohol spirits ammonia or abrasives Cleaning Discs When a disc becomes dirty clean it with a cleaning cloth Wip...

Страница 33: ... the player off then on disc is removed again The player does not respond to Aim the remote control directly at the sensor on the remote control the front of the player Reduce the distance to the player Replace the batteries in the remote control Re insert the batteries with their polarities signs as indicated Buttons do not work or player stops To completely reset the player unplug the AC respond...

Страница 34: ...to provide service although there may be a delay if the appropriate spare parts and technical manual s are not readily available MAKE SURE YOU KEEP Please keep your sales receipt or other document showing proof of purchase Attach it to the owner s manual and keep both nearby Also keep the original box and packing material in case you need to return your product BEFORE REQUESTING SERVICE Please che...

Страница 35: ...35 ...

Страница 36: ...and services described herein are not necessarily available in all countries Due to continuous product improvements this document is subject to change without notice Printed in Hungary SL 0312 17 1 PHILIPS CONSUMER ELECTRONICS NORTH AMERICA Knoxville Tennessee 37914 1810 USA ...

Отзывы: