19
6. Built-in Webcam with Microphone
6. Built-in Webcam with
Microphone
Note
USB connection between the monitor
and PC is required for the webcam to
operate.
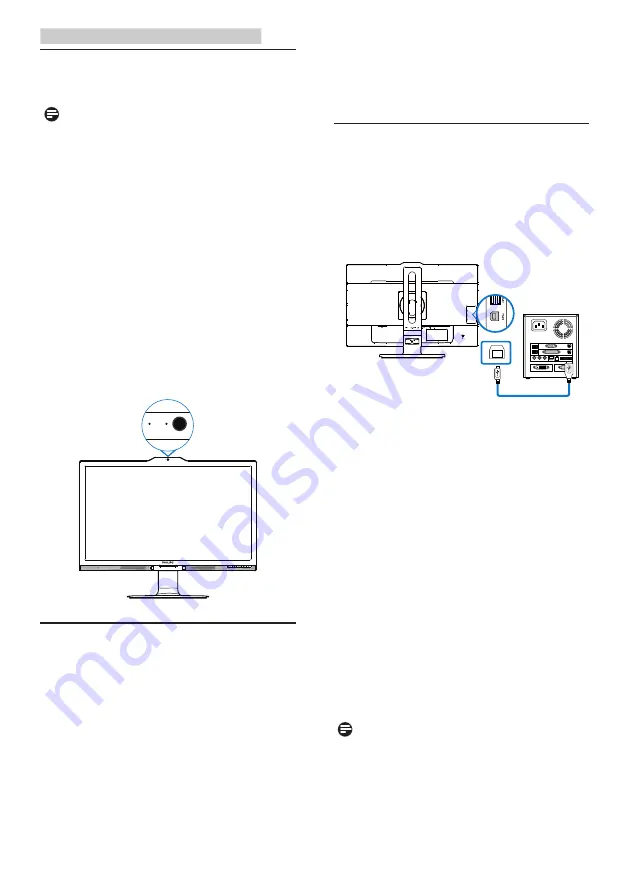
The webcam allows you to hold
interactive video and audio conference
calls over the internet. It provides the
most convenient and easiest way for
Business persons to communicate with
other colleagues around the world,
saving a lot time and money. Depending
on the software used, it also allows
you to take photos, share files or use
microphone only without enabling
webcam. The microphone and activity
light are on the side of the webcam on
the bezel of the display.
6.1 PC system requirements
•
Operating system : Microsoft
Windows 7, Microsoft Windows
Vista, Microsoft Windows XP
(SP2), and any other OS whichever
support UVC/UAC (USB Video Class
compliant / Audio Class compliant)
under USB 2.0 standard
•
Processor: 1.6GHz or above
•
RAM: 512MB (for XP) / 1GB(for Vista
and Windows7)
•
Hard disk space: minimum 200MB
•
USB: USB 2.0 or above, UVC/UAC
support
6.2 Using the device
Philips monitor with webcam device
transmits video and sound data through
USB port. It can be enabled by simply
connecting your USB cable from your PC
to the USB upstream of USB hub on the
side IO of monitor.
•
Connect your USB cable to
upstream of USB hub on the side IO
of monitor from PC side.
•
Turn on your PC and make sure
your internet connection is working
properly.
•
Download and enable free
online chatting software such as
Skype, Internet Messenger, or
equivalent. You can also subscribe
to dedicated software in case of
more sophisticated usage like multi
conferencing, etc.
•
The webcam is ready to be used for
chat or make the phone call through
internet service.
•
Make the call by following the
instruction of the software program.
Note
To set up a video call, you must have
a reliable Internet connection, an ISP,
and software like Internet messenger
or video phone call program. Make
sure the person that you are calling has


