BDL4290VL
22
5. Change your settings
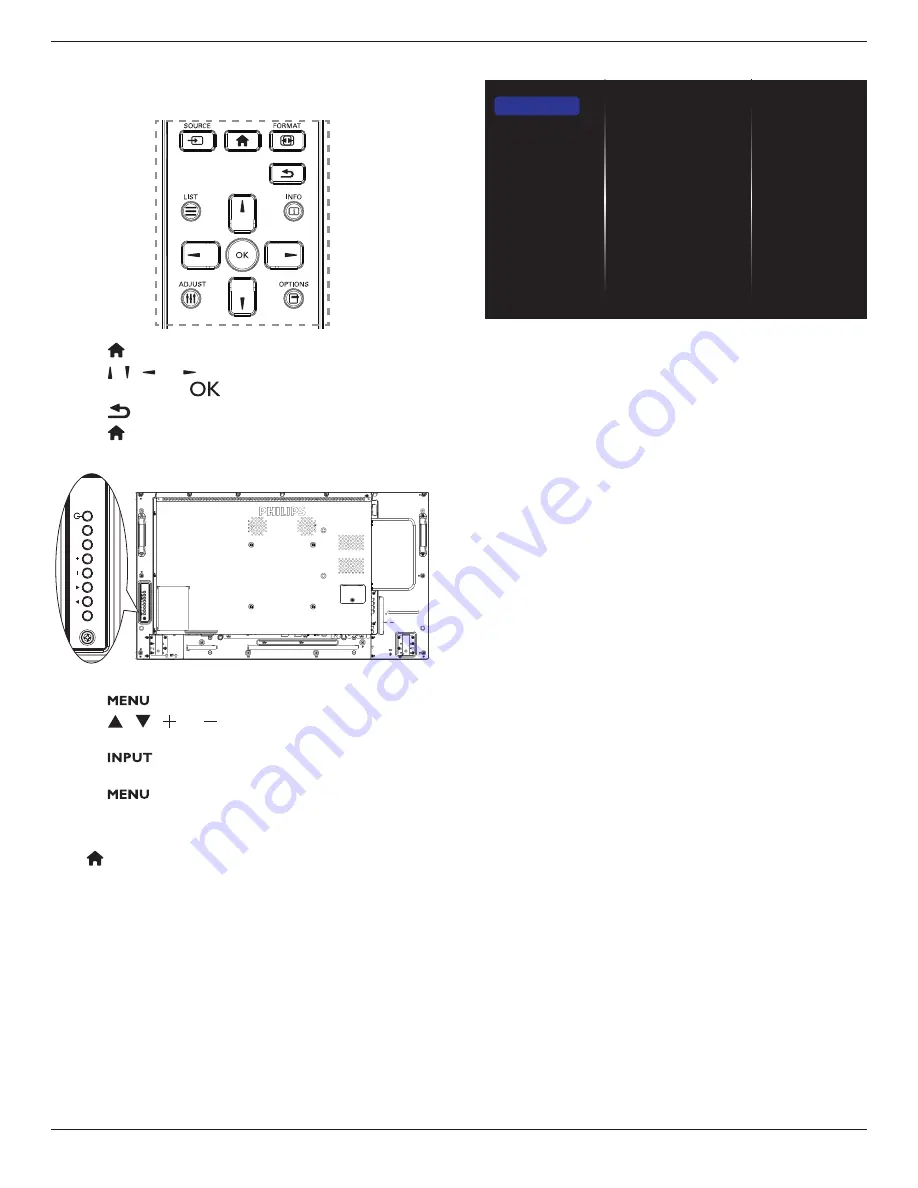
Using the remote control:
1. Press
[ ] HOME
button to display the OSD menu.
2. Press
[ ] [ ] [ ]
or
[ ]
button to choose its menu item or to
adjust its value. Press
[
]
button to confirm.
3. Press
[
] BACK
button to go back to the previous menu layer.
4. Press
[ ] HOME
button to exit the OSD menu.
Using the display’s control buttons
MUTE
INPUT
MENU
1. Press
[
]
button to display the OSD menu.
2. Press
[ ]
[ ]
[ ]
or
[ ]
button to choose menu item or adjust
its value.
3. Press
[
]
button to confirm menu selection and enter its
submenu.
4. Press
[
]
button to exit the OSD menu.
5.1. Settings
Press
[ ] HOME
button.
5.1.1. Picture
m
e
n
u
Picture style
Backlight
Colour
Sharpness
Noise reduction
MPEG artifact reducti...
Picture enhancement
Advanced
Scan mode
Format and edges
Picture reset
Picture
Sound
Tiling
Network
Storage
General settings
Adv.
Picture style
Choose a predefined picture setting.
Backlight
Adjust the brightness of this display’s backlight.
Colour
Adjust the colour saturation of the picture.
Sharpness
Adjust the sharpness of the picture.
Noise reduction
Choose the amount of noise reduction for the picture.
MPEG artifact reduction
Smoothen transitions and haziness in the digital picture.
Picture enhancement
Fine-tune each pixel to match surrounding pixels and produce a brilliant,
high-definition image.
• {
Advanced sharpness
}: Enable superior sharpness, especially on
lines and contours in the picture.
• {
Dynamic contrast
}: Dynamically enhance the details in the
dark, medium and light areas of the picture.
• {
Colour enhancement
}: Dynamically enhance the vividness and
details of colours.
Advanced
Access advanced settings such as gamma, tint, video contrast and so on.
• {
Gamma
}: Adjust the non-linear setting for picture luminance
and contrast.
The options are
Native, S gamma, 2.2, 2.4
, and
D-Image
.
Note
:
D-Image
is to simulate DICOM curve for X-ray photos.
• {
Tint
}: Change the colour balance.
• {
Custom tint
}: Customise colour balance setting. Only available
if {
Tint
}
{
Custom
} is chosen.
• {
Video contrast
}: Adjust video contrast.
• {
Brightness
}: Adjust screen brightness.
• {
Hue
}: Adjust screen hue.
Scan mode
Change the display area of the image.
Format and edges
• {
Picture format
}: Change the picture format.
• {
Zoom
}: Expands the horizontal and vertical sizes of the image
simultaneously.


