5
EN
English
3 Getting started
Installing.the.filter
Remove all packaging of the filter before first use.
Note:
Make sure the air purifier is unplugged from the electrical outlet before installing the filter.
1
Pull the back cover and remove it from the appliance (fig
c
).
2
Pull the filter from the appliance (fig
d
).
3
Remove all packaging materials of the air purification filter (fig
e
).
4
Put the filter back into the appliance (fig
f
).
5
Reattach the back cover (fig
g
).
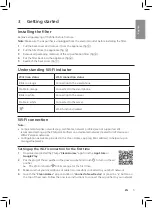
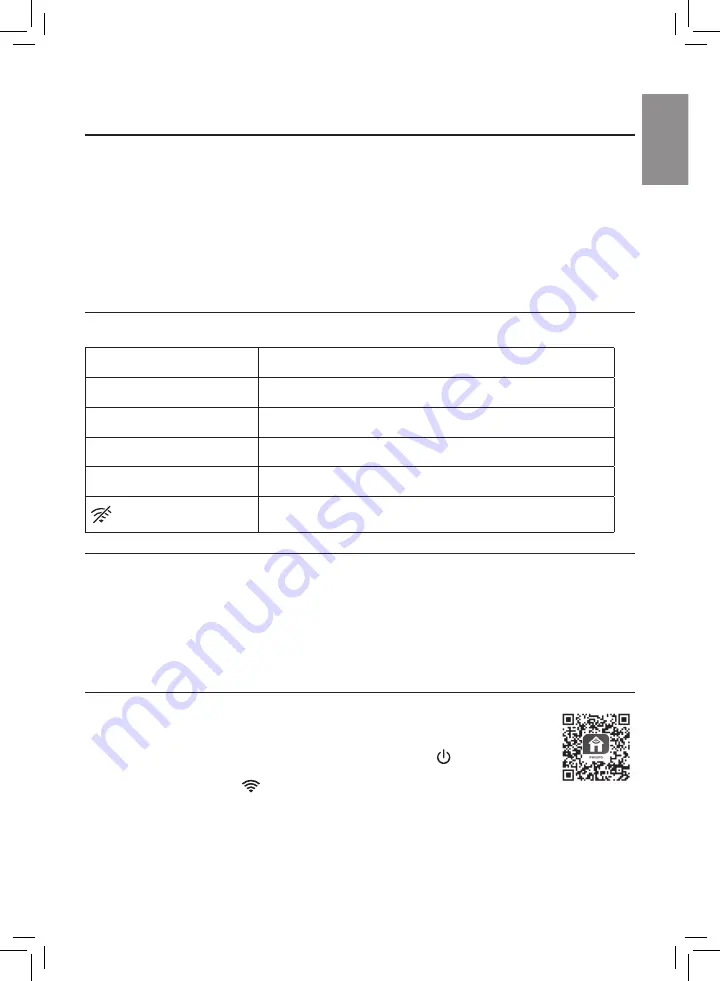
Understanding.Wi-Fi.indicator
Wi-Fi.icon.status
Wi-Fi.connection.status
Blink in orange
Connecting to the smartphone
Stable in orange
Connected to the smartphone
Blink in white
Connecting to the server
Stable in white
Connected to the server
Wi-Fi function disabled
Wi-Fi.connection
Note:
•
Corporate/Enterprise networks (e.g. certificates, network profiles) are not supported. We
recommend setting up the Philips Air Purifiers on a dedicated network created for IoT devices or
WPA2-Personal networks.
•
Configuration details are provided in the Clean Home+ app (e.g. Mac address) to help set-up on
managed networks.
Setting.up.the.Wi-Fi.connection.for.the.first.time
1
Download and install the Philips “
Clean Home+
” app from the
App Store
or
Google Play
�
2
Put the plug of the air purifier in the power socket and touch to turn on the air
purifier.
»
The Wi-Fi indicator
blinks orange for the first time.
3
Make sure that your smartphone or tablet is successfully connected to your Wi-Fi network.
4
Launch the “
Clean Home+
” app and click on “
Connect a New Device
” or press the “
+
” button on
the top of the screen. Follow the onscreen instructions to connect the air purifier to your network.


