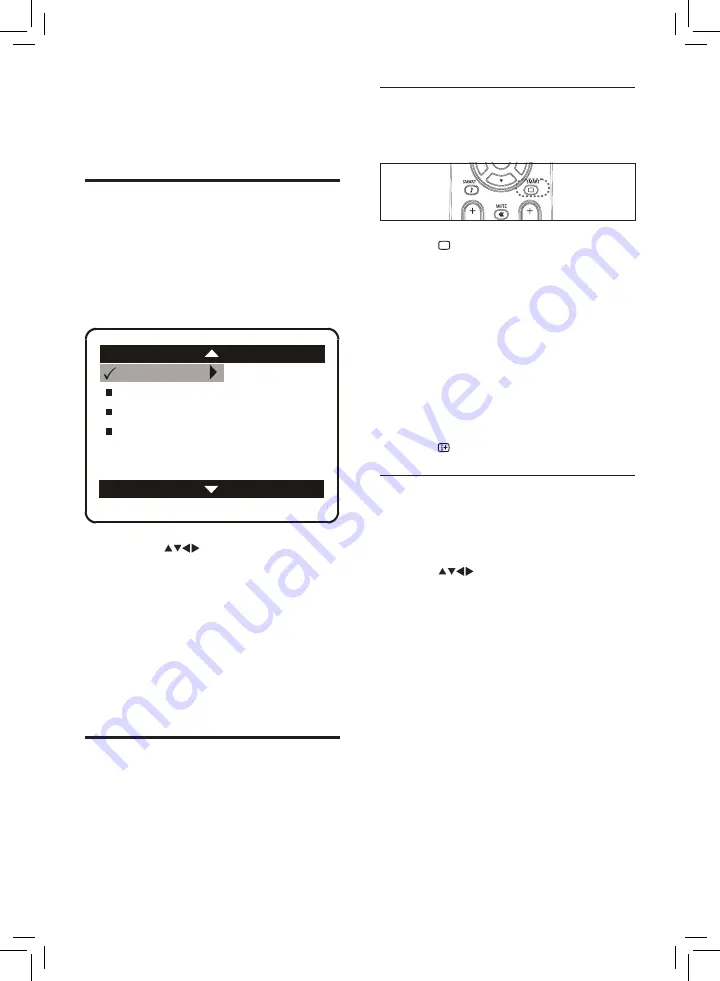
background image

Use smart picture

Use smart picture to apply pre-defined 

picture settings.


1

  Press 

 SMART

 repeatedly to cycle 

through the four settings.

• 

[PERSONAL]

Settings are set to your 

preference.

• 

[SOFT]

Emphasises warm colours. 

This setting is suitable for watching 

TV programmes in dimly lit rooms.

• 

[NATURAL]

Emphasises original 

colours.

• 

[RICH]

Emphasises vibrant colours. 

This is suitable for watching TV 

programmes in brightly lit rooms.

2

  Press   to exit.

Manually adjust picture settings

1

  Press 

MENU

.

2

  Press the navigation buttons to enter the 

[PICTURE]

 menu.

3

  Press 

 to select from the following 

settings and adjust:

• 

[BRIGHTNESS]

Adjusts the intensity 

and details of dark areas.

• 

[COLOUR]

Adjusts colour 

saturation.

• 

[CONTRAST]

Adjusts the intensity 

of bright areas, keeping dark areas 

unchanged.

• 

[SHARPNESS]

Adjusts the sharpness 

of an image.

• 

[COLOUR TEMP]

Adjusts the 

orange or blue tones in a picture.

• 

[CO]

Select ON to 

optimise the picture contrast for 

enhanced picture quality.

6  Use more of 

your product

Access TV menus

Menus help you to install channels, change 

picture and sound settings and access other 

features.

1

  Press 

MENU

.

The menu screen appears.


»


2

  Press the 

 to select and navigate 

through one of the following menus.

• 

[PICTURE]

Adjusts the picture 

setting for optimal viewing.

• 

[SOUND]

Adjusts the sound setting.

• 

[FEATURES]

Accesses features.

• 

[INSTALL]

Selects the channel 

installation menu.

3

  Press 

MENU

 to return to the previous 

menu.

Change picture and sound 

settings

Change picture and sound settings to suit your 

preferences. You can apply pre-defined settings 

or change settings manually.

CO

BRIGHTNESS

MAIN

INSTALL

PICTURE

FEATURES

SOUND

COLOUR
CONTRAST
SHARPNESS
COLOUR TEMP

Содержание 21PT3429/94

Страница 1: ...Register your product and get support at www philips com welcome EN User manual 21PT8439 94 21PT3429 94 ...

Страница 2: ......

Страница 3: ... Risk of injury fire or power cord damage Never place the TV or any objects on the power cord To easily disconnect the TV power cord from the power outlet ensure that you have full access to the power cord at all times When you disconnect the power cord always pull the plug never the cable Disconnect the TV from the power outlet and aerial before lightning storms During lightning storms never touc...

Страница 4: ...he European Directive 2006 66 EC which cannot be disposed with normal household waste Please inform yourself about the local rules on separate collection of batteries because correct disposal helps to prevent negative consequences for the environmental and human health Screen care Avoid stationary images as much as possible Stationary images are images that remain on screen for extended periods of...

Страница 5: ... Numeric buttons Selects a channel or setting l A CH Alternative channel Toggles between the current channel and the last viewed channel m AV Selects connected devices n DUAL Switches from Stereo to Mono o VOL Volume Increases or decreases volume p SMART Smart Sound Cycles through pre defined sound settings q MENU Toggles the main menu on or off r Not used s TIMER Sets the timers 2 Your product Co...

Страница 6: ...cted to VIDEO Controls and indicators a POWER Switches the product on or off b Remote control sensor c Standby indicator d CHANNEL Switches to the next or previous channel e VOLUME Increases or decreases volume Back connectors a AV OUT Audio and video output to analogue devices such as another TV or a recording device b AV IN VIDEO and AUDIO L R Analogue audio and video input from analogue or digi...

Страница 7: ...TV AV out AV in CVI ANT VCR with Video and Audio output sockets Set top box Sockets on the rear of the TV 3 Get started Connect devices This section describes how to connect various devices with different connectors Note Different types of connectors may be used to connect a device to your TV depending on availability and your needs Connect devices Connect a video player AV sockets on the rear of ...

Страница 8: ...Press to select SOUND SYS 5 Press to select your sound system 6 Press INFO to exit 4 Install channels Automatically install channels Note Make sure that the TV is in TV mode Press AV repeatedly until the channel number appears 1 Press MENU 2 Select INSTALL AUTO STORE 3 Press to start the automatic search 4 Press MENU to exit Manually install channels Note Make sure that the TV is in TV mode Press ...

Страница 9: ...his section helps you perform basic operations see Use more of your product on page 11 Switch your TV on off or to standby To switch on If the standby indicator is off press at the front of the TV If the standby indicator is red press on the remote control To switch to standby Press on the remote control The standby indicator switches to red To switch off Press at the front of the TV The standby i...

Страница 10: ...ght areas keeping dark areas unchanged SHARPNESS Adjusts the sharpness of an image COLOUR TEMP Adjusts the orange or blue tones in a picture CONTRAST Select ON to optimise the picture contrast for enhanced picture quality 6 Use more of your product Access TV menus Menus help you to install channels change picture and sound settings and access other features 1 Press MENU The menu screen appears 2 P...

Страница 11: ...TCH TO Sets a channel to switch to when the TV is programmed to switch to another channel 4 Press MENU to exit Use smart sound Use smart sound to apply pre defined sound settings 1 Press SMART repeatedly to cycle through the four settings PERSONAL Settings are set to your preference VOICE Emphasises high tones treble boosted THEATRE Emphasises sensation to action bass and treble boosted MUSIC Emph...

Страница 12: ...ou contact Philips These numbers are printed on the back of the TV and on the packaging 7 Troubleshooting This section describes commonly encountered issues and accompanying solutions General TV issues The TV does not switch on Disconnect the power cable from the power outlet Wait for one minute then reconnect it Check that the power cable is securely connected The remote control is not working pr...

Страница 13: ... Picture Diagonal screen size 54 cm Visible diagonal screen size 51cm Tuner Reception Transmission Antenna input 75 ohm coaxial TV system PAL BG Video playback NTSC PAL Remote control Batteries 2 x AAA LR03 type Connections CVI AV in AV out Antenna Side Video in and Audio in L R Power Mains power AC 110 240 V 50 60 Hz Power consumption 72 W ...

Страница 14: ...ations are subject to change without notice Trademarks are the property of Koninklijke Philips Electronics N V or their respective owners Philips reserves the right to change products at any time without being obliged to adjust earlier supplies accordingly The material in this manual is believed adequate for the intended use of the system If the product or its individual modules or procedures are ...

Страница 15: ... 2009 Koninklijke Philips Electronics N V All rights reserved Document order number 0764 21U12000 03 ...

Отзывы: