


Rev.: 2004-001-GB
14
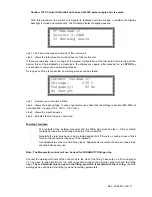
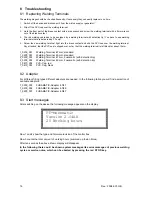
7 Other Functions
7.1 Function menu
After connecting the control unit to the power supply and switching on, wait until the machine indicates it
readiness by two bleeps . Then aboard all error messages by pressing the red
STOP
-button.
by simultaneous pressing of the
START
and
STOP
-key the following two menu items will be shown in
the display:
>Contrast
System config.
> (Cursor)
Marks the active menu item.
START (short)
Moves the cursor upwards.
STOP (short)
Moves the cursor downwards.
START (3 sec.)
Selects the marked menu item.
STOP (3 sec.)
Cancels the function menu.
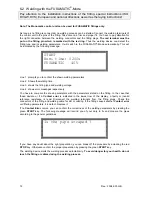
7.2 Adjusting the display contrast
By selecting the
contrast
function of the
function menu
you can adjust the display contrast to your
needs:
Contrast
240
The shown value is only given for your orientation. It can show numbers from 100 to 250. At high values
the belong to strong contrast.
START (short)
Increases the display contrast.
STOP (short)
Decrease the display contrast.
START (3 sec.)
Accepts the shown display contrast.
STOP (3 sec.)
Cancels the function.
Содержание monomatic
Страница 2: ...Rev 2004 001 GB 2 Rev 2004 001 GB...
Страница 6: ...Rev 2004 001 GB 6...
Страница 19: ...Rev 2004 001 GB 19 9 Conformity Declaration...
Страница 20: ...Rev 2004 001 GB 20...
Страница 21: ...Rev 2004 001 GB 21...


