E
E
11
10
5. Lifting
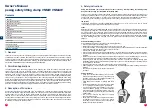
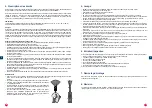
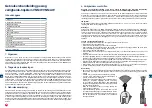
• Make sure that the working load limit (WLL) and the jaw opening of the clamp (as indicated on the clamp) agree
with the load to be hoisted.
• Mount the lifting clamp onto the hoisting mechanism, either:
- safety shackle directly to a crane hook,
- coupling link or D-shackle,
- sling or chain, if necessary in conjunction with a U bolt or D-shackle.
• Ensure that all attachments have been tested and are of the correct tonnage. Make sure that coupling links and
shackles are of sufficient dimensions to allow the clamp to move freely in the hook.
• Make sure the clamp has no visible signs of damage.
• Check the lifting eye and chain for clearly visible signs of wear and/or damage.
• Check the draw spring. It should demonstrate clear spring action when the safety lever is in the closed position.
• Check the frame and jaw for signs of damage, cracks, and deformation (these may indicate overloading).
• Using the lever, make sure the clamp opens and closes smoothly (if the clamp’s operation is difficult, the clamp
must be removed from service and inspected).
• Make sure the plate is free from grease and dirt in the place where the lifting clamp will be fastened.
• Use the lever to open the clamp.
• Position the jaw completely over the plate. Make sure that the clamp is positioned so as to balance the load when
it is being lifted.
• Ensure that the lifting eye is facing towards the centre of the beam or structure.
• Close the clamp by turning the lever back fully.
• Lift carefully so that the lifting equipment has a proper grip. Make sure the clamp is not slipping.
• If the load is slipping, follow the instructions in this chapter on lifting again.
• If load continues to slip, see the next chapter, Chapter 6 – Maintenance.
• Make sure the load is stably positioned before removing the clamp.
6. Maintenance
For optimal safety, carry out a complete inspection of the clamp at least once a month. Stop using the clamp if:
• It is split or deformed, especially around the jaw corners
• The lifting eye and chain are visibly deformed
• The draw spring is stretched or broken
• The spindles are visibly deformed
• The retaining pins are missing
• The side(s) of the body at the location of the spacer pins is/are pressed in
• The clamping jaws are damaged or dirty
If any of the above-mentioned faults are observed, refer to Chapter 7 and Chapter 8.
7. Disassembling/Assembling
In view of the complexity of the clamp, it should only be assembled or disassembled by pewag austria GmbH or by
an authorised mechanical repair and service centre. See also Section 8.
8. Overhaul
At least once (1x) a year, or if the clamp becomes damaged, the clamp should be inspected, tested and if necessary,
overhauled by pewag austria GmbH or a recognised mechanical repair centre.
9. Disposal
At the end of its working life, the VNMW safety lifting clamp can be treated as scrap iron, provided it is rendered unfit
for further use.
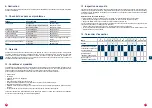
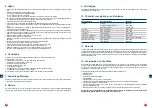
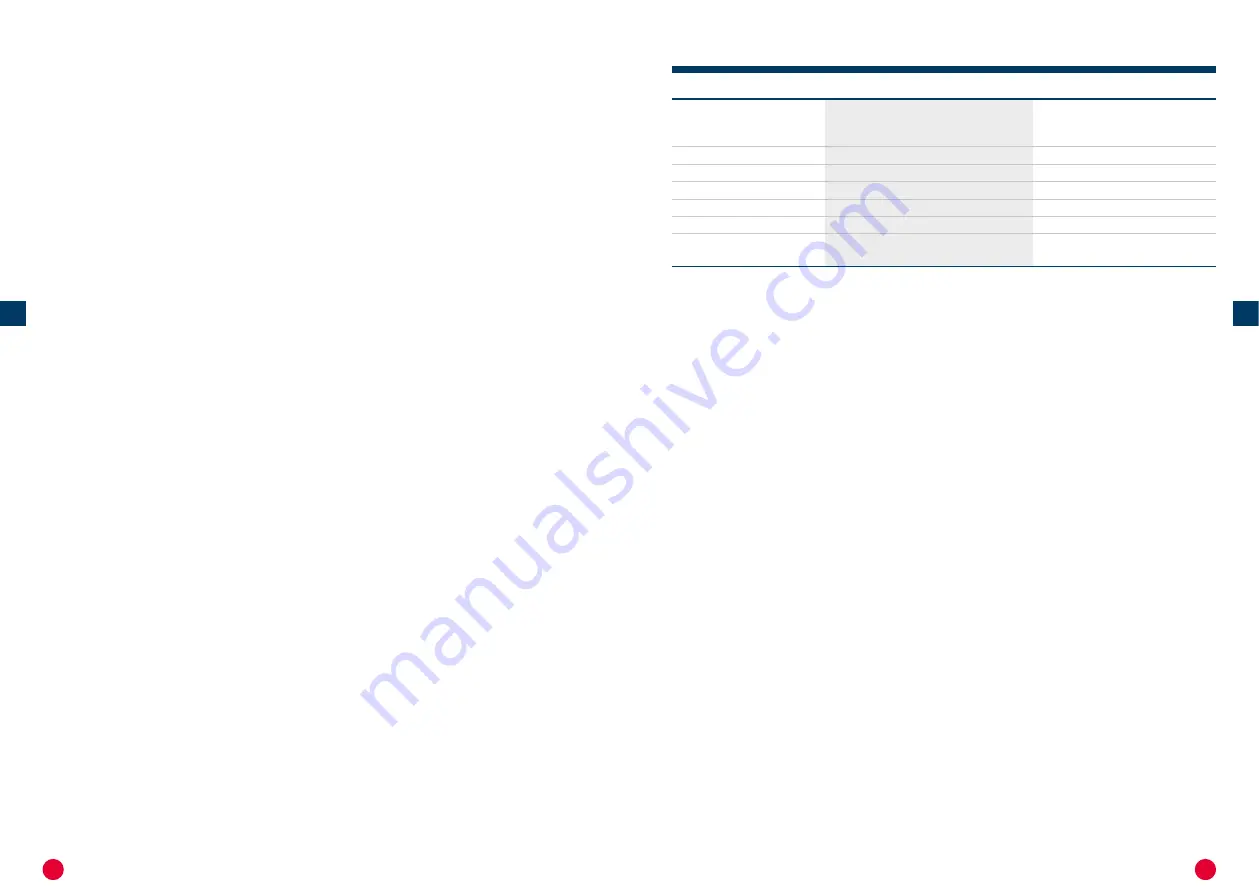
Fault
Possible Cause
Action
Load slipping
Load dirty
Lifting eye and chain deformed
Jaw is open and bent
Clean load
Replace
Replace
Body bent
Clamp overloaded
Reject clamp
Lifting eye oval shape
Clamp overloaded
Reject clamp
Spring defective
Spring worn out
Overhaul clamp
Spindles bent or worn
Clamp overloaded
Reject clamp
Retaining pins missing
Incorrectly assembled
Fit new retaining pins
Clamp difficult to open/close
Clamp worn out
Clamp contaminated
Reject clamp
Clean
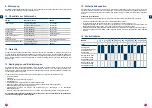
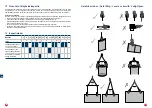
10. Troubleshooter’s Checklist
11. Warranty
pewag austria GmbH provides end users with a 5 year warranty on its lifting clamps. This warranty is applicable to
the original end user of the lifting clamps. This warranty applies only if the clamp has been inspected, checked and
maintained in line with the manufacturer's and distributor's instructions during the entire warranty period. This warranty
period of 5 years is valid from the day of purchase, and is subject to all conditions and specifications stated in this
document.
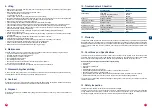
12. Conditions and Specifications
This warranty only covers faults which are due to production errors and occur during normal use. The warranty covers
no wear to components such as pivots, cam assemblies, lock springs etc. Should there be any kind of failure within
this warranty period, the lifting clamp will be replaced or repaired following assessment by the producer.
No warranty is given to clamps with faults due to the following:
• Normal wear
• Overload
• Wrong and/or careless use
• Damages
• Not following procedures and measures
• Hoisting differing material than indicated on clamp or stated in the user's manual
• Adapting and/or modifying of the pewag clamp
• The incompetent use of the clamp, and not following all indications which are stated in the user's manual
• When maintenance and/or revision has not been carried out by an authorised pewag distributor
The producer is not responsible for incidental damage or damage due to incorrect use of the clamps as well as from
violation of this manual.
13. Safety Inspection
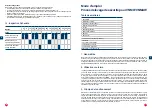
All inspections and repairs must be recorded in a maintenance diagram.
This does not only apply to your own inspections but also to inspections which are carried out by your authorised
pewag distributor. When the clamp is handed in for maintenance and inspection, you must always provide the
maintenance diagram. Please note the date of recommissioning in the maintenance diagram.
Содержание VNMAW
Страница 14: ...27 26...


