150
8
Settin
g
s
7
Press the four-way controller (
5
).
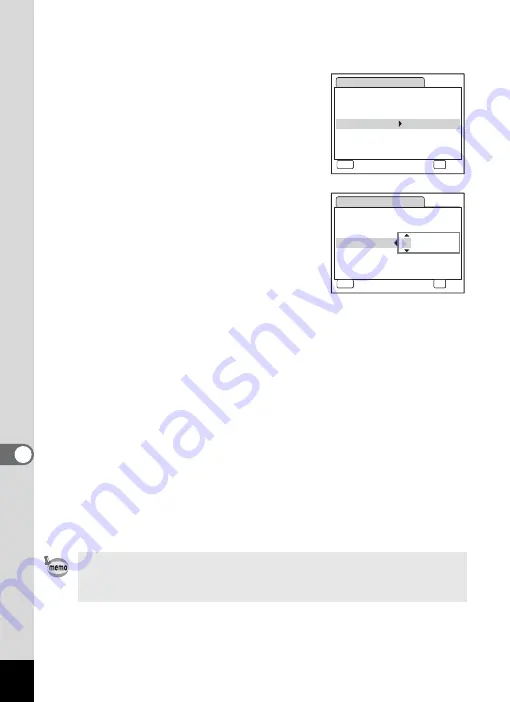
The frame returns to [Date Style].
8
Press the four-way controller (
3
).
The frame moves to [Date].
9
Press the four-way controller (
5
).
The frame moves to one of the following
items depending on the date style set in
Step 4.
For [mm/dd/yy] month (Example: [01])
For [dd/mm/yy] day (Example: [01])
For [yy/mm/dd] year (Example: [2007])
The following operations and screens use [mm/dd/yy] as an example.
The operations are the same even if another date style has been
selected.
10
Use the four-way controller (
23
) to change the month.
11
Press the four-way controller (
5
).
The frame moves to the day field. Use the four-way controller (
23
) to
change the day. After changing the day, change the year in the same
manner.
12
Change the time in the same way as in Steps 7 to 10.
If you selected [12h] in Step 6, the setting switches between am and
pm corresponding to the time.
13
Press the
4
button.
The date and time settings are saved.
When you finish the settings and press the
4
button, the camera
clock is reset to 00 seconds. To set the exact time, press the
4
button
when the time signal (on the TV, radio, etc.) reaches 00 seconds.
D a t e A d j u s t
MENU
C a n c e l
D a t e S t y l e
mm dd yy
D a t e
0 1 / 0 1 / 2 0 0 7
Ti m e
0 : 0 0
OK
O K
/
/
24h
D a t e A d j u s t
MENU
C a n c e l
D a t e S t y l e
mm dd yy
D a t e
0 1 / 0 1 / 2007
Ti m e
0 : 0 0
OK
O K
/
/
24h


