Pentair SPACOMMAND CP3800 Series Скачать руководство пользователя страница 25

SCREENLOGIC

®

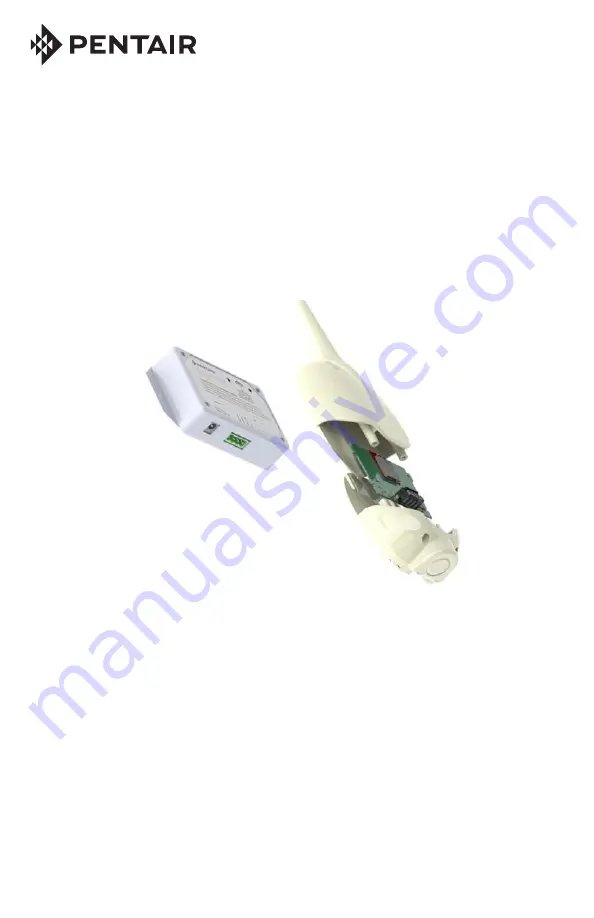
 INTERFACE Wireless Connection Kit Installation Guide

IMPORTANT SAFETY INSTRUCTIONS

READ AND FOLLOW ALL INSTRUCTIONS

SAVE THESE INSTRUCTIONS

INSTALLATION GUIDE

SCREENLOGIC

®

 INTERFACE

WIRELESS CONNECTION KIT

FOR INTELLITOUCH

®

 AND EASYTOUCH

®

 CONTROL SYSTEMS

Содержание SPACOMMAND CP3800 Series

Страница 1: ...tion and User s Guide IMPORTANT SAFETY INSTRUCTIONS READ AND FOLLOW ALL INSTRUCTIONS SAVE THESE INSTRUCTIONS INSTALLATION AND USER S GUIDE SPACOMMAND SPA SIDE REMOTE FOR EASYTOUCH INTELLITOUCH and COM...

Страница 2: ...Compool button assignments 3 SpaCommand Spa Side Remote Kit Contents 4 SPACOMMAND SPA SIDE REMOTE INSTALLATION 5 Recess Mount Installation with Mud Box 5 Spa Side Remote Mounting Space Dimensions 5 RE...

Страница 3: ...ion about the installation operation and safe use of this spa side remote This Guide should be given to the owner and or operator of this product IMPORTANT WARNING AND SAFETY INSTRUCTIONS The SpaComma...

Страница 4: ...The Pentair Aquatic Systems iS10 spa side remote can be upgraded with the SpaCommand spa side remote using the existing iS10 mud box For more information see page 11 Spa Side Remote Buttons LEDs 1 Aux...

Страница 5: ...iTouch automation User s Guide P N 521075 for details The Spa mode will automatically switch off after 24 hours TIME LED View the current EasyTouch or IntelliTouch system time RPM LED Press the button...

Страница 6: ...1 0 5 1 2 5 E L B A C 0 5 1 T N E M E C A L P E R D N A M M O C A P S 2 0 5 1 2 5 E L B A C 0 5 2 T N E M E C A L P E R D N A M M O C A P S 3 0 5 1 2 5 S L E B A L T N E M E C A L P E R D N A M M O C...

Страница 7: ...level for connection to the spa side remote and load center SPACOMMAND SPA SIDE REMOTE INSTALLATION IMPORTANT The SpaCommand spa side remote is water resistant however it is recommended not to totall...

Страница 8: ...lliTouch Control System load center Step 2 Install Mud Box Mount the mud box over the conduit Trim the conduit so that it just protrudes into the mud box The fit will be loose Orient the mud box so th...

Страница 9: ...and secure the bracket in place with the two screws 3 Connect the Cable Connector Place the O RING over the round socket on the rear of the remote Insert the connector into the socket The connector is...

Страница 10: ...the conduit is perpendicular to the surface 90 Conduit may be reduced down to inch or inch after the first three inches cast into the spa area Run the conduit using sweep elbows for turns from the spa...

Страница 11: ...hat the top edge of the remote is level with the spa wall coping see diagram below Align the bracket screw holes with the two plastic anchors and secure the bracket in place with the two screws 4 Conn...

Страница 12: ...nstallation use the new o ring provided in the kit 5 Connect the new remote Place the o ring over the round socket on the rear of the remote Insert the connector into the socket The connector is keyed...

Страница 13: ...from the bracket that is attached to the spa wall and remove the Remove the rubber skirt ring and discard Remove the four screws securing the bracket to the spa wall Discard the bracket and iS10 remot...

Страница 14: ...ustration on next page Position the bracket Use the vertical screw hole slots to position the bracket so that the top edge of the remote is level with the spa wall coping see diagram on next page Note...

Страница 15: ...nd User s Guide 12 Mud box Bracket Screw x2 Slot x4 Upper screw hole used for mud box alignment Top edge of spa Cut the lower edge of the conduit to align cable connector and bracket Spa wall coping U...

Страница 16: ...s and insert the new plastic wall anchors provided in the kit 3 Position the bracket Insert the remote wire connector through the bracket opening Use the vertical screw hole slots to position the brac...

Страница 17: ...the EasyTouch Automation load center on page 15 See Wiring the SpaCommand Spa Side remote to the IntelliTouch Automation load center on page 15 14 Conduit Cable connector Bracket Remote rear view O R...

Страница 18: ...d to complete the electrical installation of the EasyTouch and IntelliTouch Pool Spa control system MUST BE PERFORMED BY A SERVICE PROFESSIONAL AND OR UNDER DIRECT SUPERVISION OF A QUALIFIED ELECTRICI...

Страница 19: ...and route the wire up through the low voltage raceway to the main circuit board 6 Strip back the cable jacket one inch and the cable conductors inch 7 EasyTouch System Insert the wires into the COM PO...

Страница 20: ...ontrol panel press the Reset button then press the 1 button The three System Control LEDs will start flashing see page 16 2 On the remote press the both the DOWN arrow button and the 1 button at the s...

Страница 21: ...the next three buttons 2 Use the DOWN UP buttons to scroll through the circuit names and find the circuit you would like to assign to the Spa side button you are working on 4 Press SAVE when complete...

Страница 22: ...can specify any SpaCommand Spa Side Remote button to control different functions by assigning each button to a specific circuit The spa side remote has 10 assignable circuit buttons five button on th...

Страница 23: ...emote can still only control up to eight functions Note The SS8 must also have been plumbed with a minimum one inch conduit Remove SS8 Remote Unplug the SS8 from the load center then pull out the unit...

Страница 24: ...d States and or other countries Unless expressly noted names and brands of third parties that may be used in this document are not used to indicate an affiliation or endorsement between the owners of...

Страница 25: ...onnection Kit Installation Guide IMPORTANT SAFETY INSTRUCTIONS READ AND FOLLOW ALL INSTRUCTIONS SAVE THESE INSTRUCTIONS INSTALLATION GUIDE SCREENLOGIC INTERFACE WIRELESS CONNECTION KIT FOR INTELLITOUC...

Страница 26: ...s equipment generates uses and can radiate radio frequency energy and if not installed and used in accordance with the instructions may cause harmful interference to radio communications However there...

Страница 27: ...home to the equipment pad Wireless Connection Kit Contents The following items are included in the Wireless Connection kit One ScreenLogic Interface indoor wireless transceiver with AC power adapter...

Страница 28: ...unt the outdoor transceiver antenna near the IntelliTouch or EasyTouch Control System Load Center and connect the transceiver to the COM port connector located in the IntelliTouch or EasyTouch Control...

Страница 29: ...Touch Indoor Control Panel Existing PC Ethernet cable RJ45 CAT 5 Ethernet cable RJ45 CAT 5 DSL or Cable Modem RJ45 Cable distance limits Ethernet cable distance limit 300 feet Four wire cable distance...

Страница 30: ...e transceiver is oriented in an upright position with the antenna pointing upwards Use a pencil to mark the four mounting points Drill four 3 16 in diameter holes into the mounting surface and insert...

Страница 31: ...iring Case Transceiver connector Transceiver case retaining screws x2 Back plate mounting point 4x Transceiver circuit board COM PORT screw terminal connector on IntelliTouch or EasyTouch Control Syst...

Страница 32: ...taining screws securing the high voltage cover panel and remove it from the enclosure 3 Loosen the two access screws securing the control panel 5 Panel retaining screw Cover panel not shown Access scr...

Страница 33: ...n the circuit board as shown on page 6 Using a small flat blade screwdriver secure the wires with the screws Make sure to match the color coding of the four wires Pin 4 Red 15 Pin 3 Yellow DT Pin 2 Gr...

Страница 34: ...Load Center front door Fasten the spring latche s 10 Switch the power on to the IntelliTouch or EasyTouch Control System Load Center 11 Proceed to the Connect the ScreenLogic Interface Indoor Wireless...

Страница 35: ...520489 Step 2 Connect the ScreenLogic Interface IndoorWirelessTransceiver to the ScreenLogic Interface Protocol Adapter To connect the ScreenLogic Interface indoor wireless transceiver to the ScreenLo...

Страница 36: ...iPhone is a registered trademark of Apple Corporation Unless expressly noted names and brands of third parties that may be used in this document are not used to indicate an affiliation or endorsement...

Отзывы: