


3
INTRODUCTION
1. Introduction
The dome camera is ideal for indoor installation in commercial and residential
environment. With 3-axis mount support, it provides flexible installation on a ceiling
or wall even at an angle.
1.1 Before You Begin
Please read this manual carefully before you install the dome camera. Keep this
guide for future reference.
1.2 Unpack Everything
Check that the items received match those listed on the order form and packing slip.
The dome camera packing box includes:
•
One fully assembled camera
•
Two screw anchors and TP4x15mm tapping screws
•
One 2nd video monitor output cable
•
One mounting template
•
One user manual
If any parts are missing or damaged, contact the dealer you purchased the camera
from.
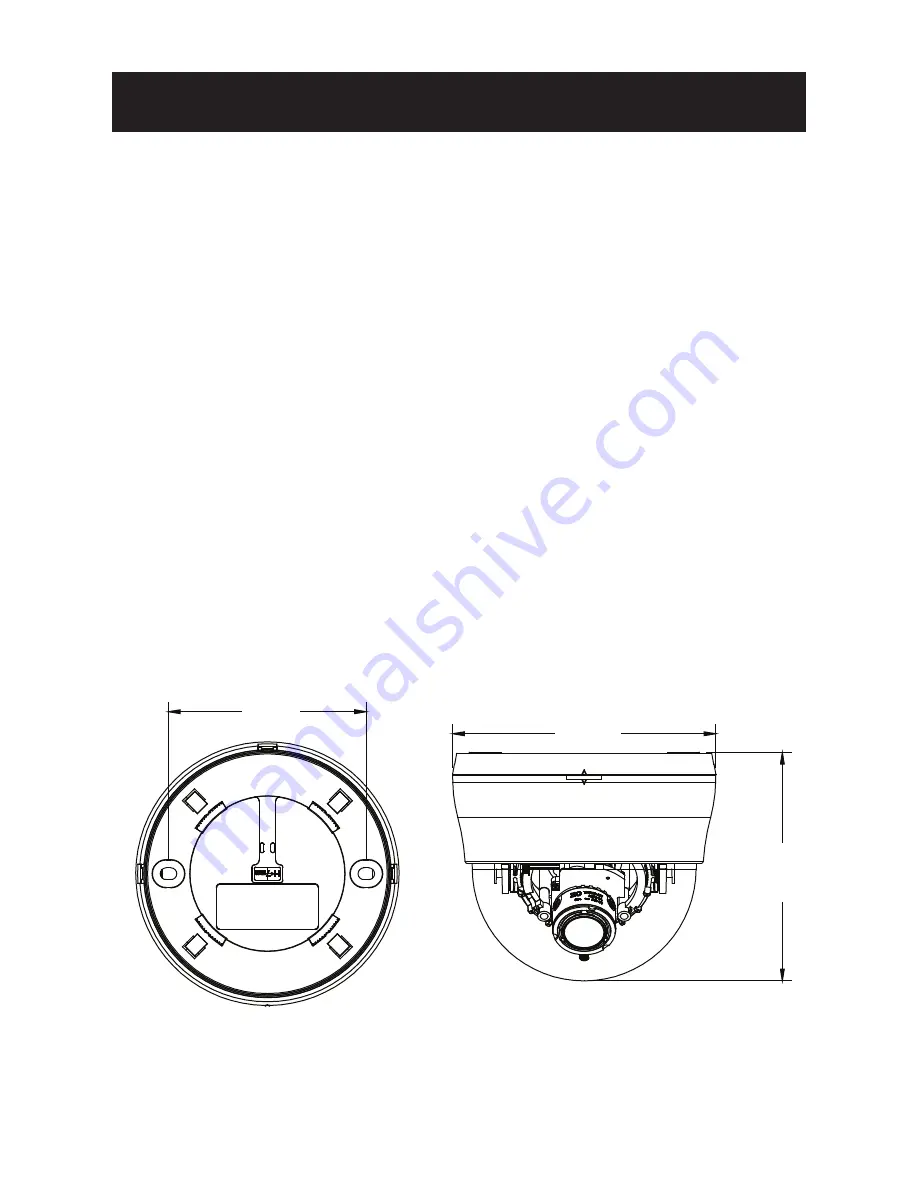
1.3 Dimensions
112mm
84mm
9
7mm
Содержание PDCHRDN-700AI
Страница 2: ......


