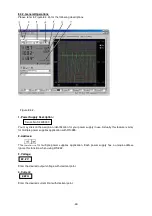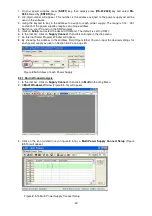
4. Click on
AutoScan Connect
, the window will show the connected power supply indicated as "Y"
as shown in Figure 8.5.1b.
5. Click on the box along the
Visible
Column to set the desired power supply to be visible in
Multiple
Data Log Window
.
6. Users can type in the location and description of the power supplies in the
Location
and
Description
Column.
7. Click on
Close
button (bottom right hand corner) to return to
Multiple Data Log Window.
8. Remarks:
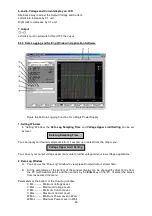
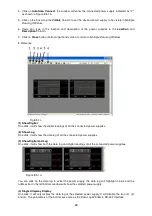
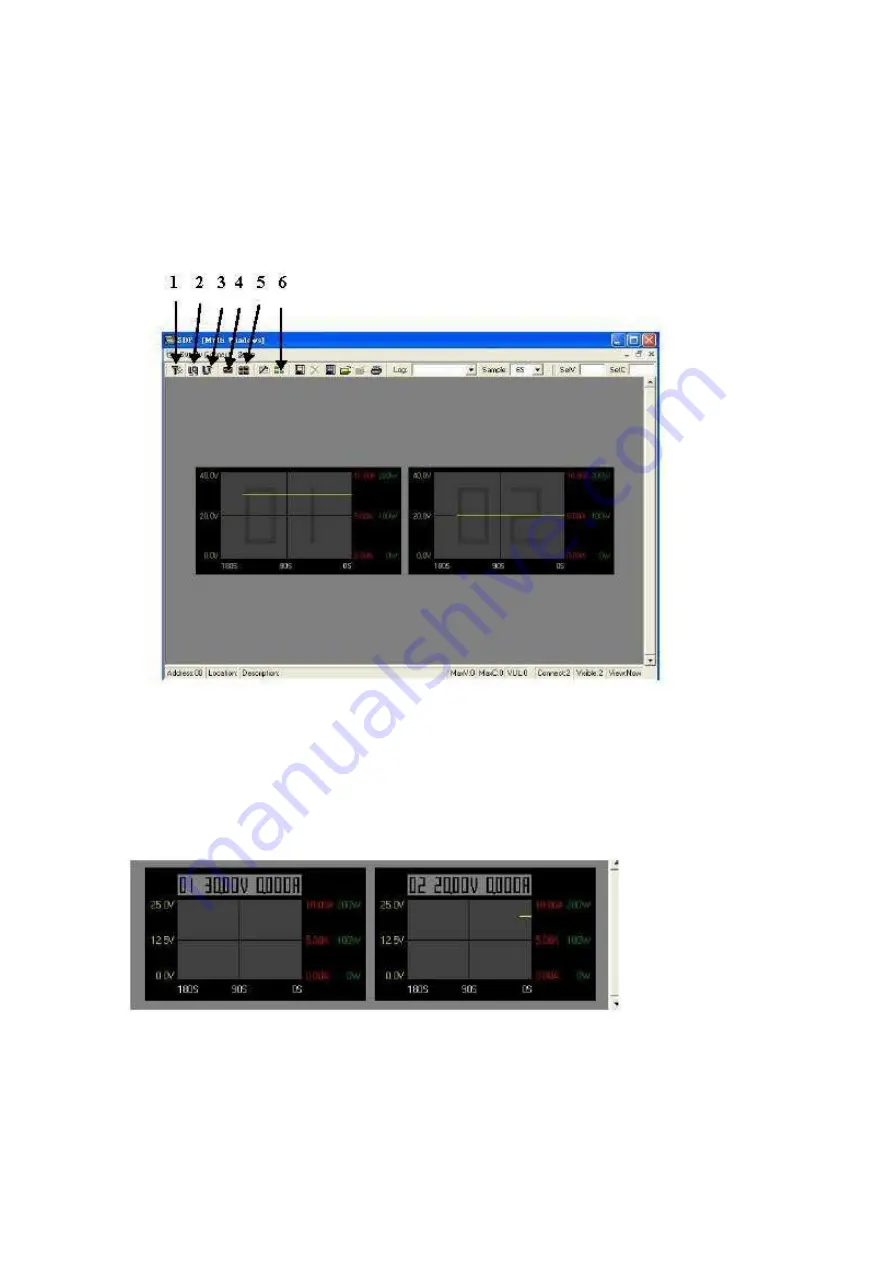
Fig 8.5.1c
(1) Show Digital
One click, it will show the digital readings of all the connected power supplies
(2) Show Log
One click, it will show the data log of all the connected power supplies.
(3) Show Digital and Log
One click, it will show both the data log and digital readings of all the connected power supplies.
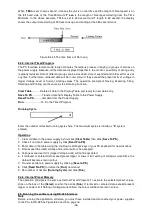
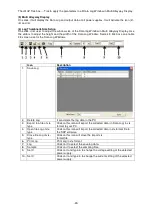
Figure 8.5.1d
You can click on the data log to select the power supply, the data log will highlight in blue and the
address bar in the left bottom window will show the selected power supply.
(4) Single Alleyway Display
One click, it will only display the data log of the selected power supply. It will disable the icon (2), (3)
and (4). The parameters at the bottom are same as the Data Log Window in RS-232 Interface.
-48-


