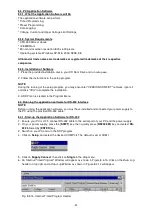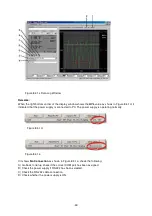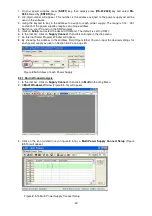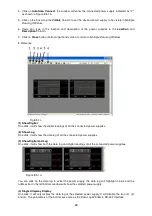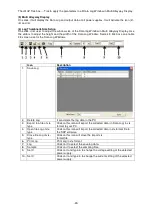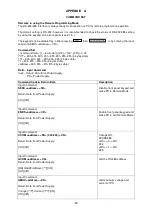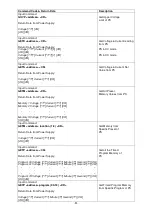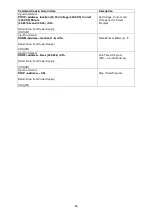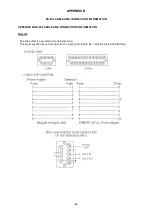
3. Log Name
Click cursor on "Untitle", and type in a name for your log.
4. Log Description
You can type in your detail description of your log.
5. Save Log
a) This function (and the icon) becomes effective when a Log Name is entered to replace the
"Untitle".
b) Click on it will save the current data onto the PC.
c) To retrieve the data, go to the drop menu at (3)
Log Name
.
6. Export to a File of MS Excel "xls" type
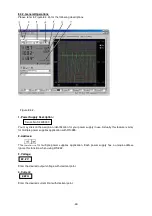
Click on this icon will export the collected data (in the
Save Log
) in "
xls
" format to your PC.
7. Open File Log of "xls type"
Click on this icon will import the collected data in .
xls
format file to the SDP software.
8. Delete Log
Click on this icon will delete the current log or retrieved log on the display at a current Log Name.
9. Print Log in "xls" Format
8.4.4. The Time Frame Concept of Data Log
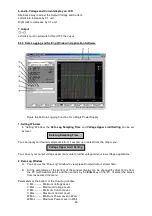
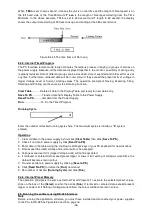
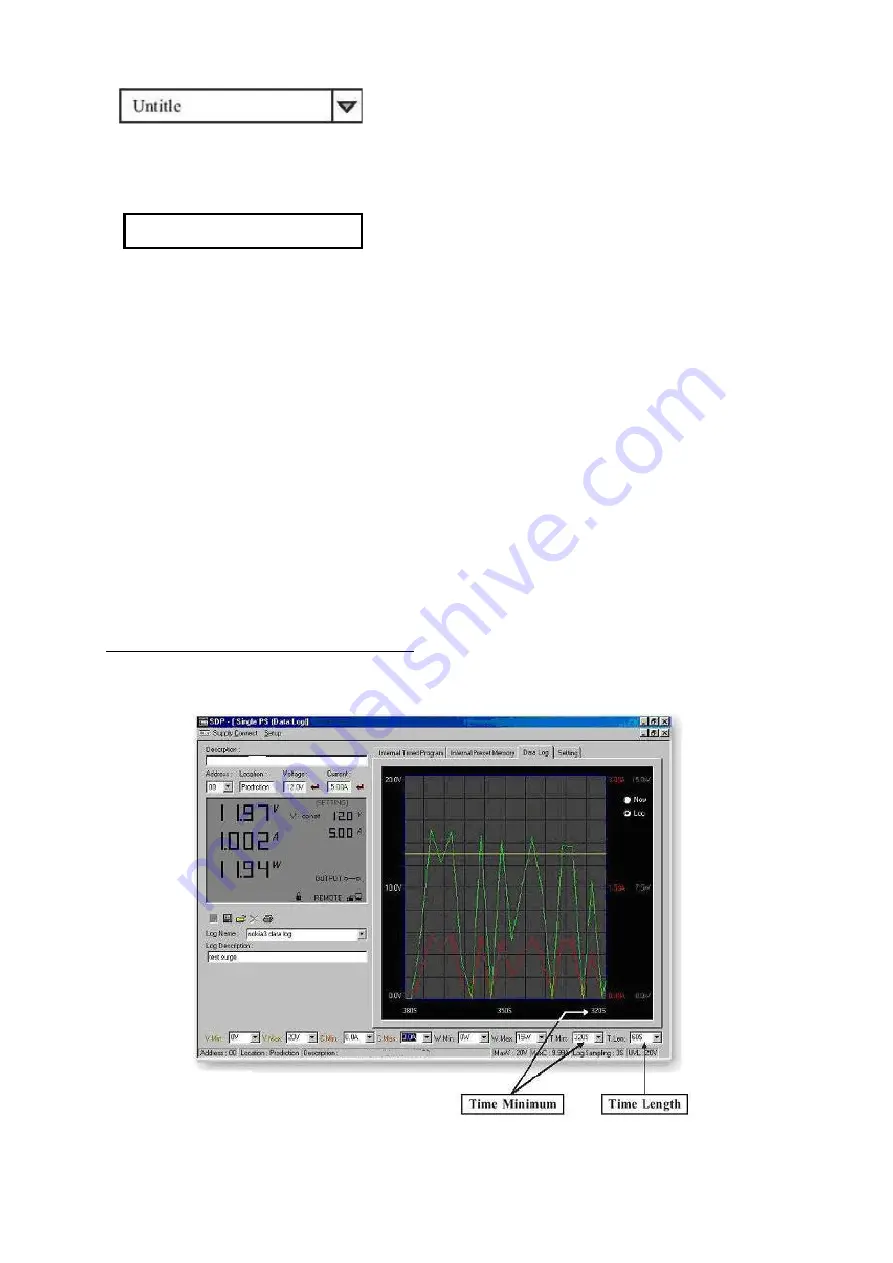
The data logging function starts when the software is started running. In figure 8.4.4a, it shows the
data log in graphical presentation. The
Time Minimum
and
Time Length
can be set by Users. Both
parameters are adjustable so that any time period of the log can be displayed for analysis.
Figure 8.4.4a. The Data Log Window Display
-45-

