


Check for a firmware update
SPARKvue
1. Press the power button until the lights turn on.
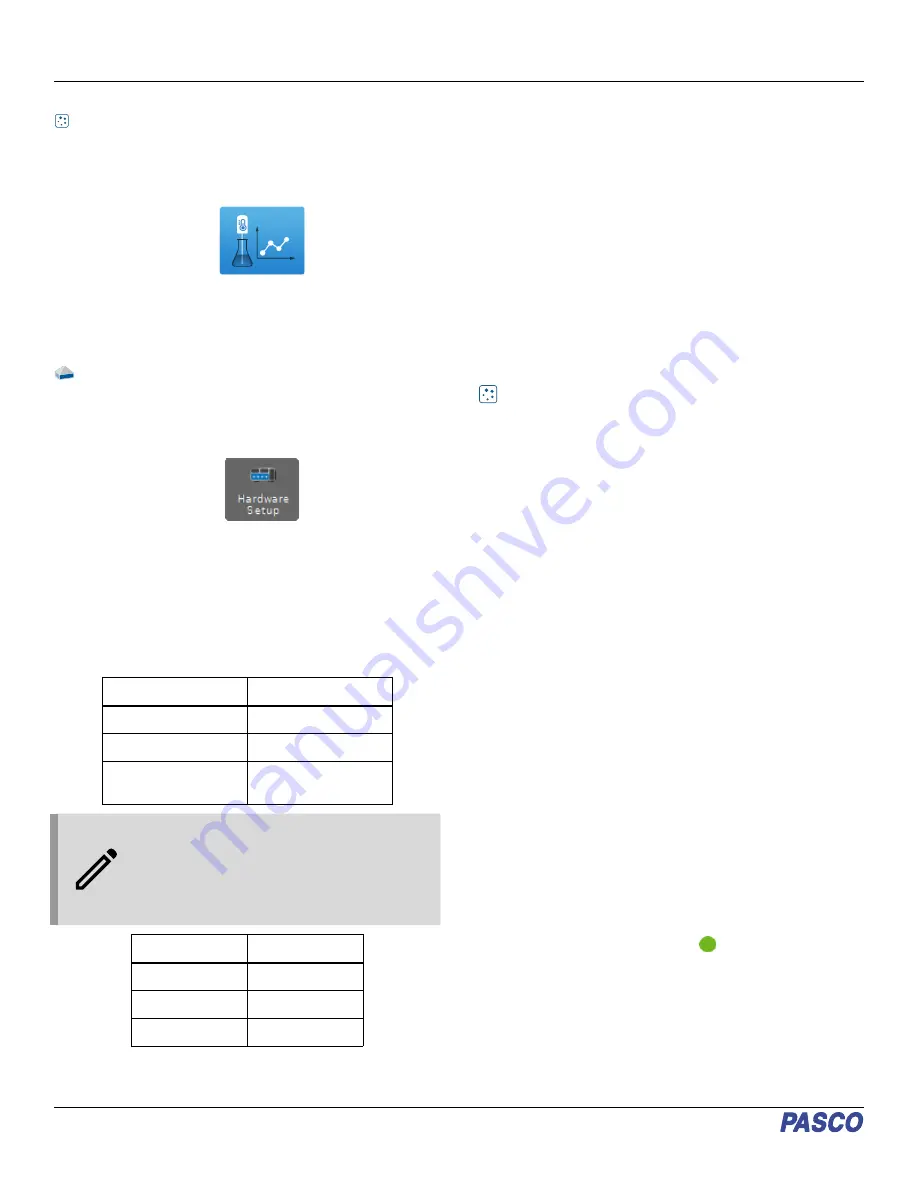
2. Open SPARKvue.
3. Select Sensor Data on the Welcome Screen.
4. Select the sensor that matches its device ID. A notification
appears if a firmware update is available. Click Yes to
update the firmware.
5. Close SPARKvue.
PASCO Capstone
1. Press and hold the power button until the lights turn on.
2. Open PASCO Capstone.
3. Click Hardware Setup.
4. Select the sensor that matches its device ID. A notification
appears if a firmware update is available. Click Yes to
update the firmware.
5. Close Capstone.
Status LED information
The Bluetooth, GPS, and Battery Status LEDs operate as
follows:
Bluetooth/GPS LED
Status
Red blink
Ready to pair
Green blink
Connected
Yellow blink
Remotely logging data
(Bluetooth only)
NOTE: When the Wireless Weather Sensor is
connected to a computer via the provided micro
USB cable, the Bluetooth LED will be disabled.
For information on using remote data logging
with PASCO sensors, see the PASCO Capstone
or SPARKvue online help.
Battery LED
Status
Red blink
Low power
Yellow ON
Charging
Green ON
Charged
Turn on the sensor
To turn on the sensor, press the ON/OFF button. All three status
LEDs will shine momentarily. If the battery is charged, the
Battery Status LED will stop shining; the GPS Status and
Bluetooth Status LEDs will continue to blink red. This indicates
that the device is ready to connect to GPS satellites and connect
wirelessly via Bluetooth to a computing device such as a
computer or tablet.
To turn off the sensor, press and hold the ON/OFF button until
the Battery Status LED shines red momentarily and the other
status LEDs stop shining.
Connecting to the software
The Wireless Weather Sensor can connect to either PASCO
Capstone or SPARKvue using a wireless Bluetooth connection
or the provided micro USB cable.
SPARKvue
Connecting via Bluetooth:
1. Turn on the Wireless Weather Sensor. Check to make sure
the GPS and Bluetooth Status LEDs are blinking red.
2. Open SPARKvue, then select Sensor Data from the main
menu.
3. From the list of available wireless devices on the left, select
the sensor that matches the device ID printed on your
Wireless Weather Sensor.
Connecting via micro USB:
1. Turn on the Wireless Weather Sensor.
2. Start SPARKvue, then select Sensor Data from the main
menu.
3. Gently pull the tab of the flexible cover on the back of the
sensor to the right to access the micro USB port.
4. Use the provided micro USB cable to connect the micro
USB port on the Wireless Weather Sensor to a USB port or
powered USB hub connected to the computer. The sensor
will connect to SPARKvue automatically.
Once the sensor is connected to SPARKvue, a list of available
measurements will appear in the Select Measurements for
Templates column.
Collecting Data with SPARKvue:
1. Select the measurements you intend to record by clicking
the checkboxes next to those measurements' names in the
Select Measurements for Templates column.
2. Select an appropriate template from the Templates section
to open the Experiment Screen. The template will auto-
populate with the measurements you selected.
3. When you are ready, click Start
to begin collecting data.
For more information on collecting and displaying data, see the
SPARKvue online help.
Wireless Weather Sensor with GPS | PS-3209
2


