20
3. Use the and buttons to highlight the
DELETE
setting and press the button
to confirm.
4. Use the and buttons to select
DELETE ALL
setting and press the
button to confirm.
5. All unlocked files will now be deleted and you
will be returned to the
PLAYBACK
menu.
Please note:
• Videos that have been protected by either the
user or the gravity sensor cannot be deleted
until they have been unprotected. To unprotect
a file follow the instructions in the menu labelled
PROTECT
.
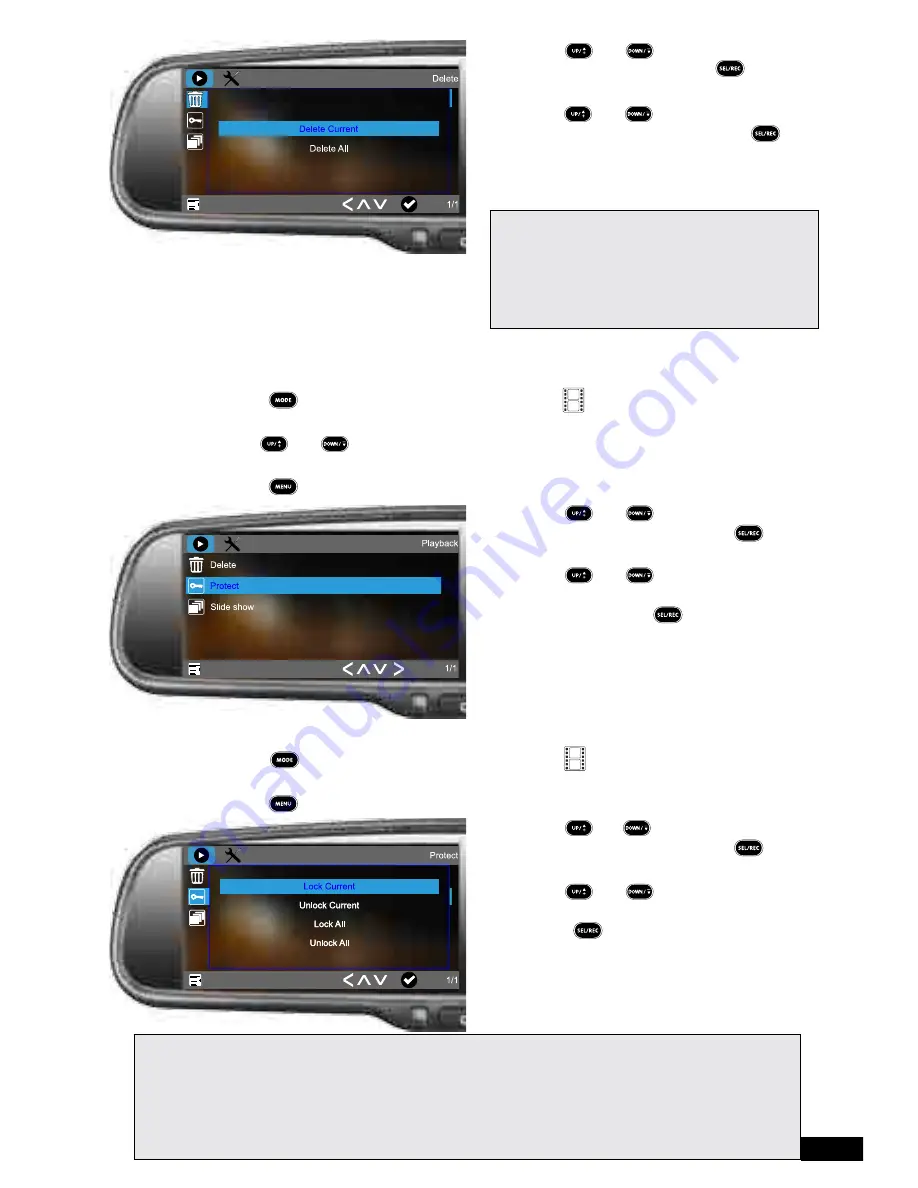
7.2 Protect
The
PROTECT
menu is used to lock or unlock the selected file or all files for editing.
To lock or unlock one file:
1. Using the button select the
PLAYBACK
mode (
PLAYBACK
icon will be
displayed in the top left corner).
2. Use the and buttons to highlight the photo or video you would like to lock or
unlock.
3. Press the button to enter the
PLAYBACK
menu.
4. Use the and buttons to highlight the
PROTECT
setting and press the button
to confirm.
5. Use the and buttons to select
LOCK CURRENT
or
UNLOCK CURRENT
setting and press the button to confirm.
6. The selected file will now be locked or
unlocked and you will be returned to the
PLAYBACK
menu.
To lock or unlock all files:
1. Using the button select the
PLAYBACK
mode (
PLAYBACK
icon will be
displayed in the top left corner).
2. Press the button to enter the
PLAYBACK
menu.
3. Use the and buttons to highlight the
PROTECT
setting and press the button
to confirm.
4. Use the and buttons to select
LOCK ALL
or
UNLOCK ALL
setting and
press the button to confirm.
5. All files will now be locked or unlocked and
you will be returned to the
PLAYBACK
menu.
Please note:
• Videos that have been protected by either the user or the gravity sensor cannot be deleted until they have
been unprotected.
• When the Micro SD Card fills up with protected footage regular loop recording will stop. To make space
on the SD card unlock and delete unimportant files using the instructions in the
DELETE
and
PROTECT
sections of this manual.


