Operator Manual
Page 7
Operating the I:Deal
3.3. LED
Indicators
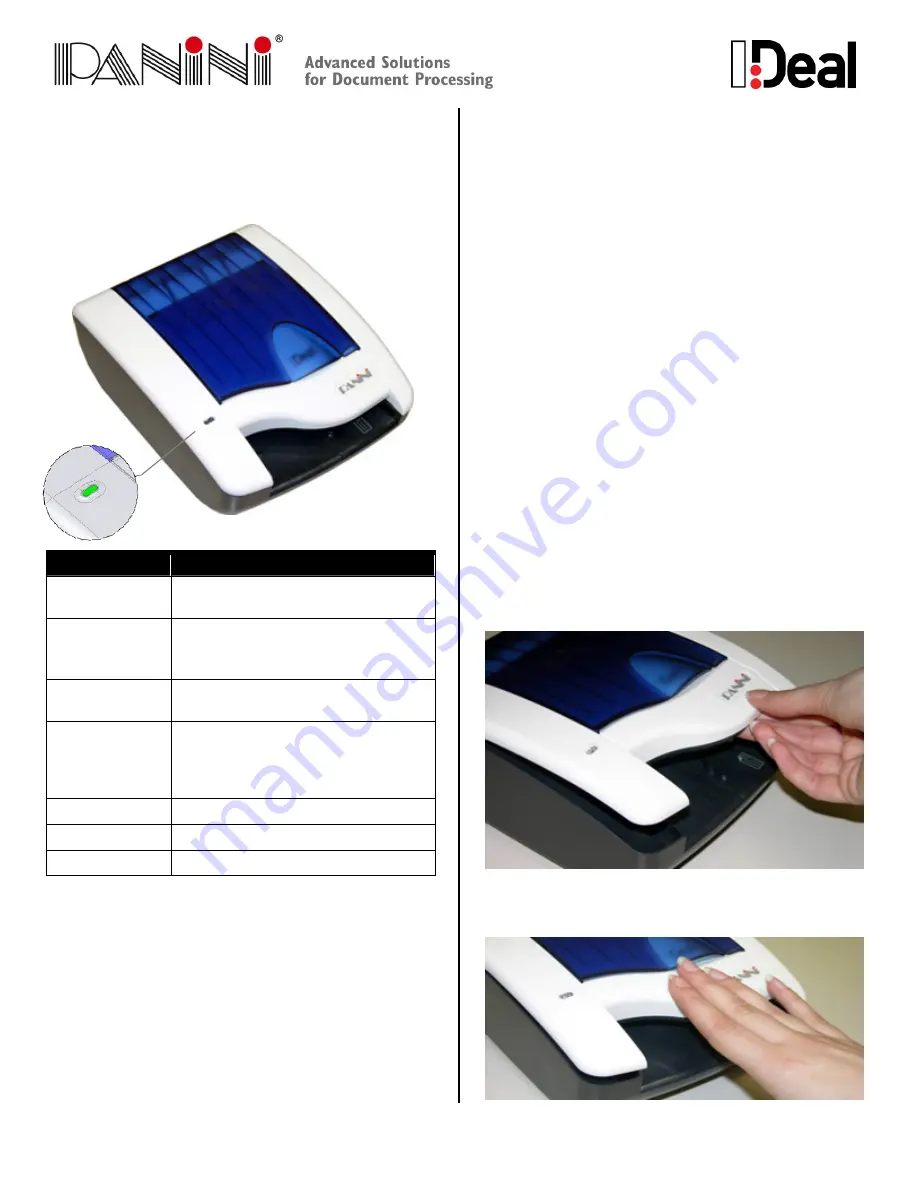
The 3-color LED on the top cover of the device indicates
the machine’s status. The following table indicates the
meaning of each status light.
LED
Description
Off
Device disconnected or software not
connected
Yellow Blinking
Device connected, software
connected but pocket flaps are
closed
Yellow Solid
Device connected, software
connected, pocket flaps open
Green Solid
Device is ready to begin feeding
(Device connected, software
connected, pocket flaps open and
feeding enabled)
Green Blinking
Machine is processing documents
Red Blinking
Document jam or misalignment
Red Solid
Firmware being updated
3.4. Document Processing / LED Cycle
1.) Once the unit is powered on, flaps are up and USB
cable connected the status LED will turn solid
yellow, indicating initial power and PC connection to
the device.
2.) When the application requests to start feeding the
LED will turn solid green. Once a document is
loaded into the feeding tray the machine will detect
the document and begin scanning. The LED status
will begin blinking green indicating that the machine
is busy processing a document.
3.) After scanning the machine will stop with the
document either in the exit pocket or feeding tray
according to the processing mode. If exiting to the
feeding tray the LED will continue flashing green
until document is removed from the tray. Once
removed the LED will have be solid green indicating
it is ready to process the next document.
4.) A flashing red LED indicates that either a document
jam or misalignment has been detected. The
machine will stop the document in the track to
prevent capturing a misaligned document or to
prevent damaging a jammed document. If
misaligned, remove document and begin scanning
again. For jammed documents see section 5.1 on
how to remove jammed documents.
5.) A flashing yellow LED indicates that either the top
flaps are closed or the top cover is open.
3.5. Opening / Closing Top Cover
The top cover of the device can be easily opened for
removal of jammed documents, cleaning the device or
for replacing the franking roller.
1.) To open the top cover press the blue release button
on the top side of the feeding tray and lift the cover up.
2.) To close the cover press firmly downwards in the
middle of the top cover. Ensure that both sides of the
scanner securely snap closed.
Содержание I:Deal
Страница 1: ...Operator Manual Rev 1 0 ...


